Lorem ipsum dolor sit amet, consetetur sadipscing elitr, sed diam nonumy eirmod.
Lorem ipsum dolor sit amet, consetetur sadipscing elitr, sed diam nonumy eirmod.
Creating a New Event

To make your event free, select 'Free' as the ticket type for each ticket during setup. This ensures attendees can register without any cost.
In this article:
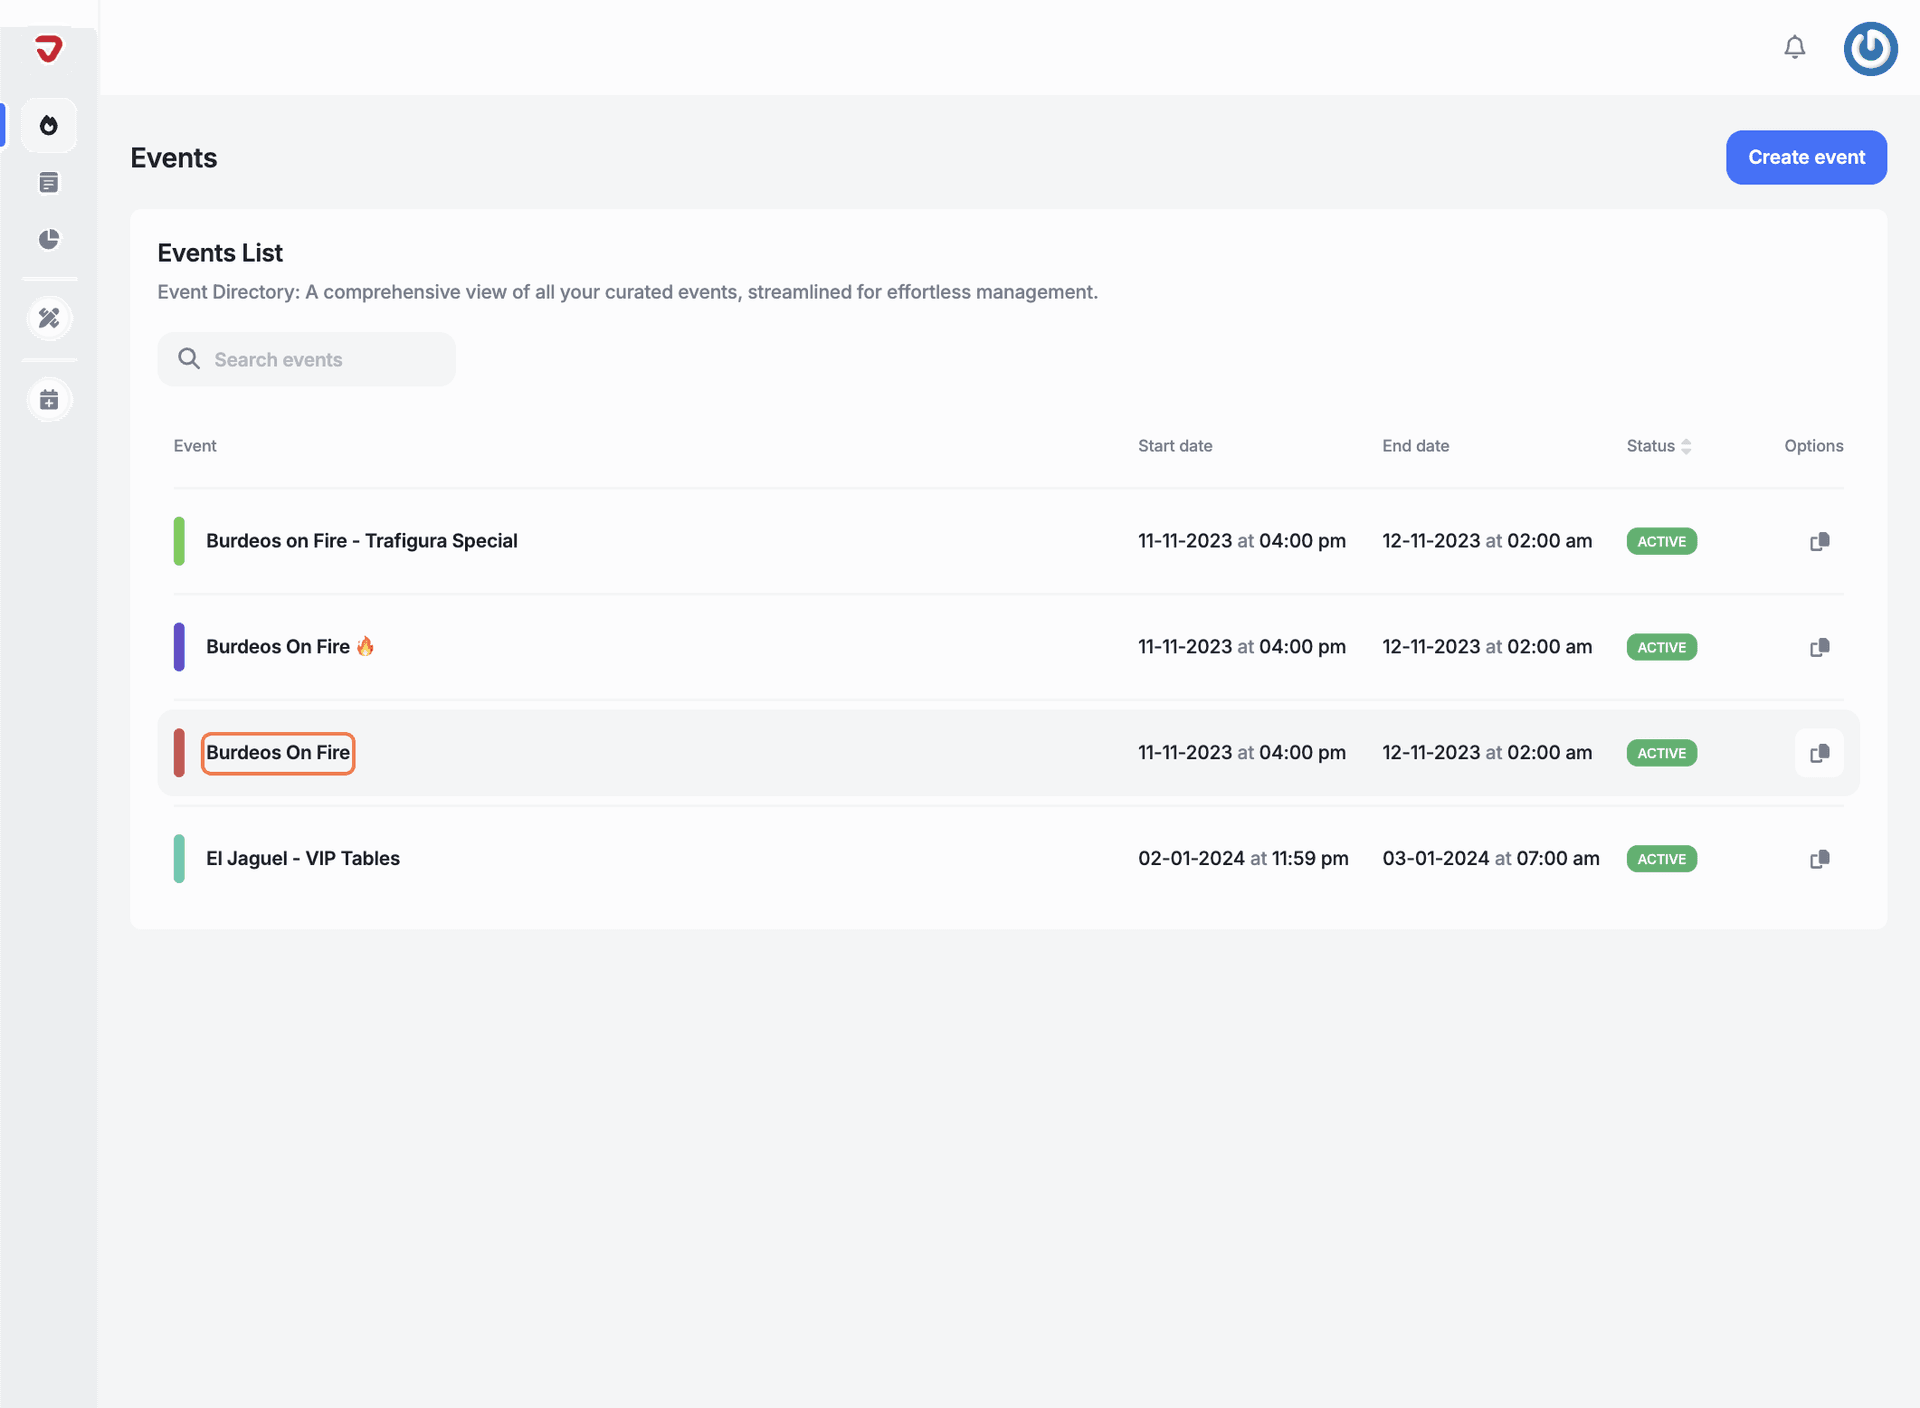
Once you’re in the organization, go to ‘Events' in the left-hand menu.
Select the event to which you want to add free tickets.
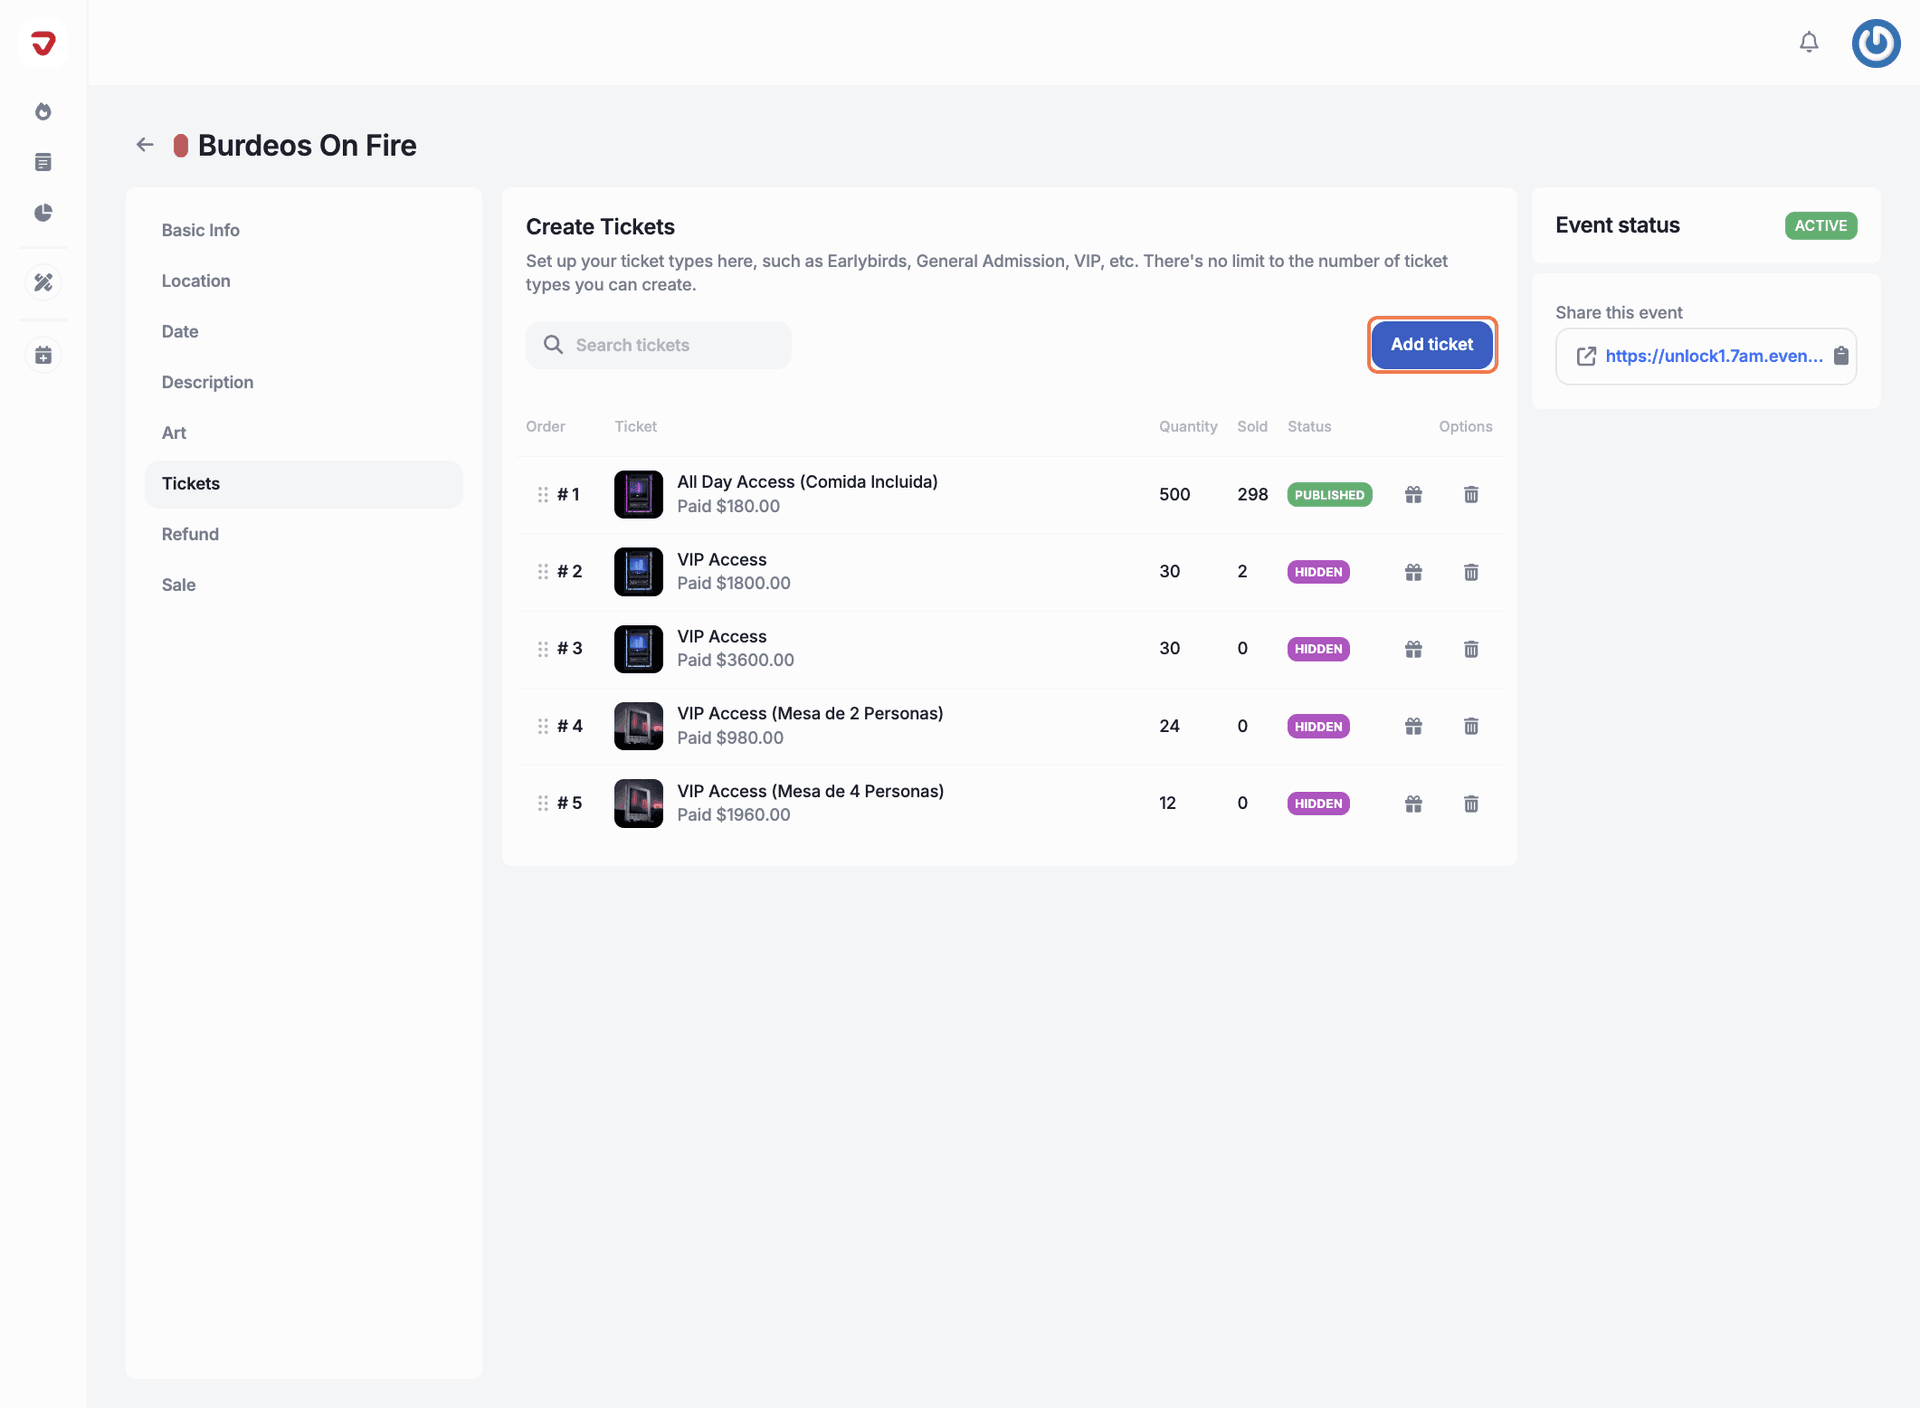
Click on 'Tickets' from the options on the left.
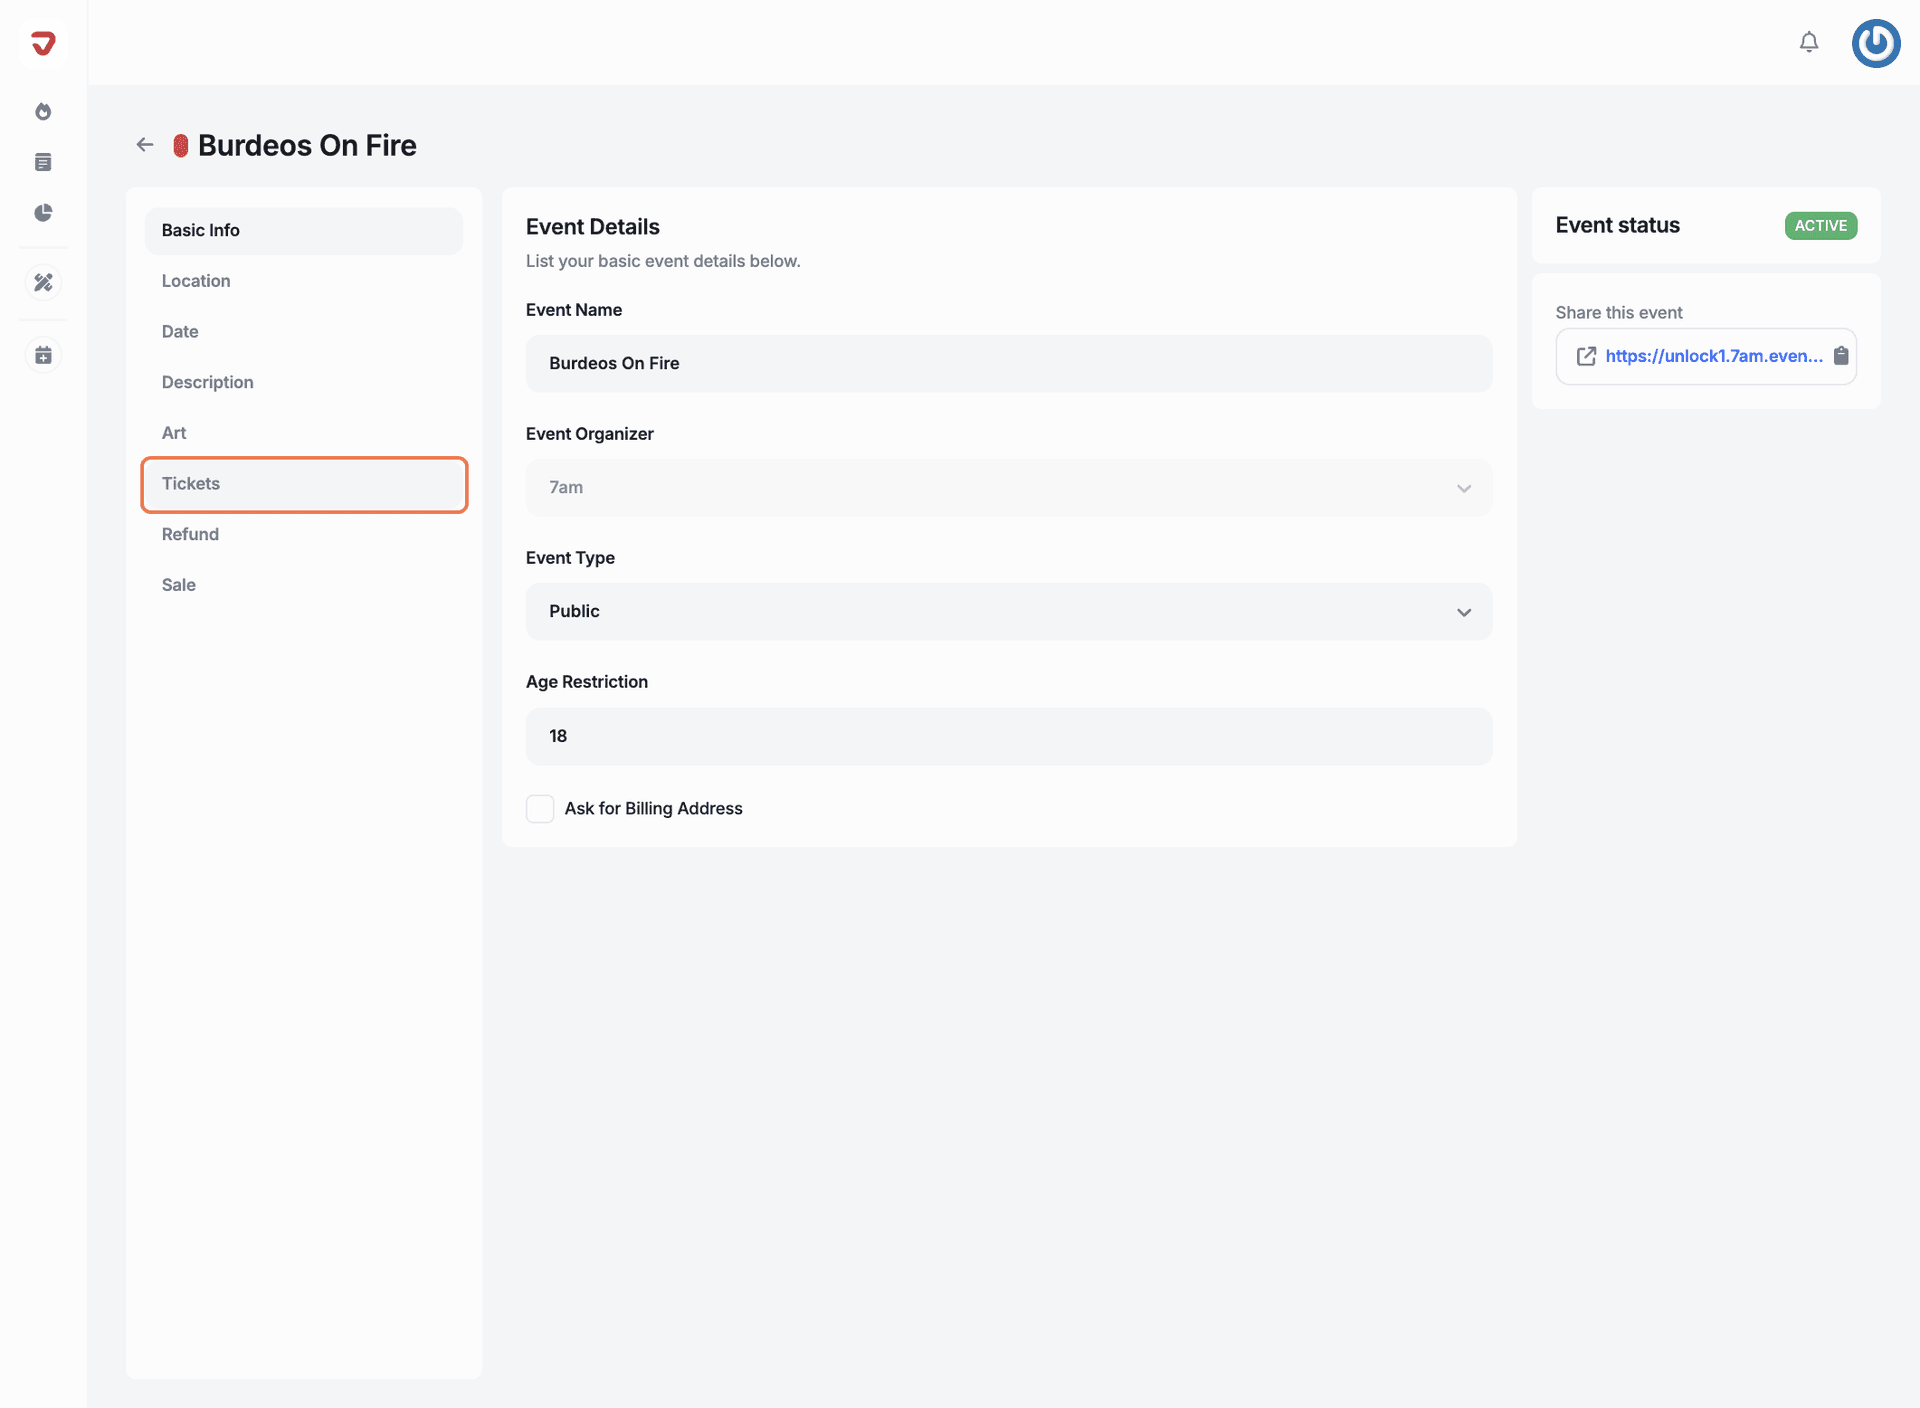
Click 'Add ticket' to get started.
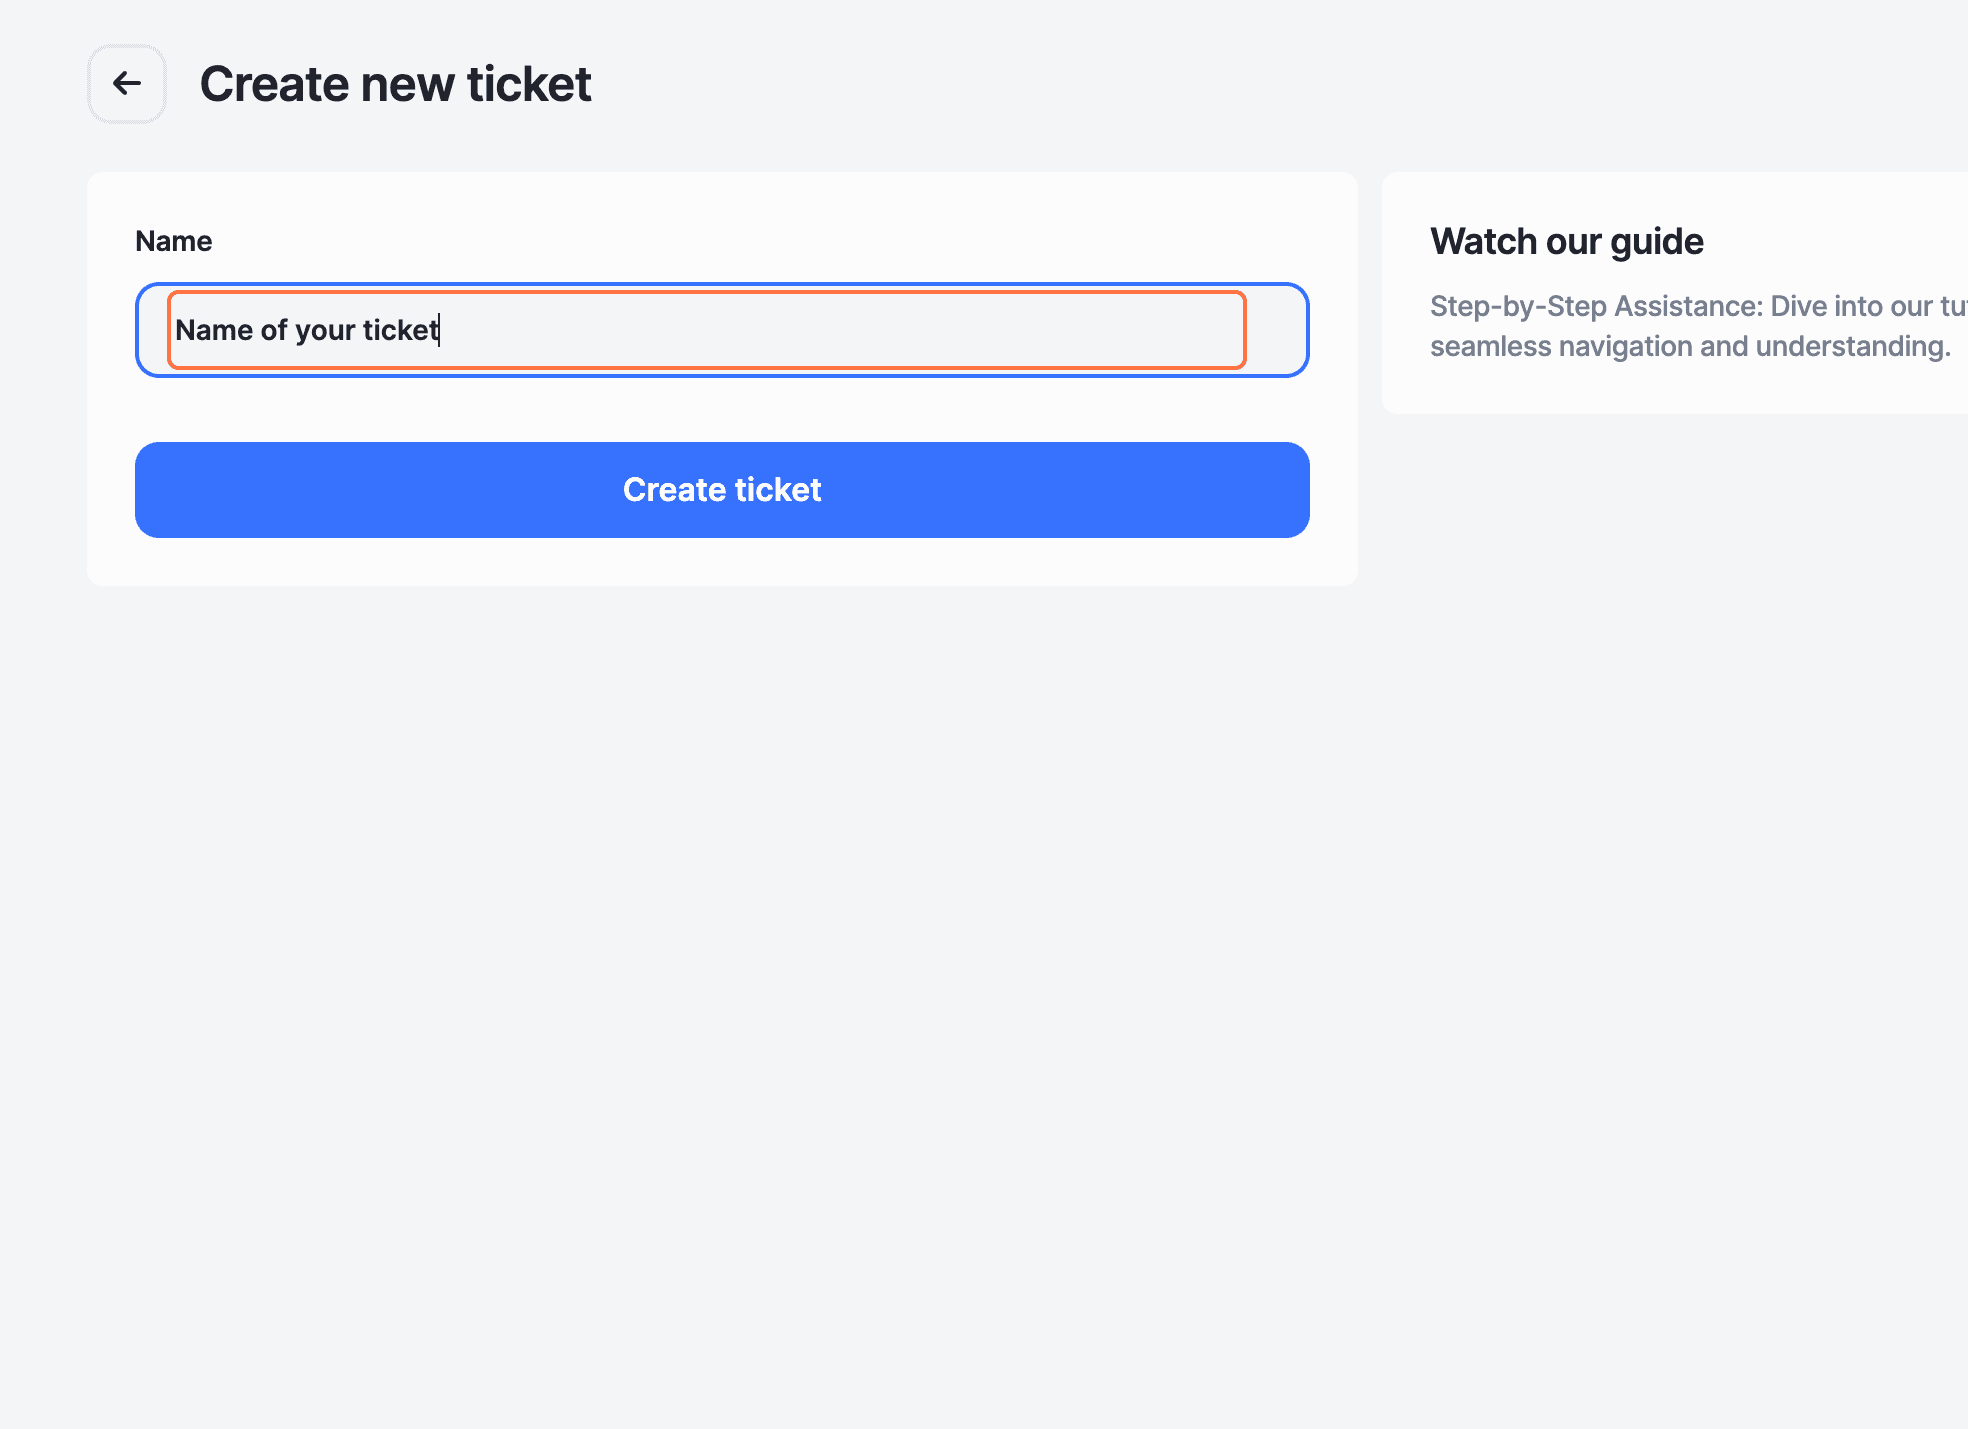
Create a memorable ticket name that stands out, capturing the essence of your event or the benefits it offers. Then, click 'Create ticket'.
Write a detailed description of your ticket, highlighting its benefits and special features to give potential buyers a clear understanding of what’s included, and click on 'Next step' to continue creating and customizing your ticket.
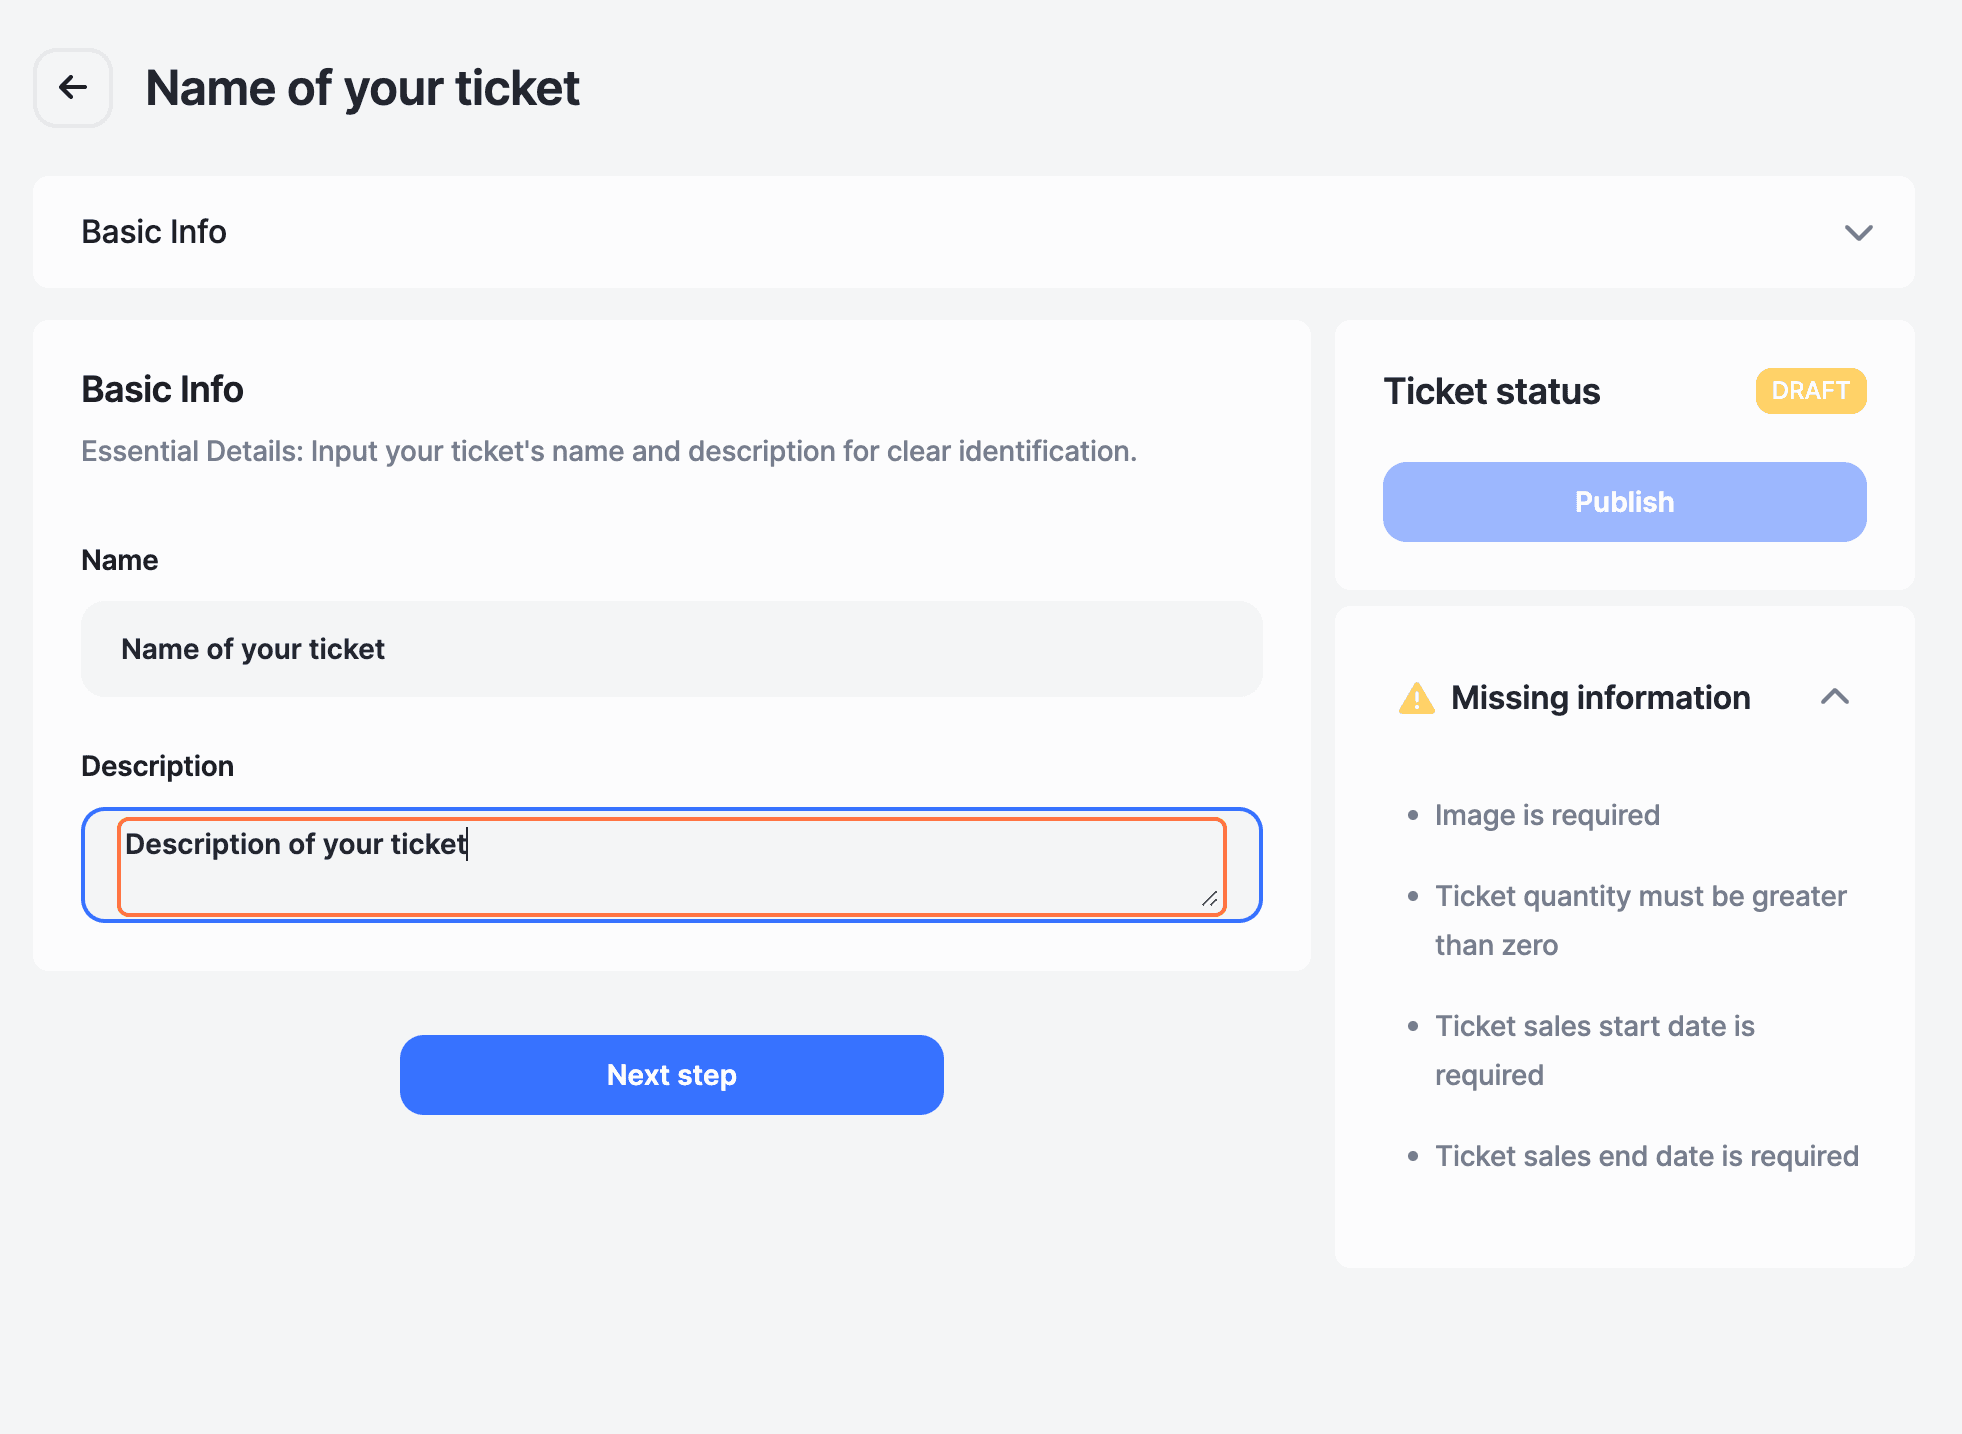
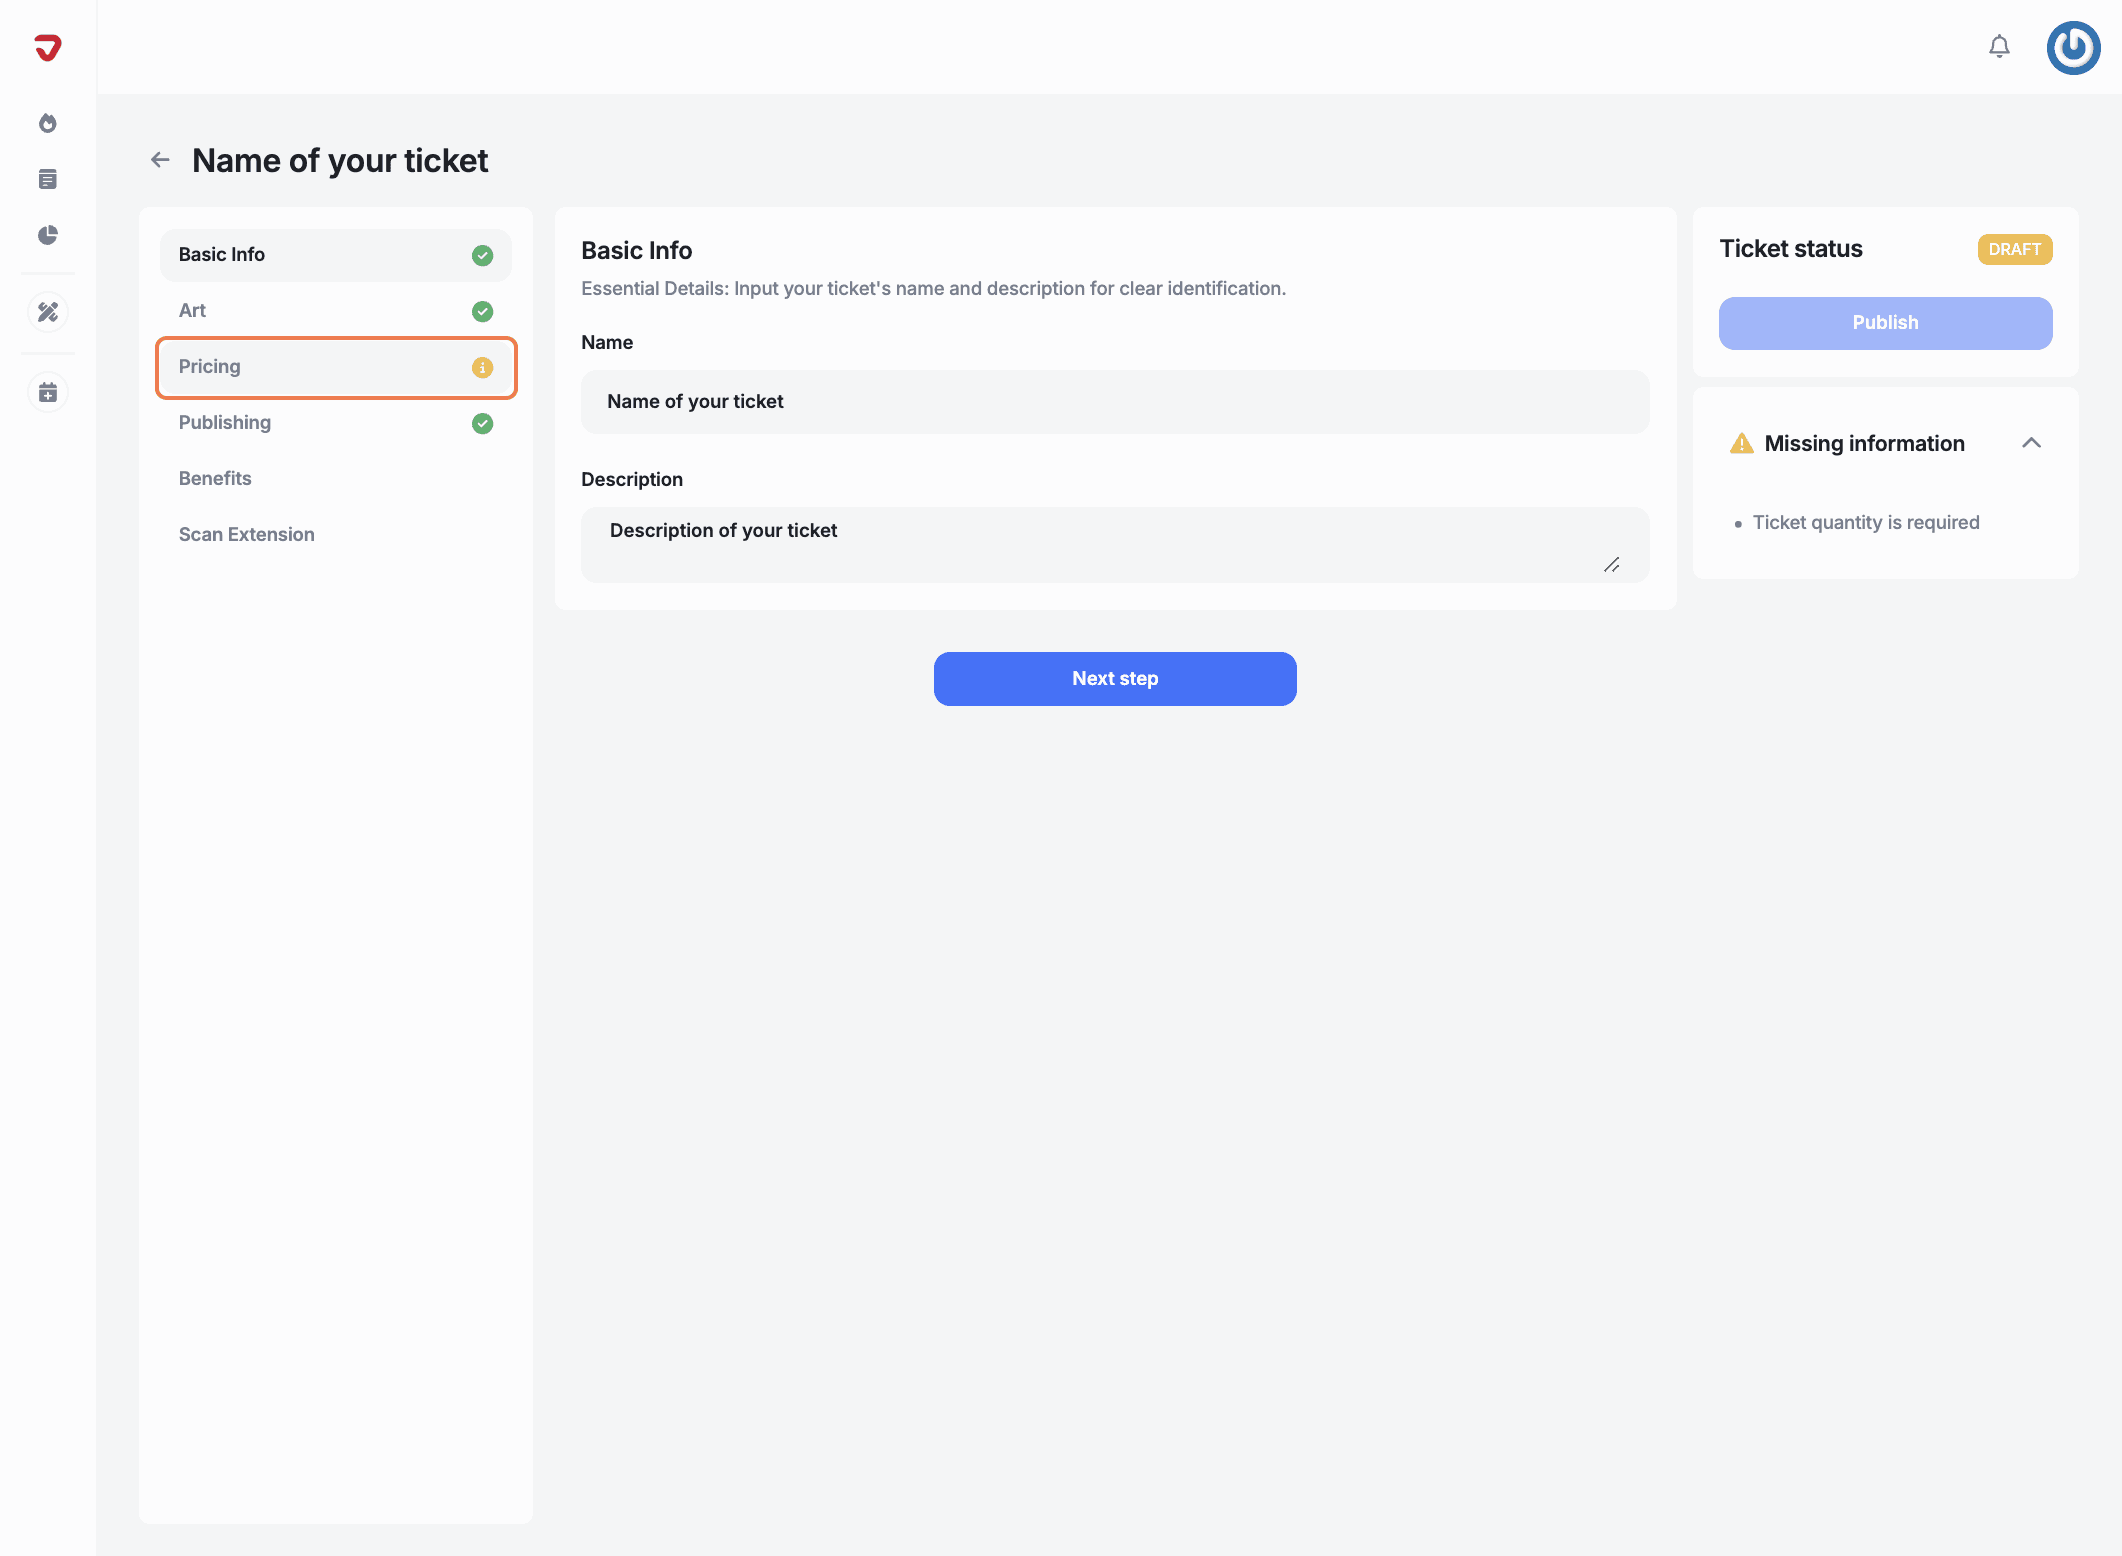
Once you’ve created the ticket, upload the ticket art to make it visually appealing and go to 'Pricing'.
Type: Open the drop-down menu and select 'Free'.
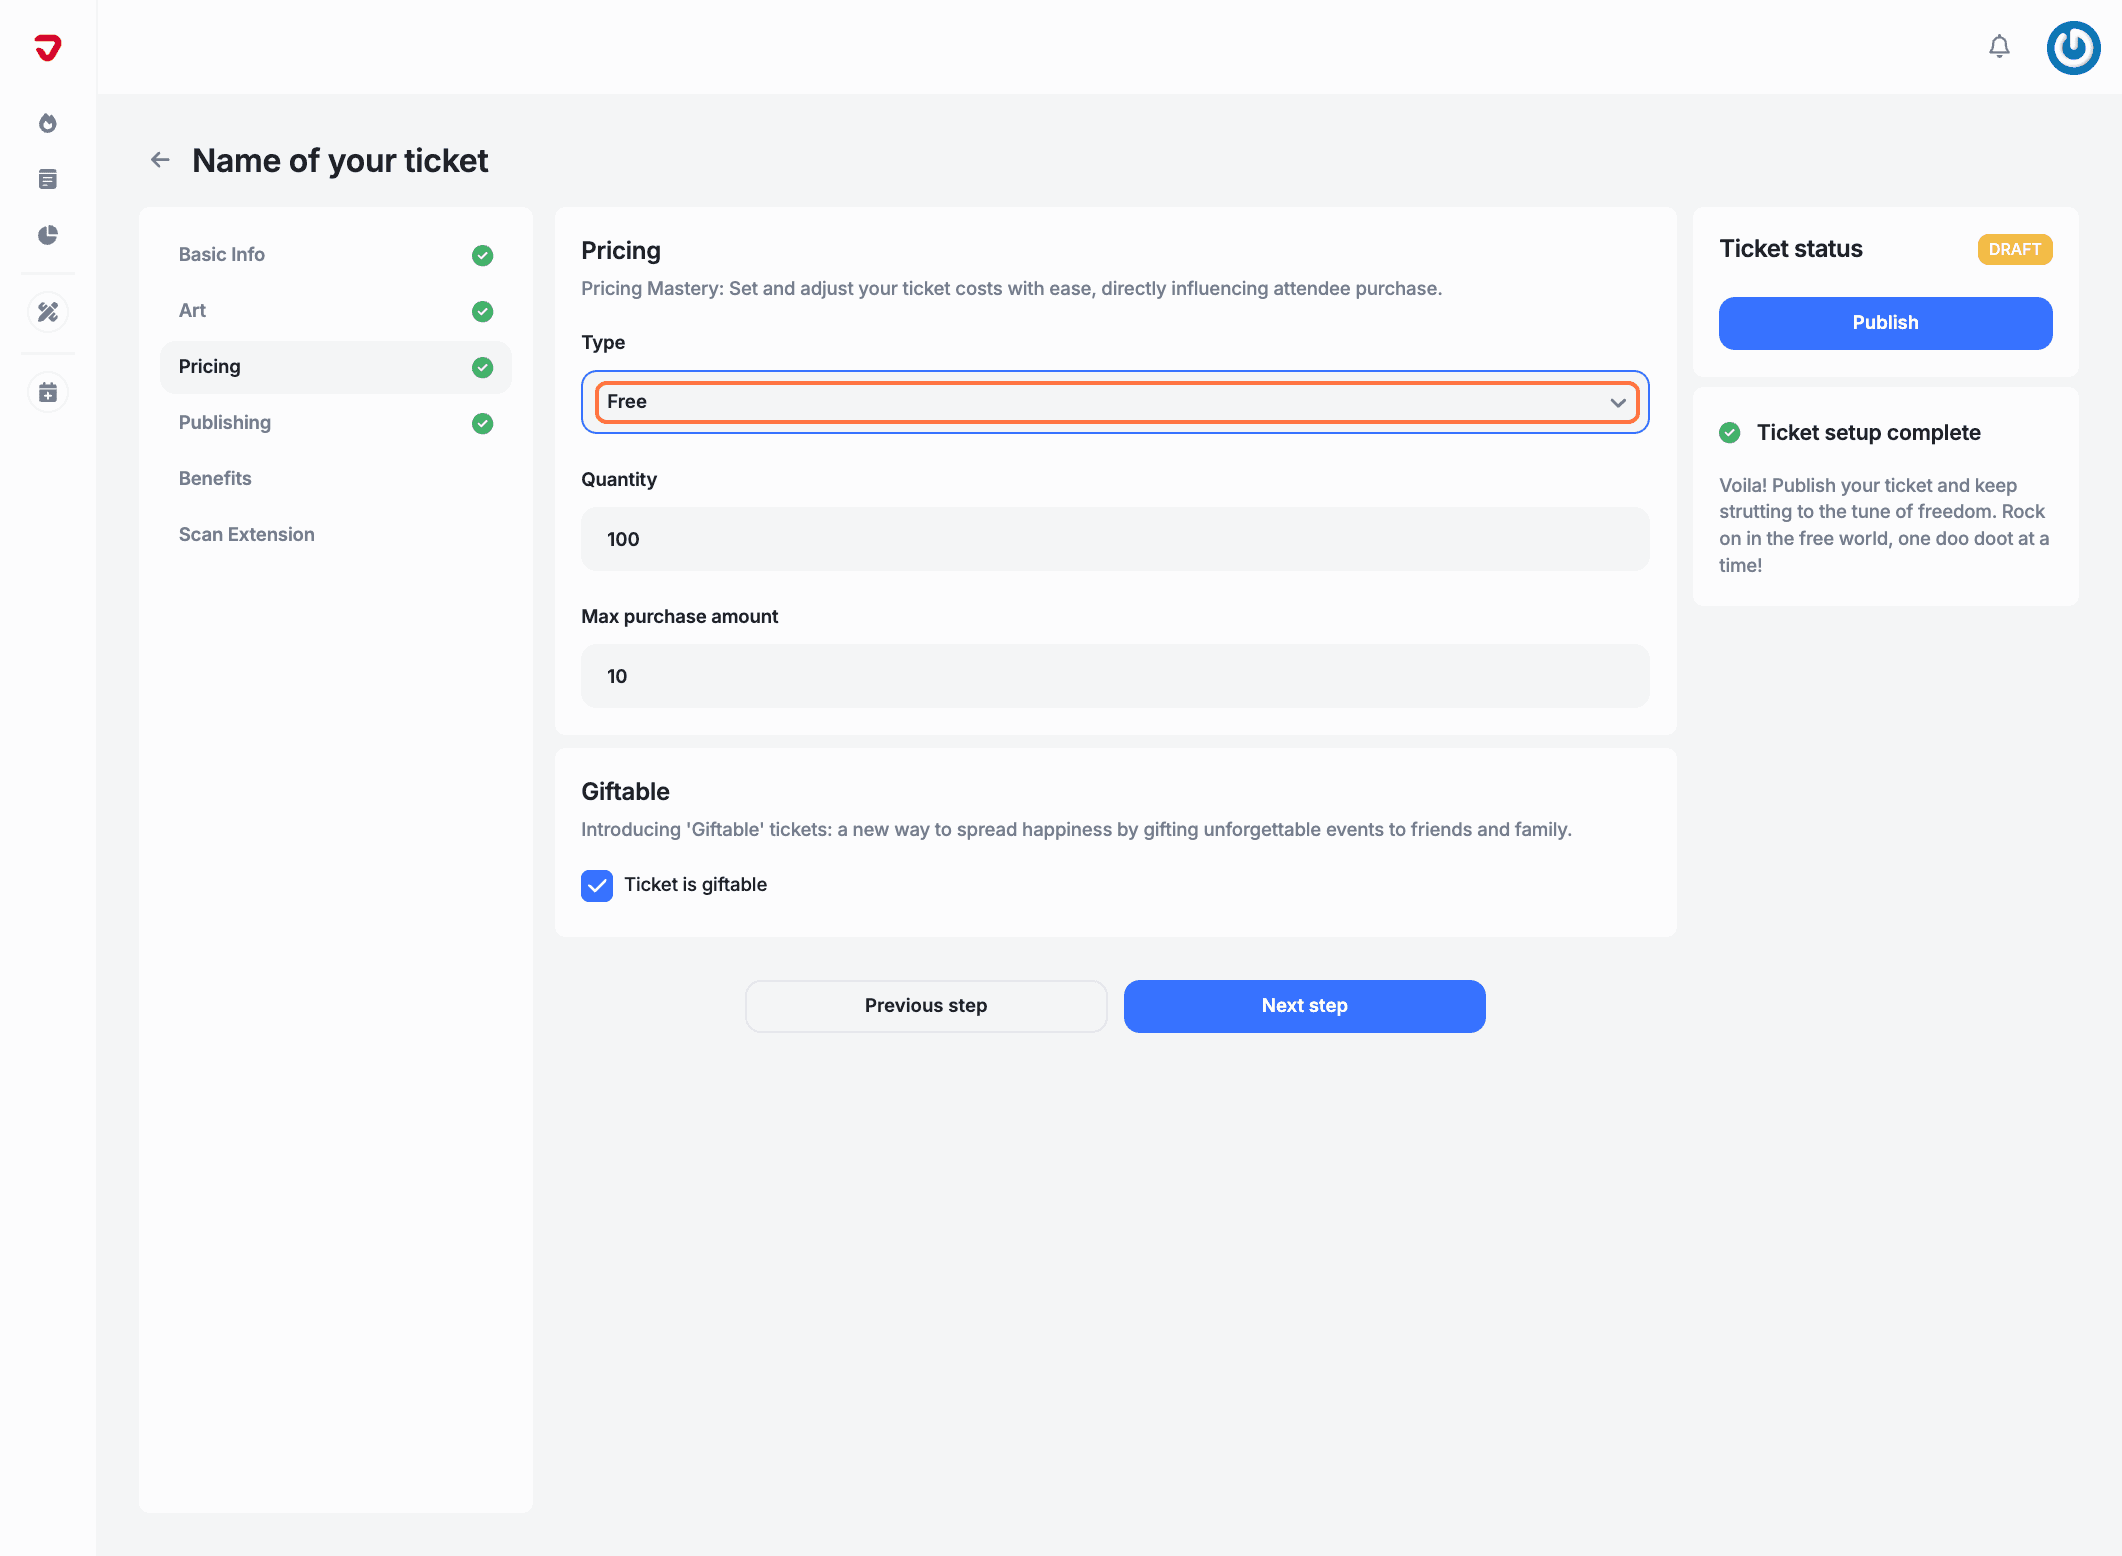
Quantity: Enter the total number of free tickets available to set a limit. Free tickets are usually capped to manage attendance, so set a quantity that fits your venue size or event goals.

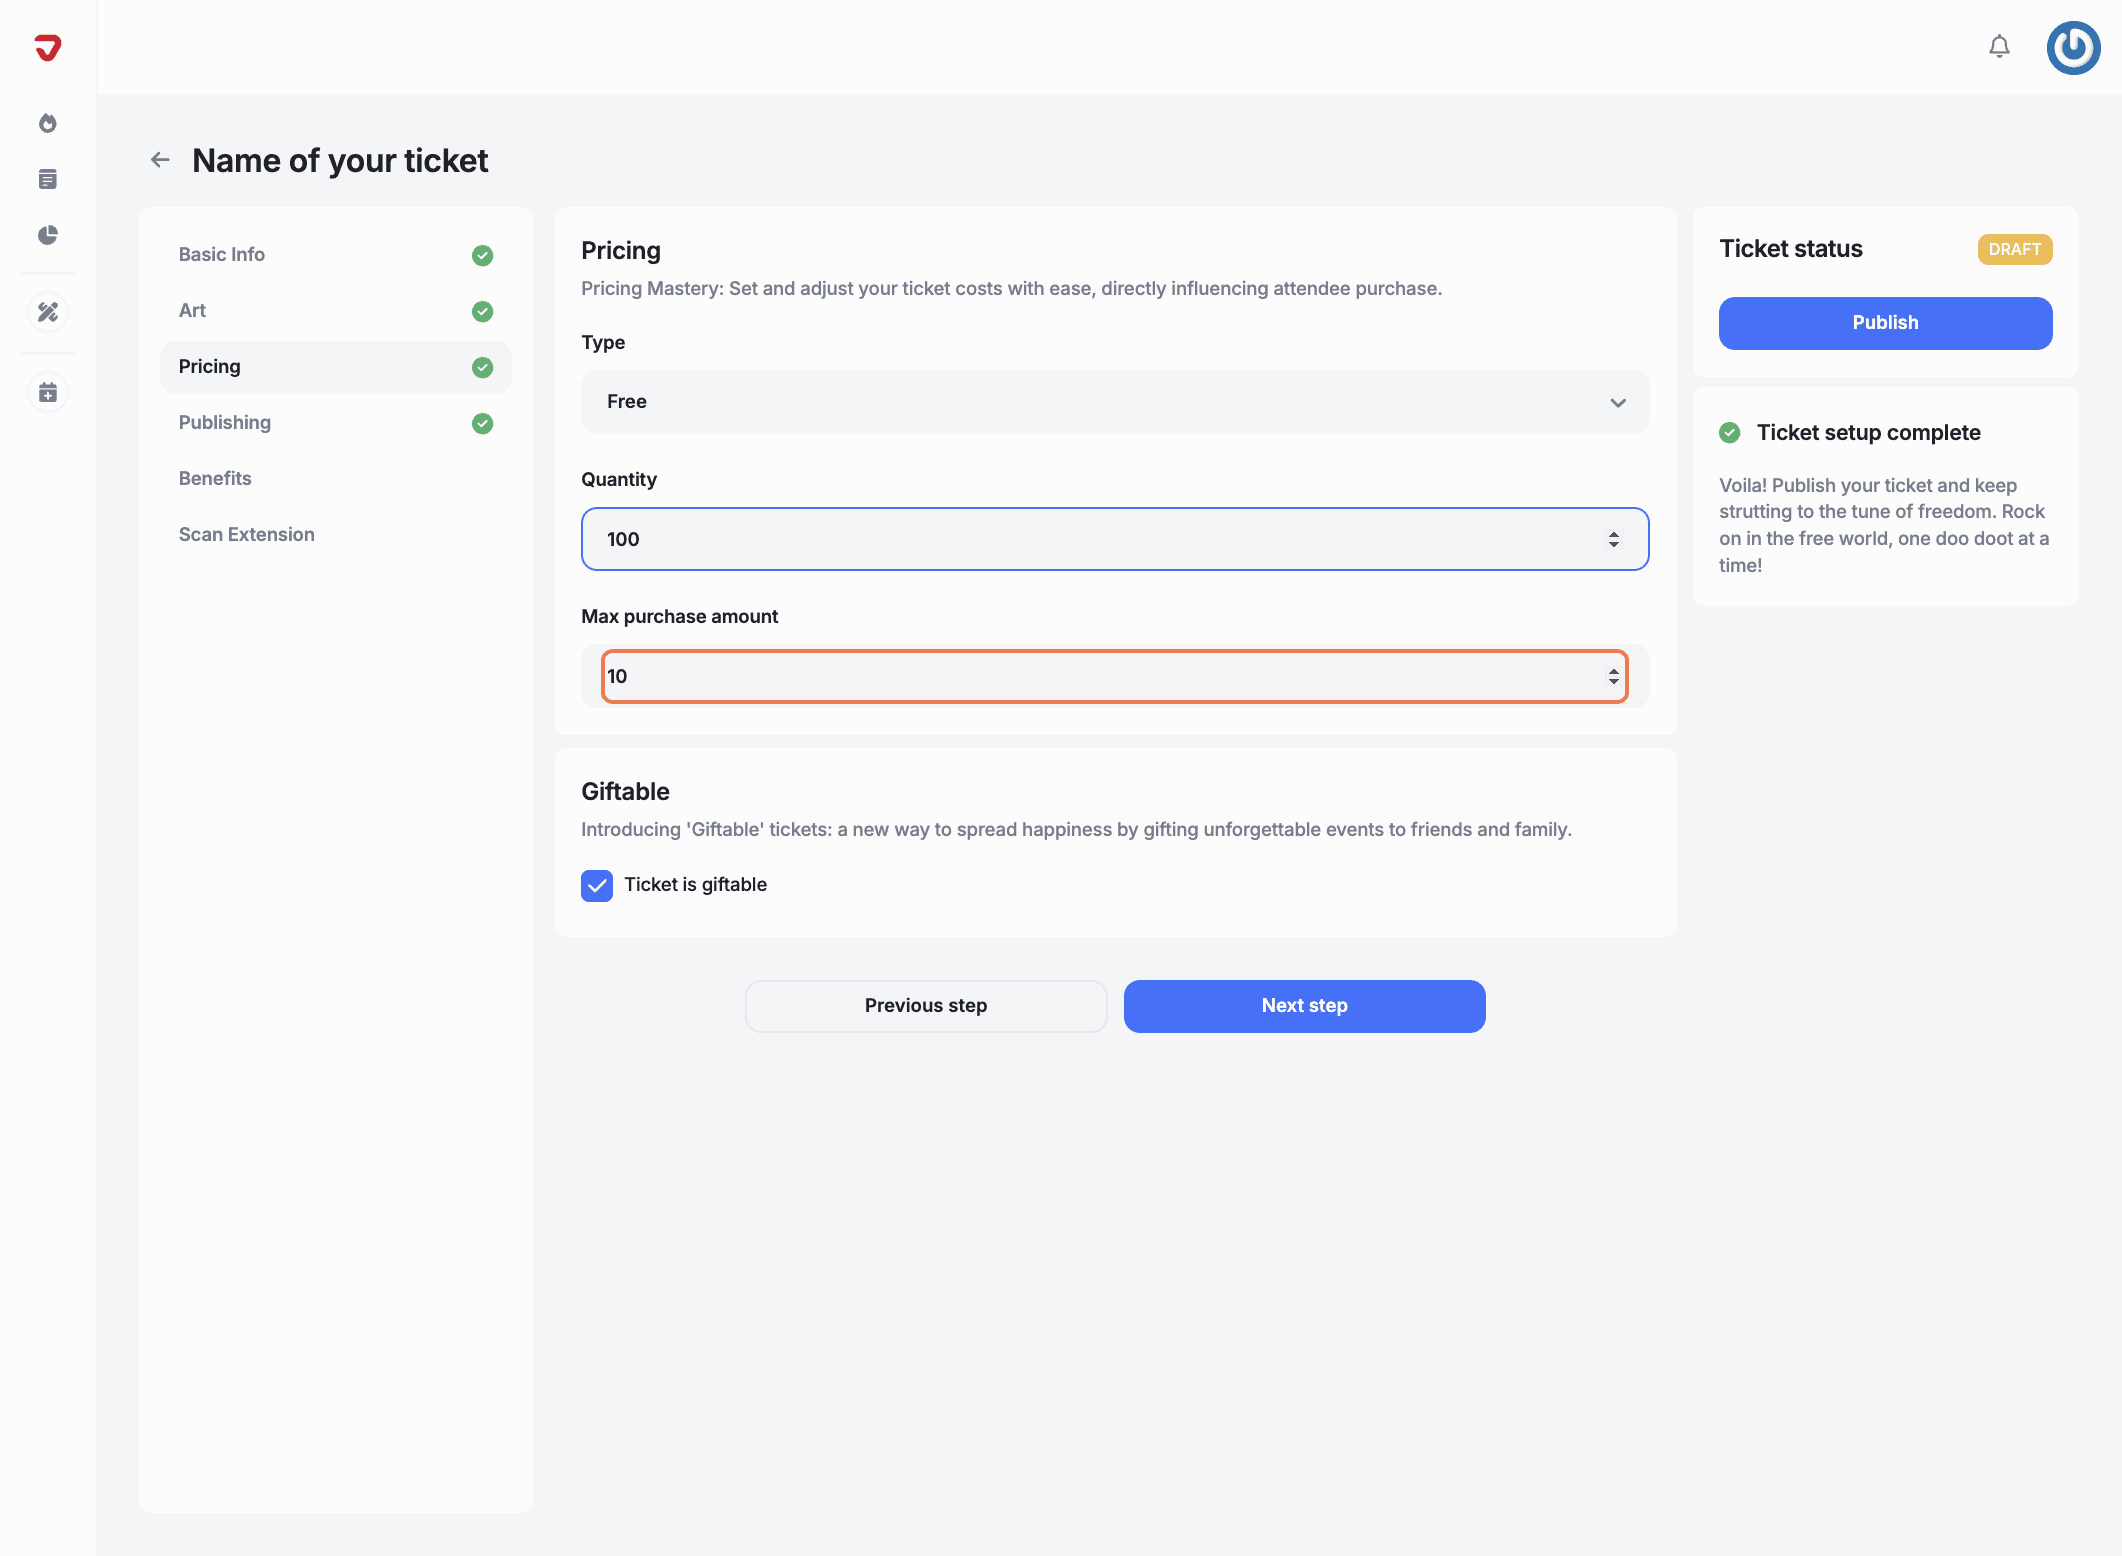
Max purchase amount: To encourage more registrations, set the maximum number of free tickets each person can claim.
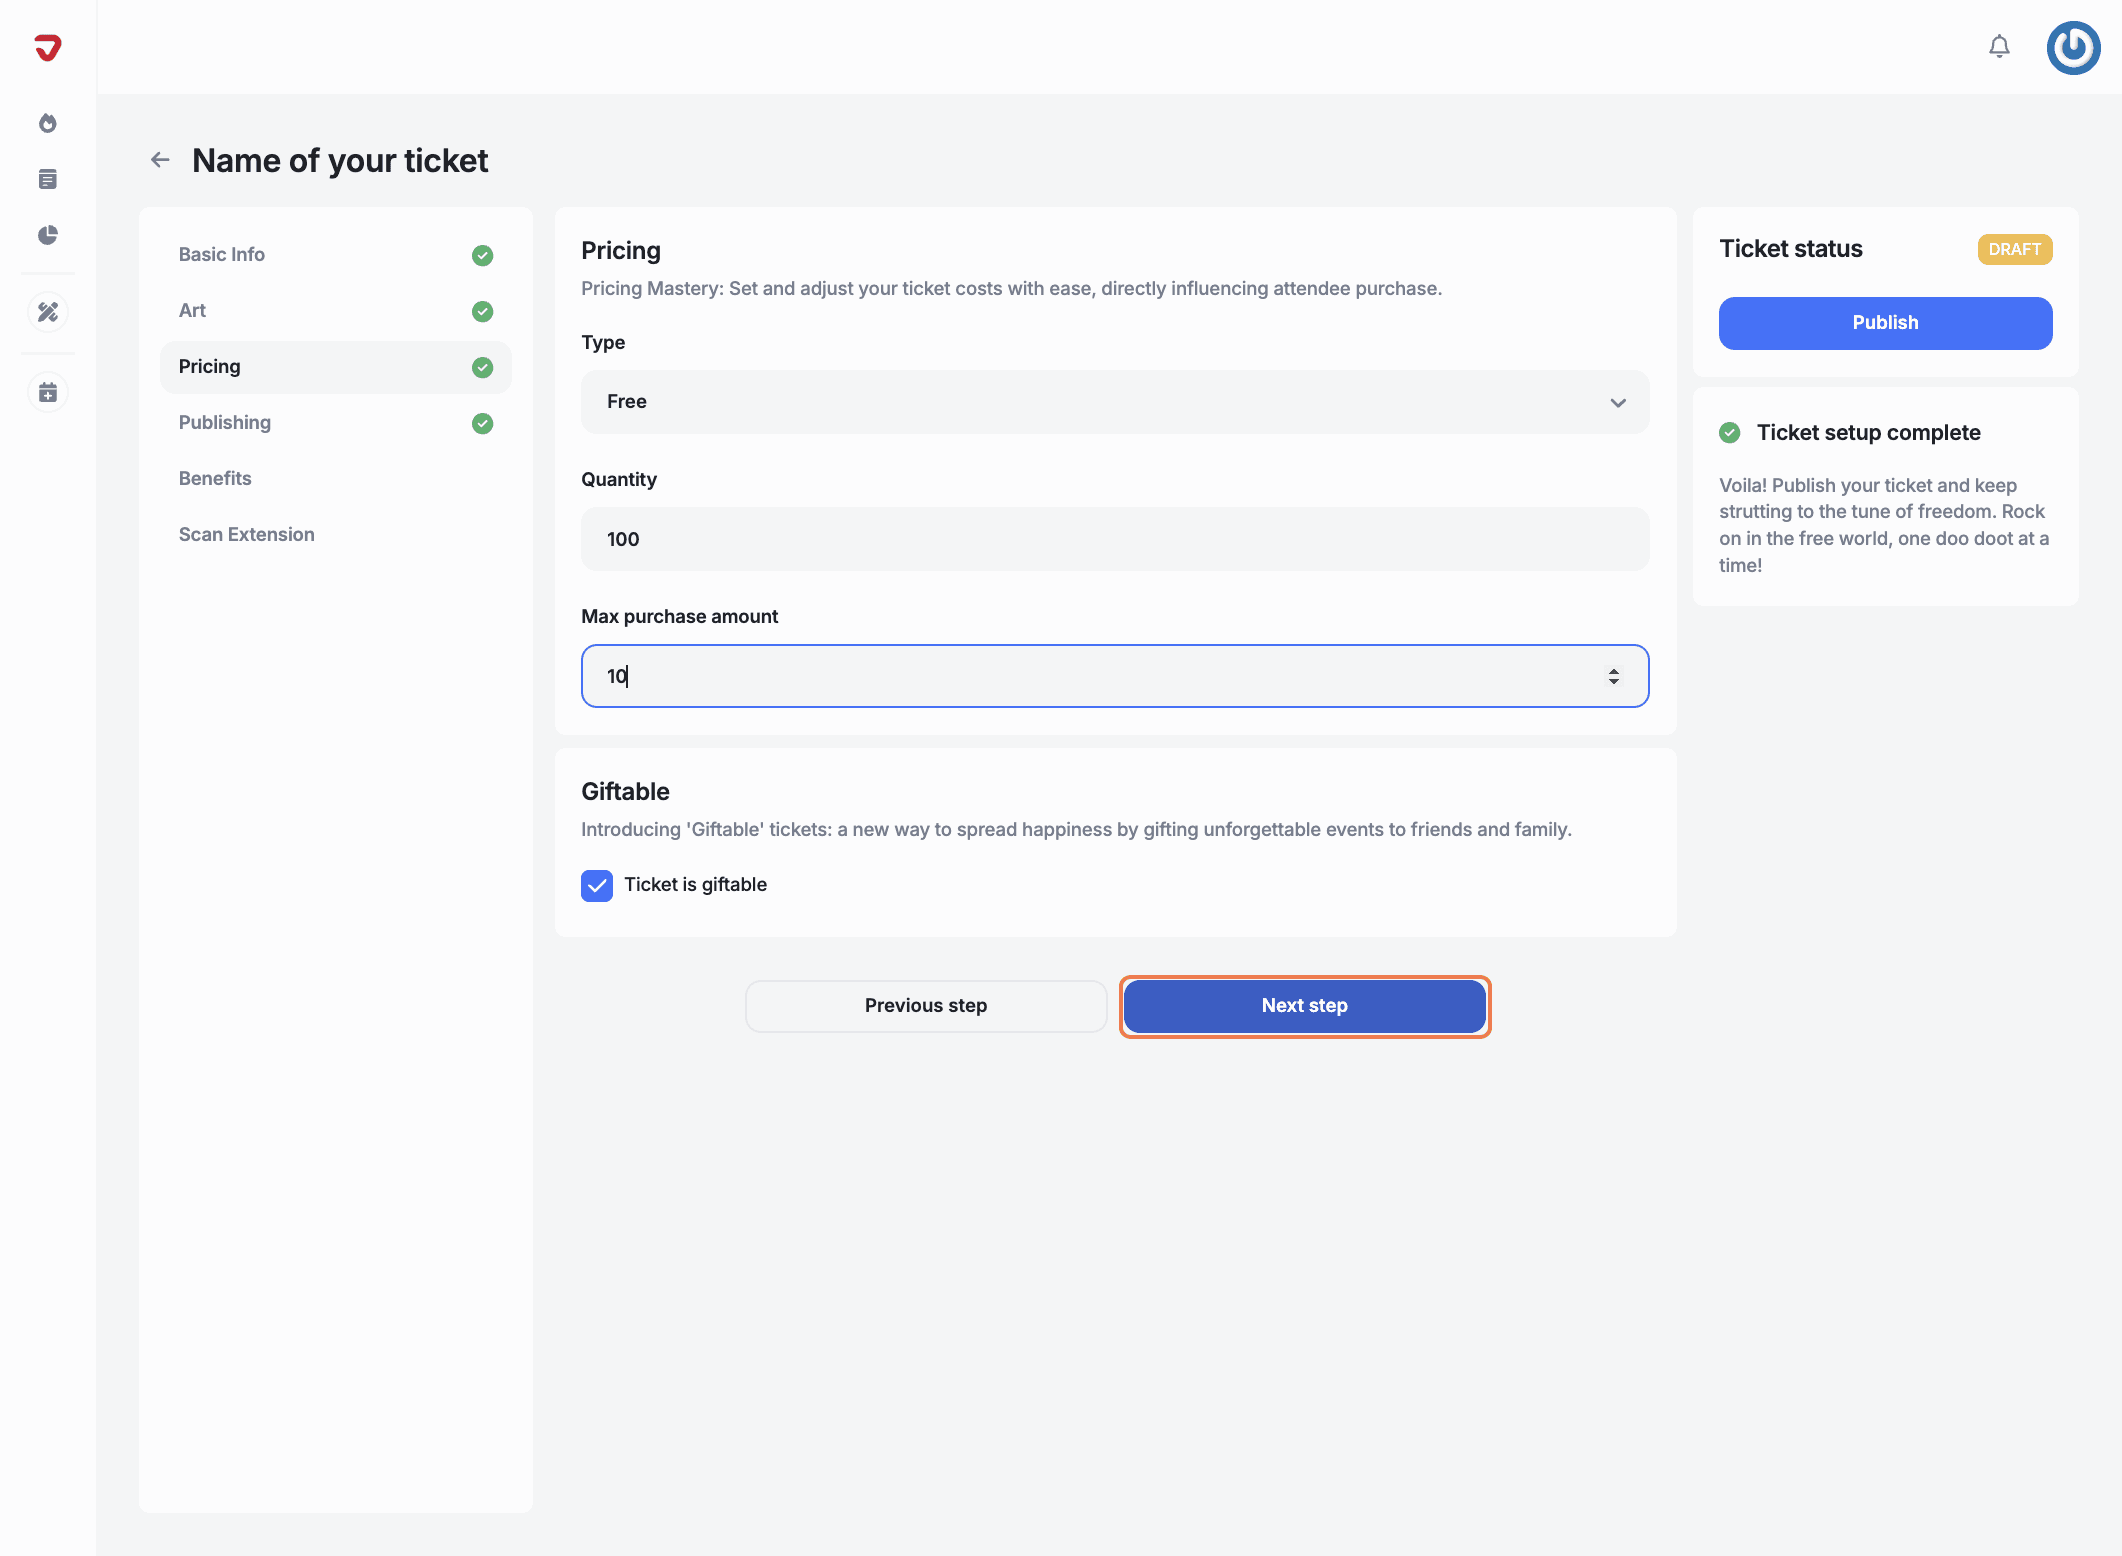
When you’re done, click 'Next Step' to continue setting up your ticket.
Can I still collect attendee information if my event is free?
Yes! Even with free tickets, you can gather valuable attendee information, such as names, emails, and any other details you need, during the registration process. This helps you connect with attendees and keep them informed.
What if I want to switch from free tickets to paid tickets later?
You can update ticket types anytime, even after your event is live. If you decide to charge for tickets later, just change the ticket type to 'Paid' and set the price
Explore More
View All