Lorem ipsum dolor sit amet, consetetur sadipscing elitr, sed diam nonumy eirmod.
Lorem ipsum dolor sit amet, consetetur sadipscing elitr, sed diam nonumy eirmod.
Creating a New Event
Set Event Date and Time
Set your event's time zone, dates, and times to ensure attendees see the correct schedule, regardless of their location.
In this article:
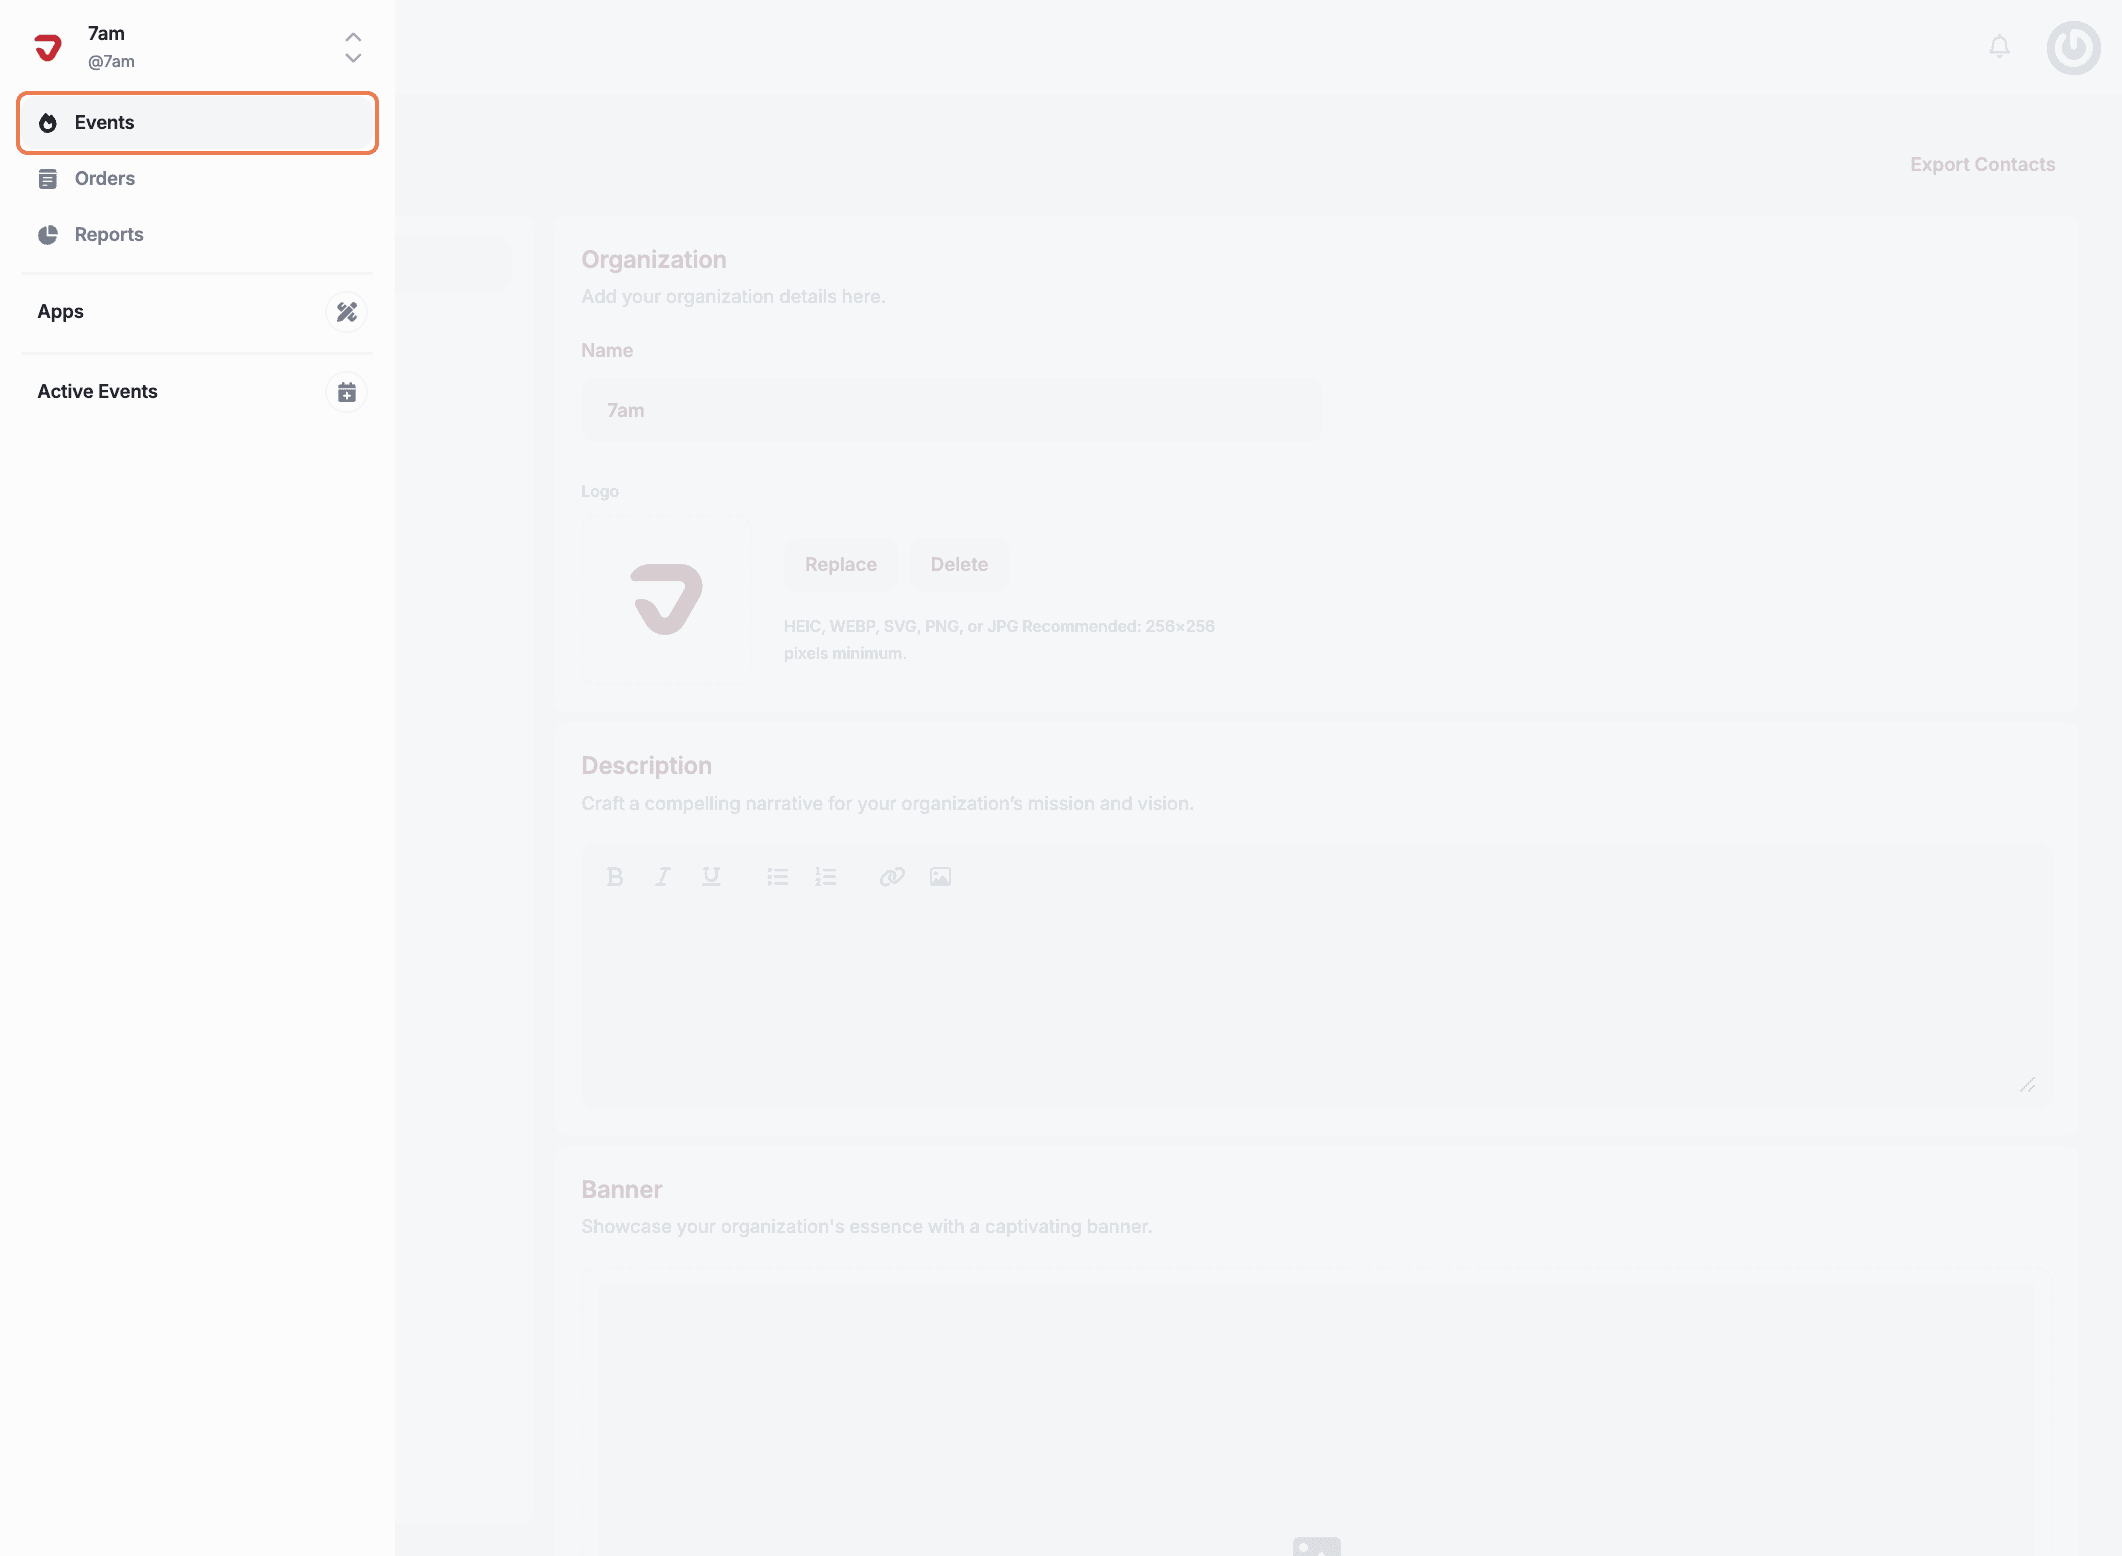
In the sidebar menu, click on 'Events'.
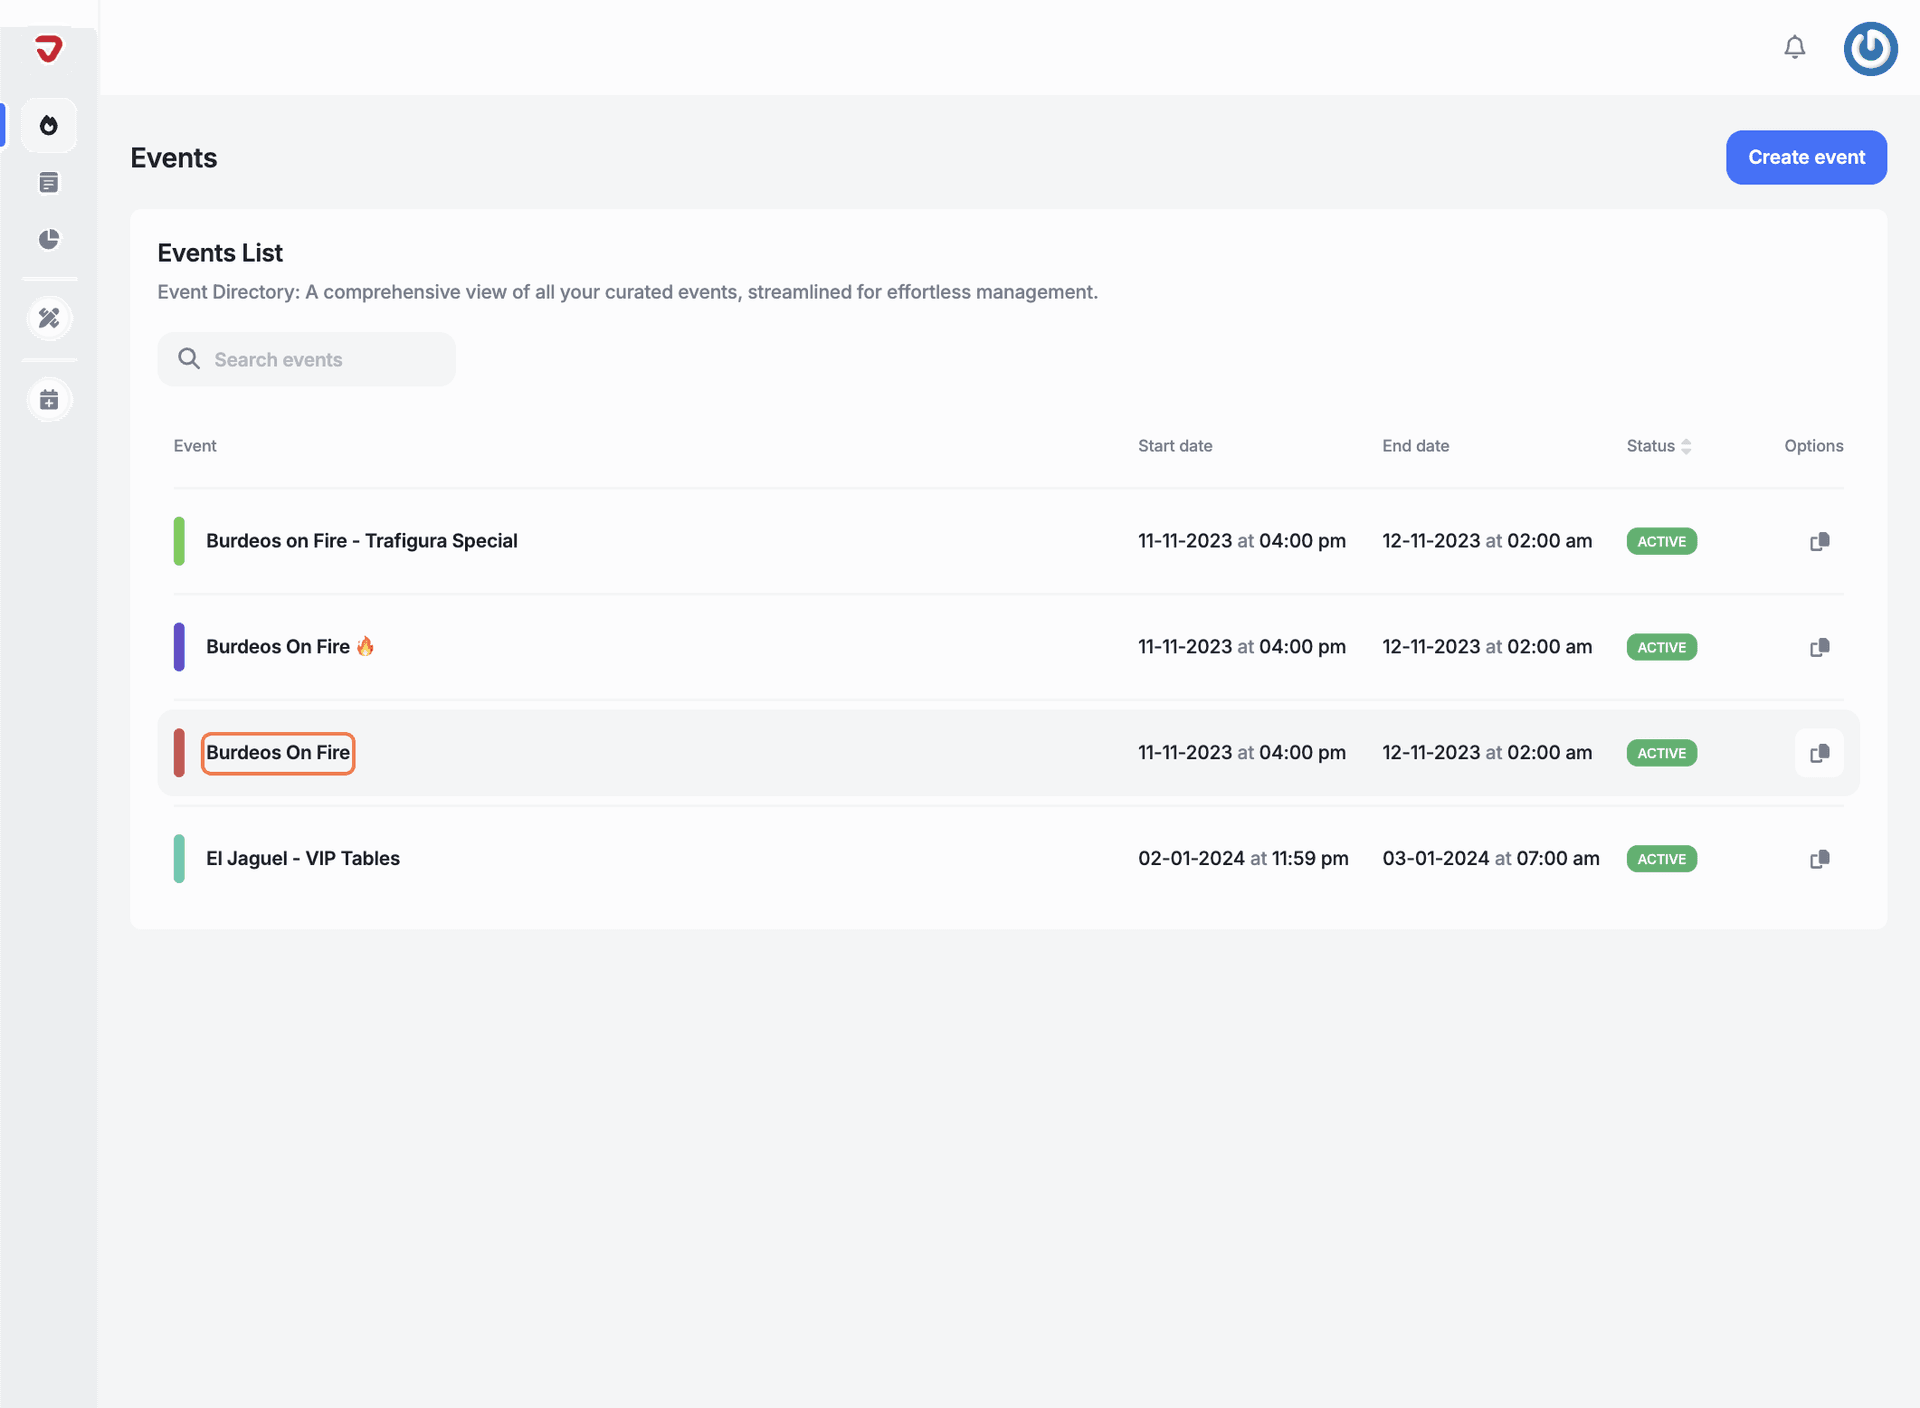
Choose the event you want to edit.
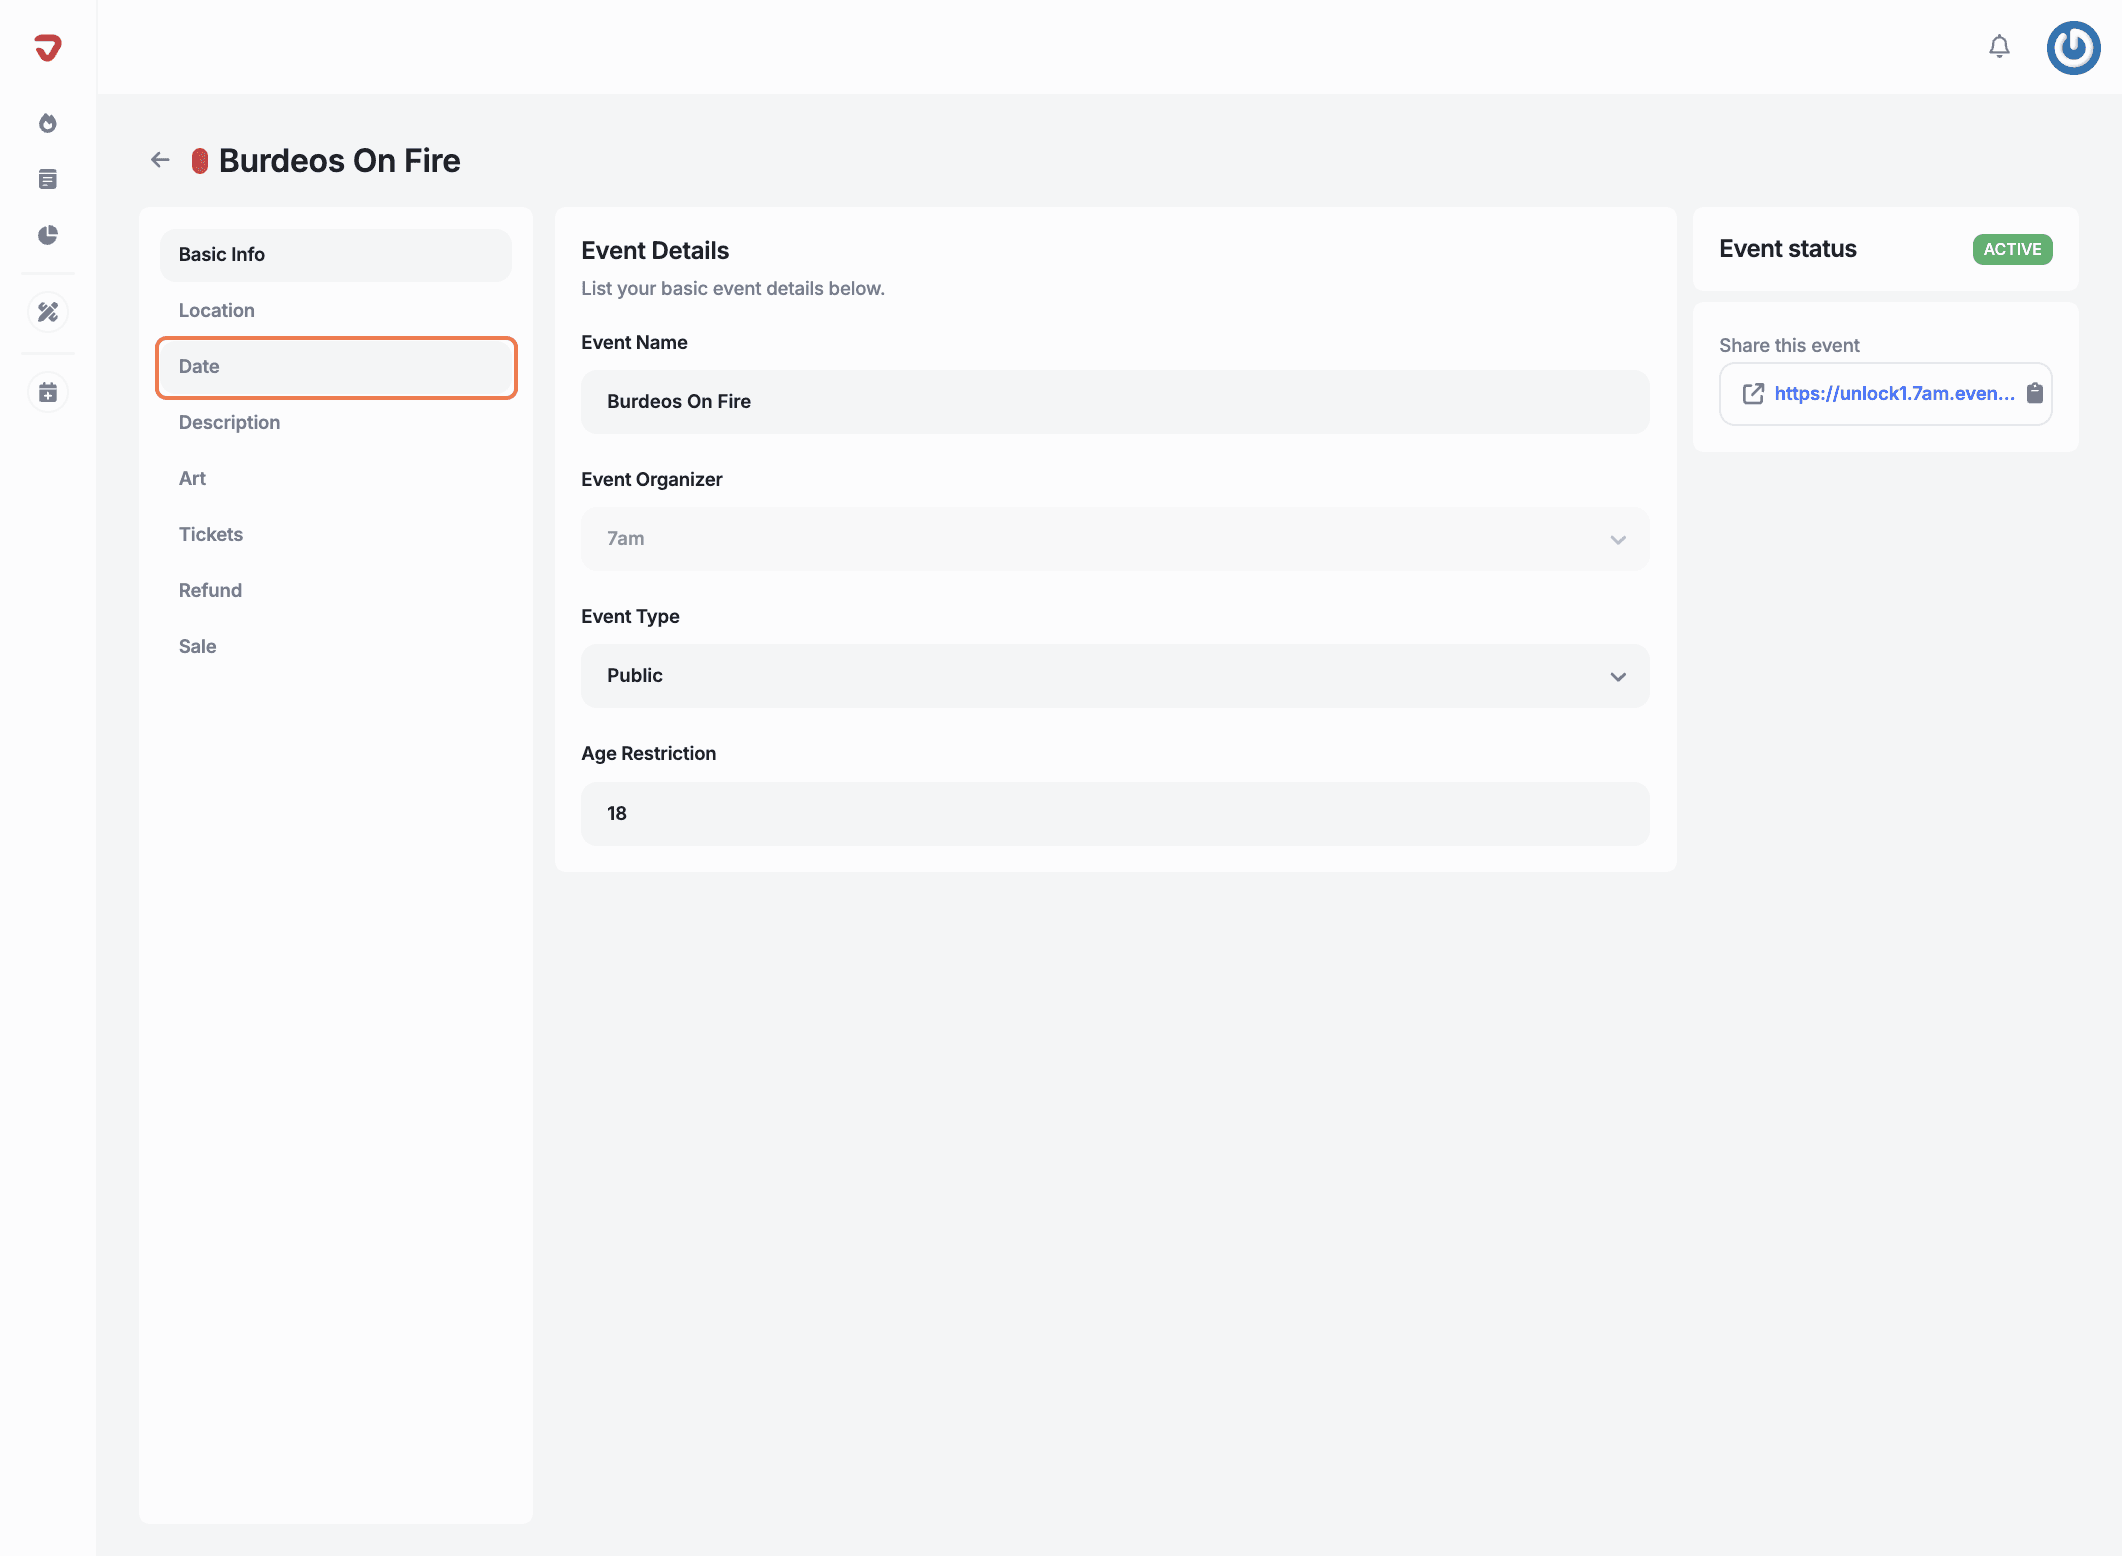
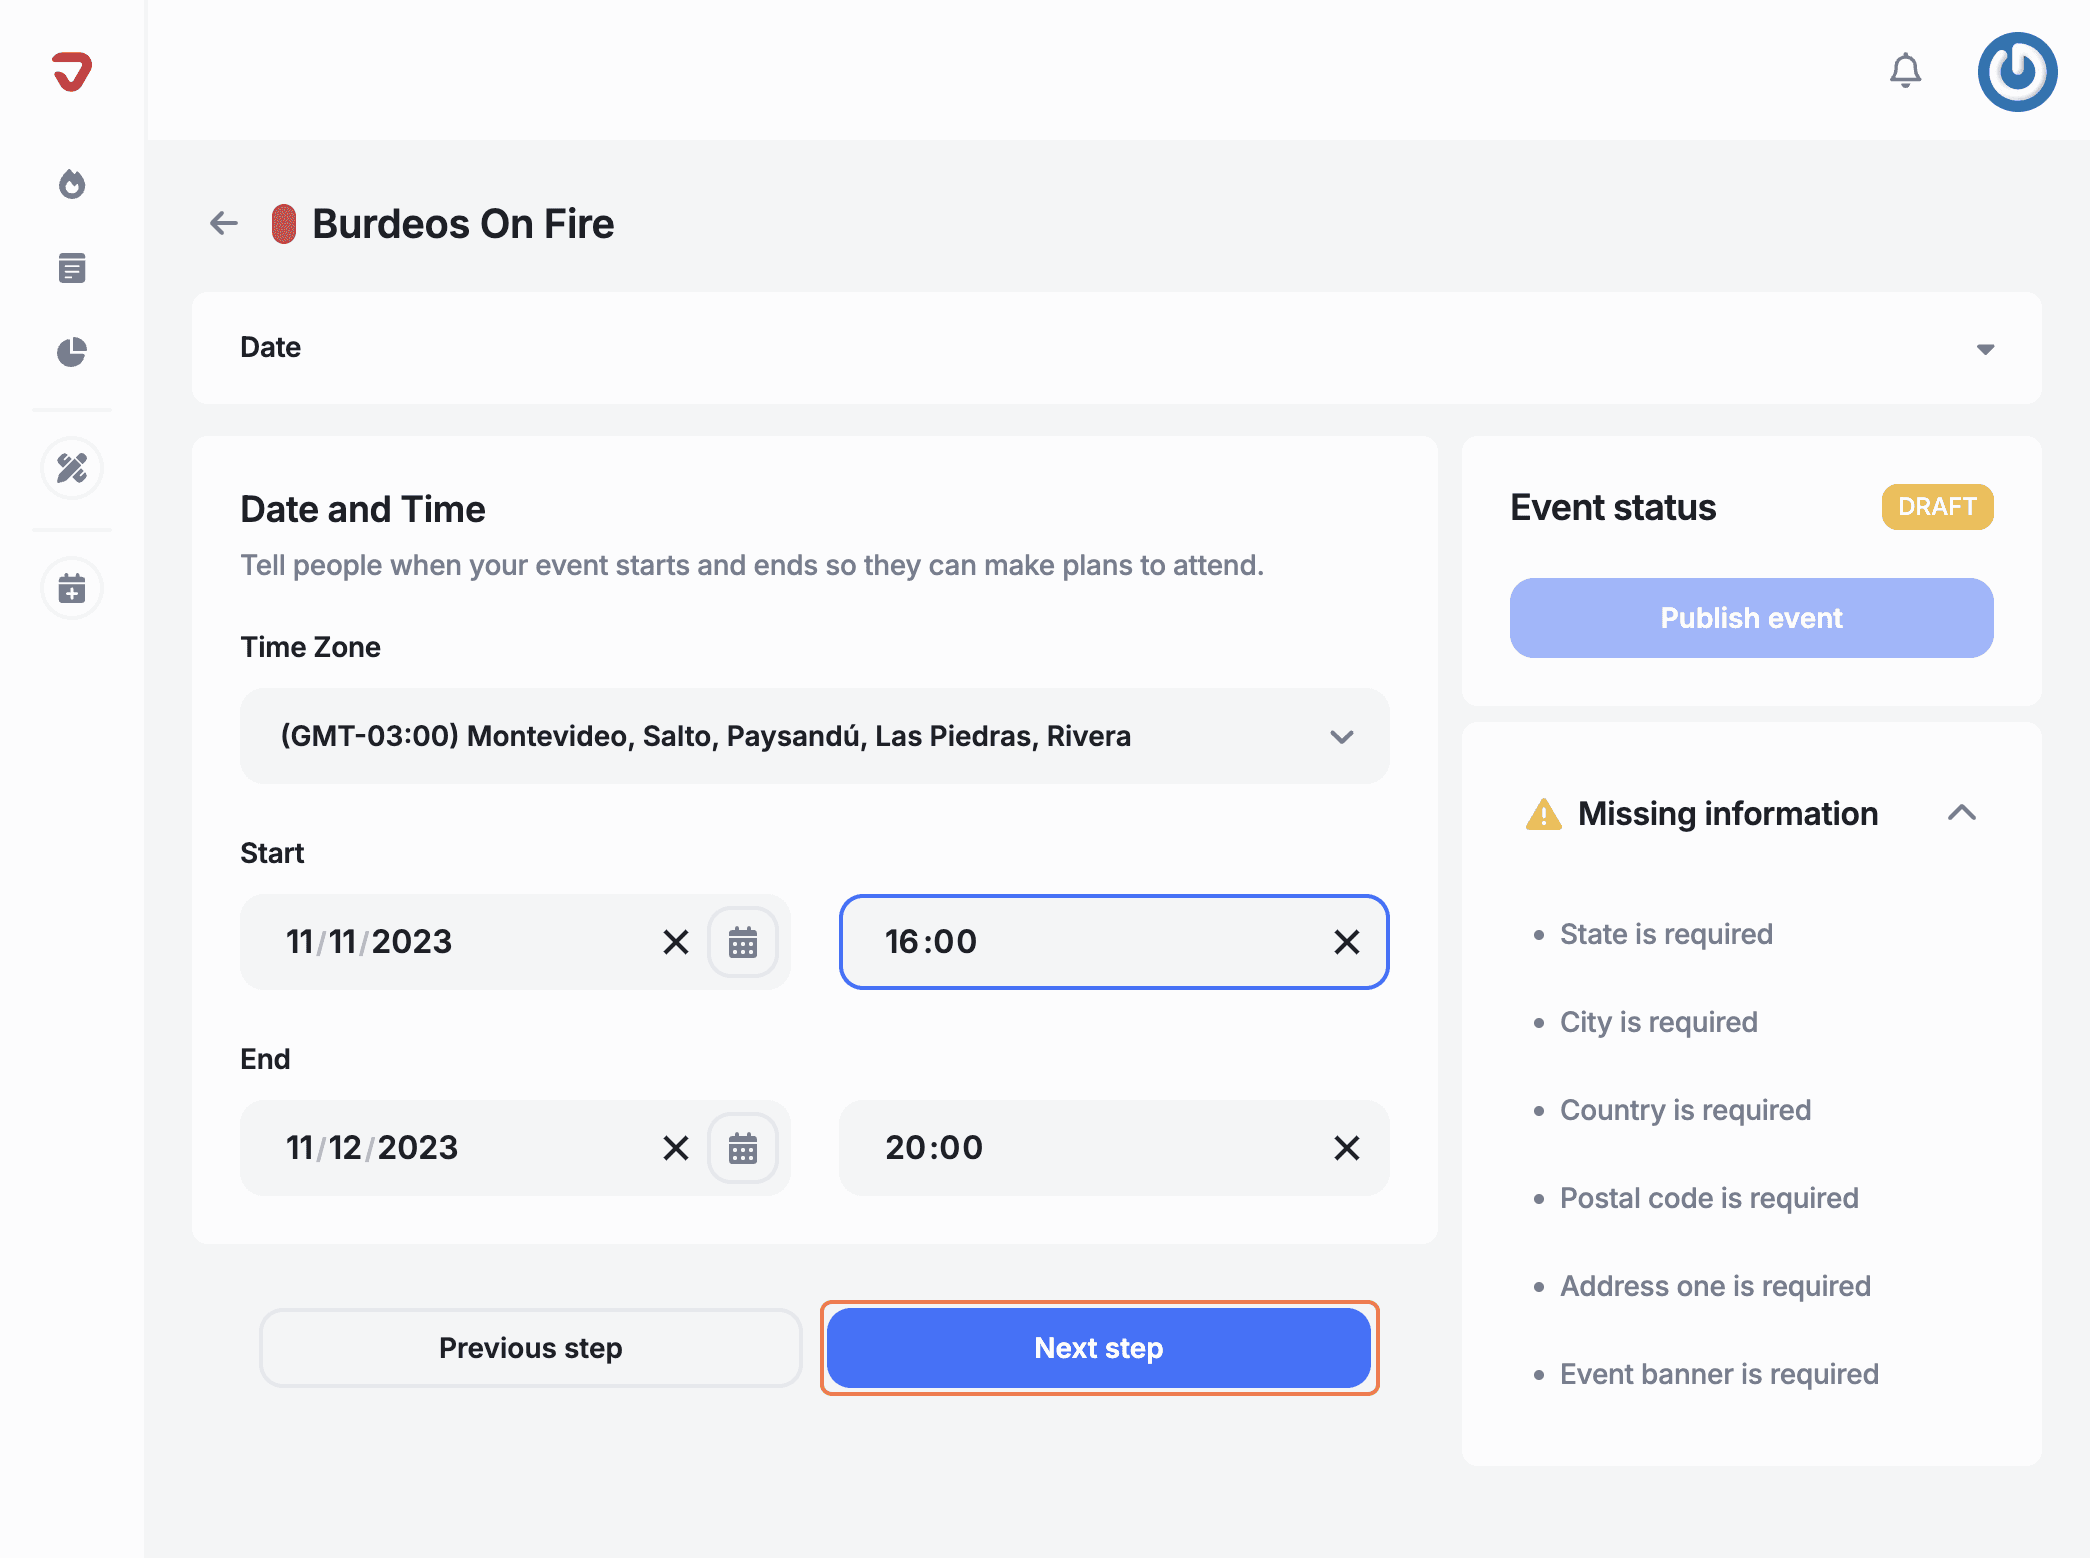
Go to the ‘Date’ section to update the event's schedule and timing.
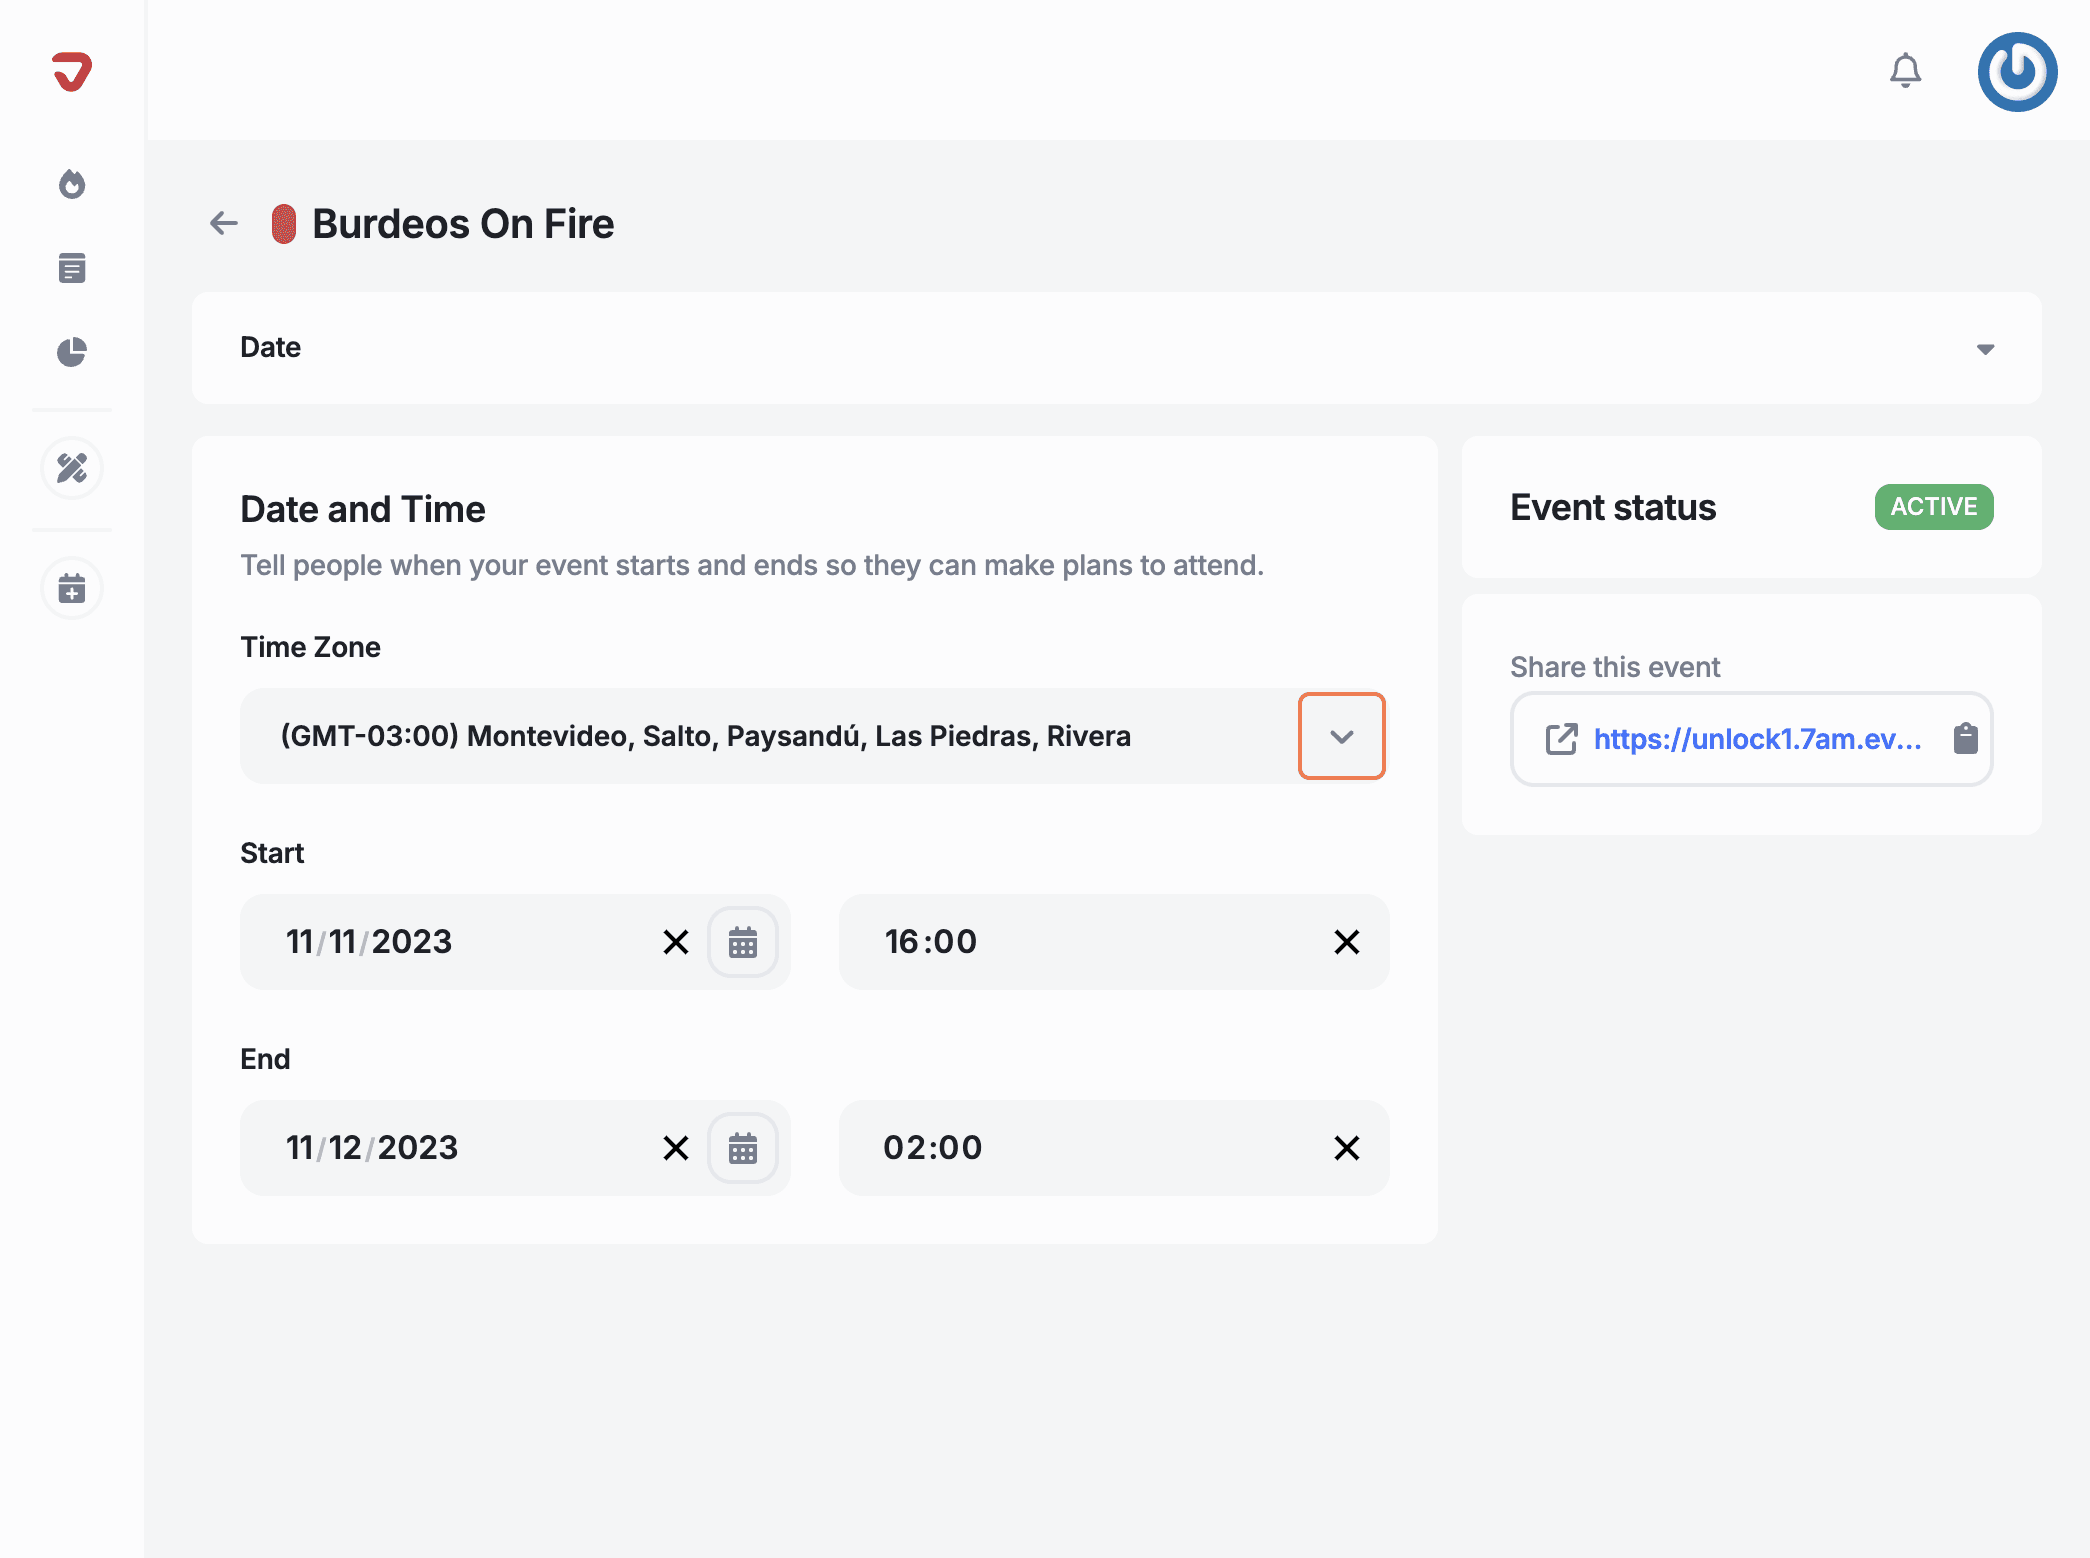
Click the arrow in the orange box to reveal the options, then select the time zone for your event.
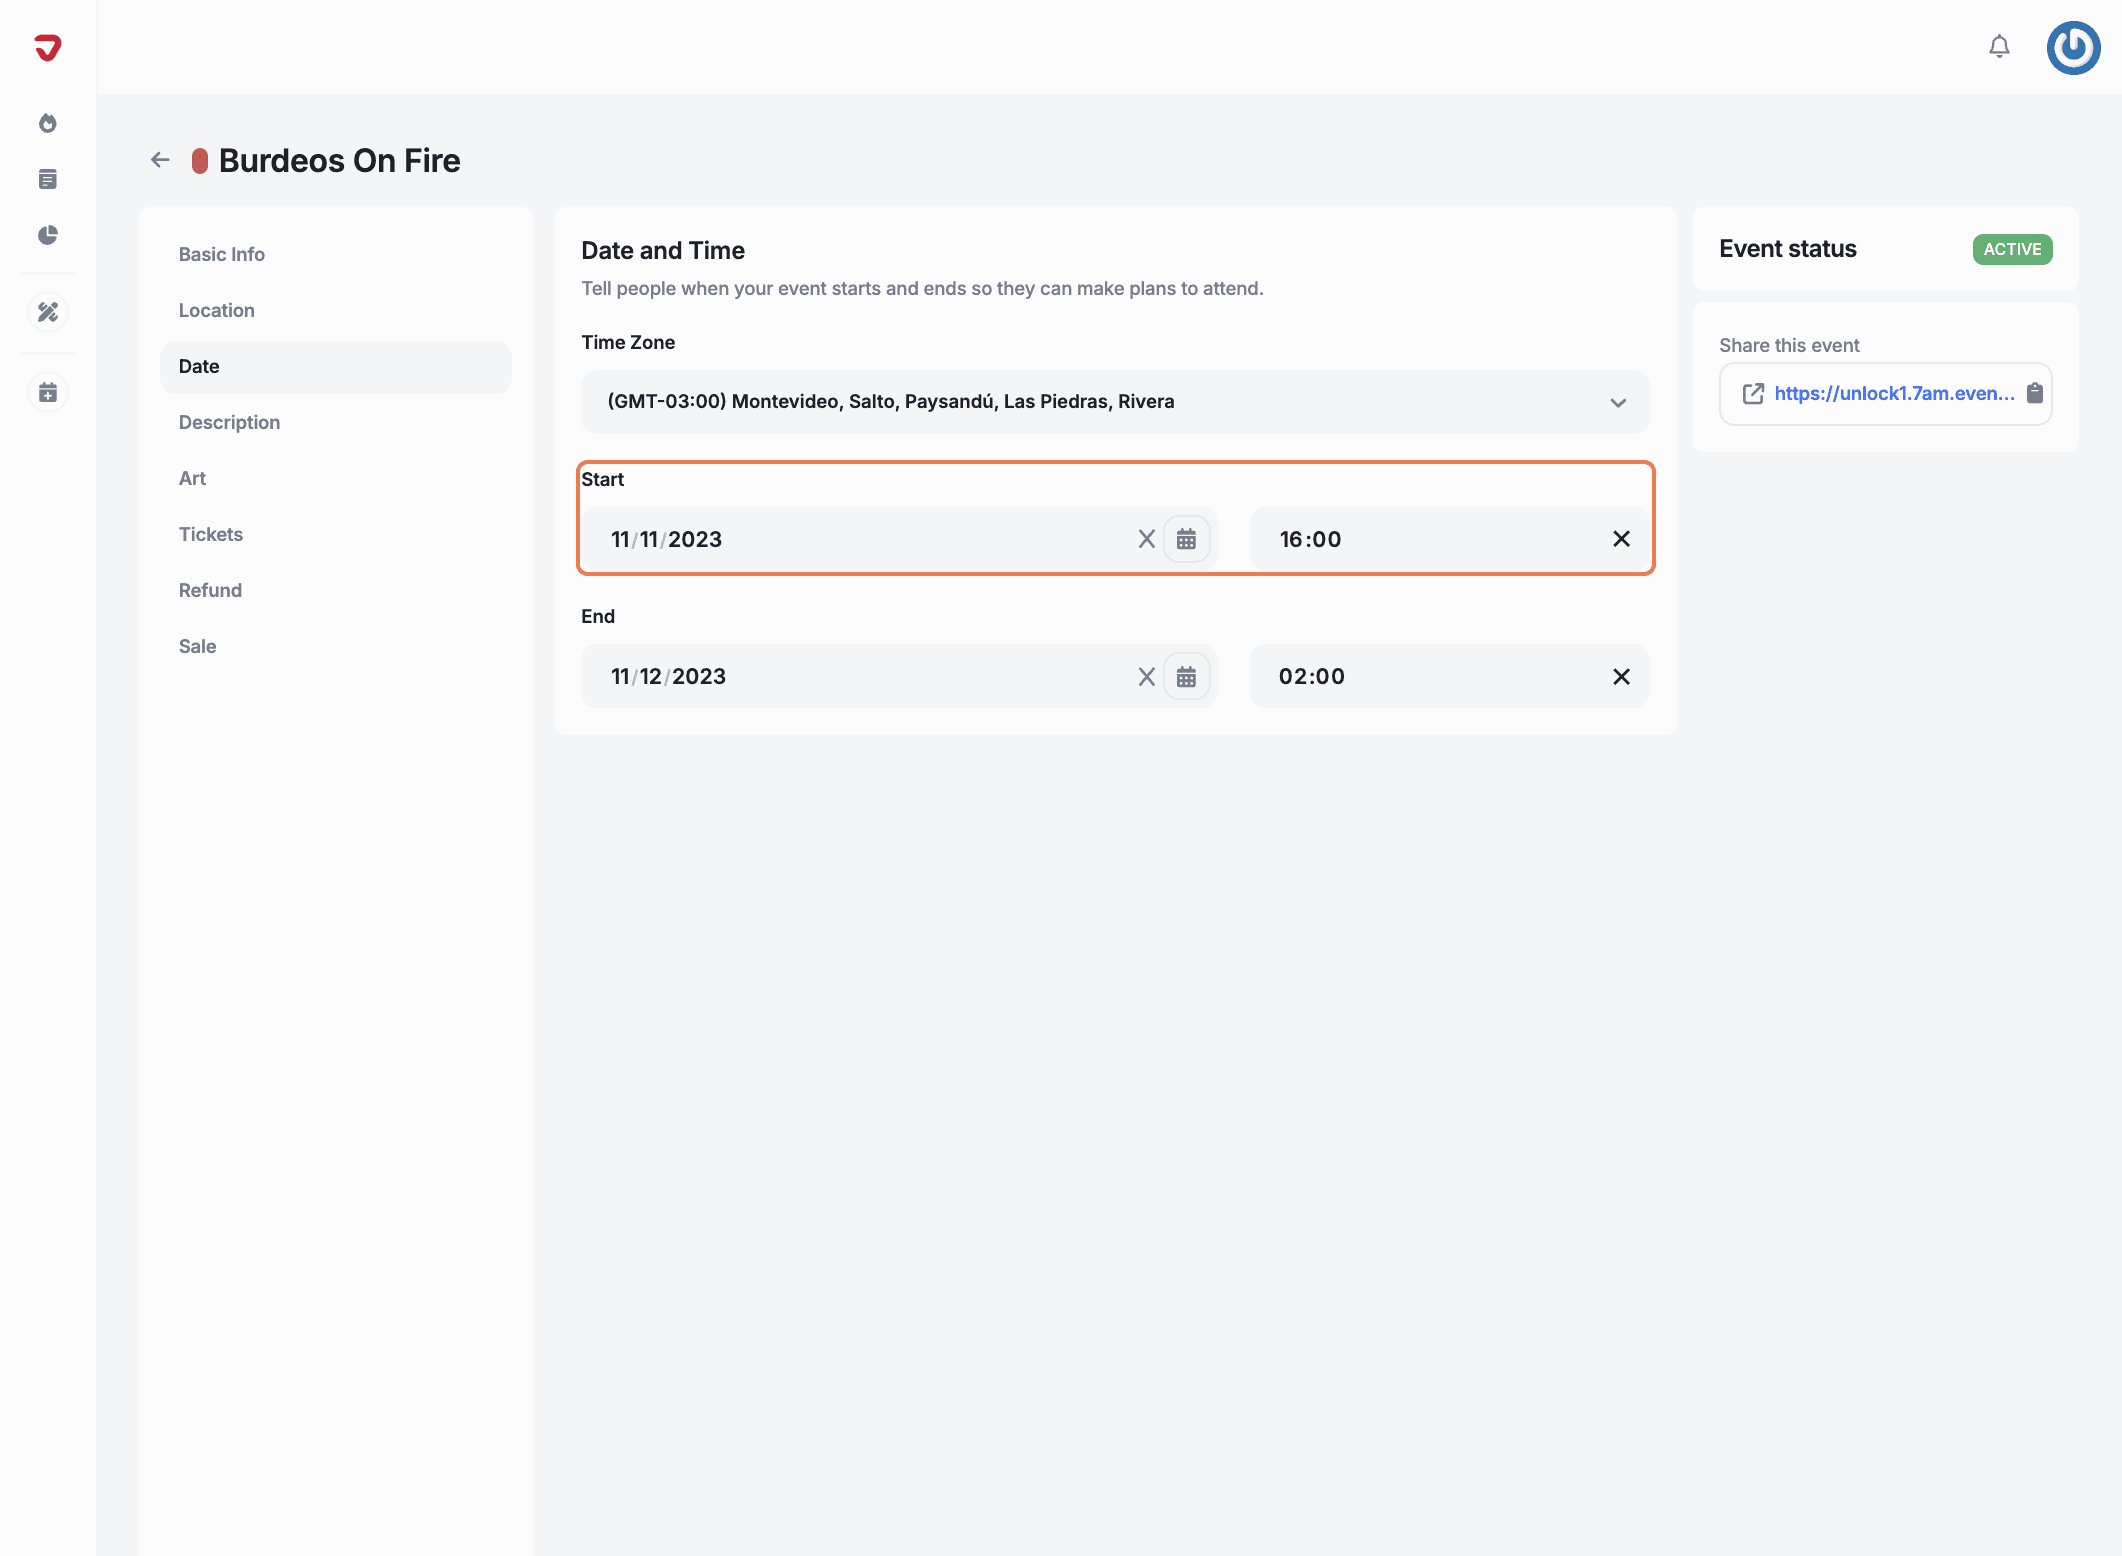
Start date: Click the field to open a calendar and easily select your event's start date.
Start time: Click the field to select the exact time your event will begin.
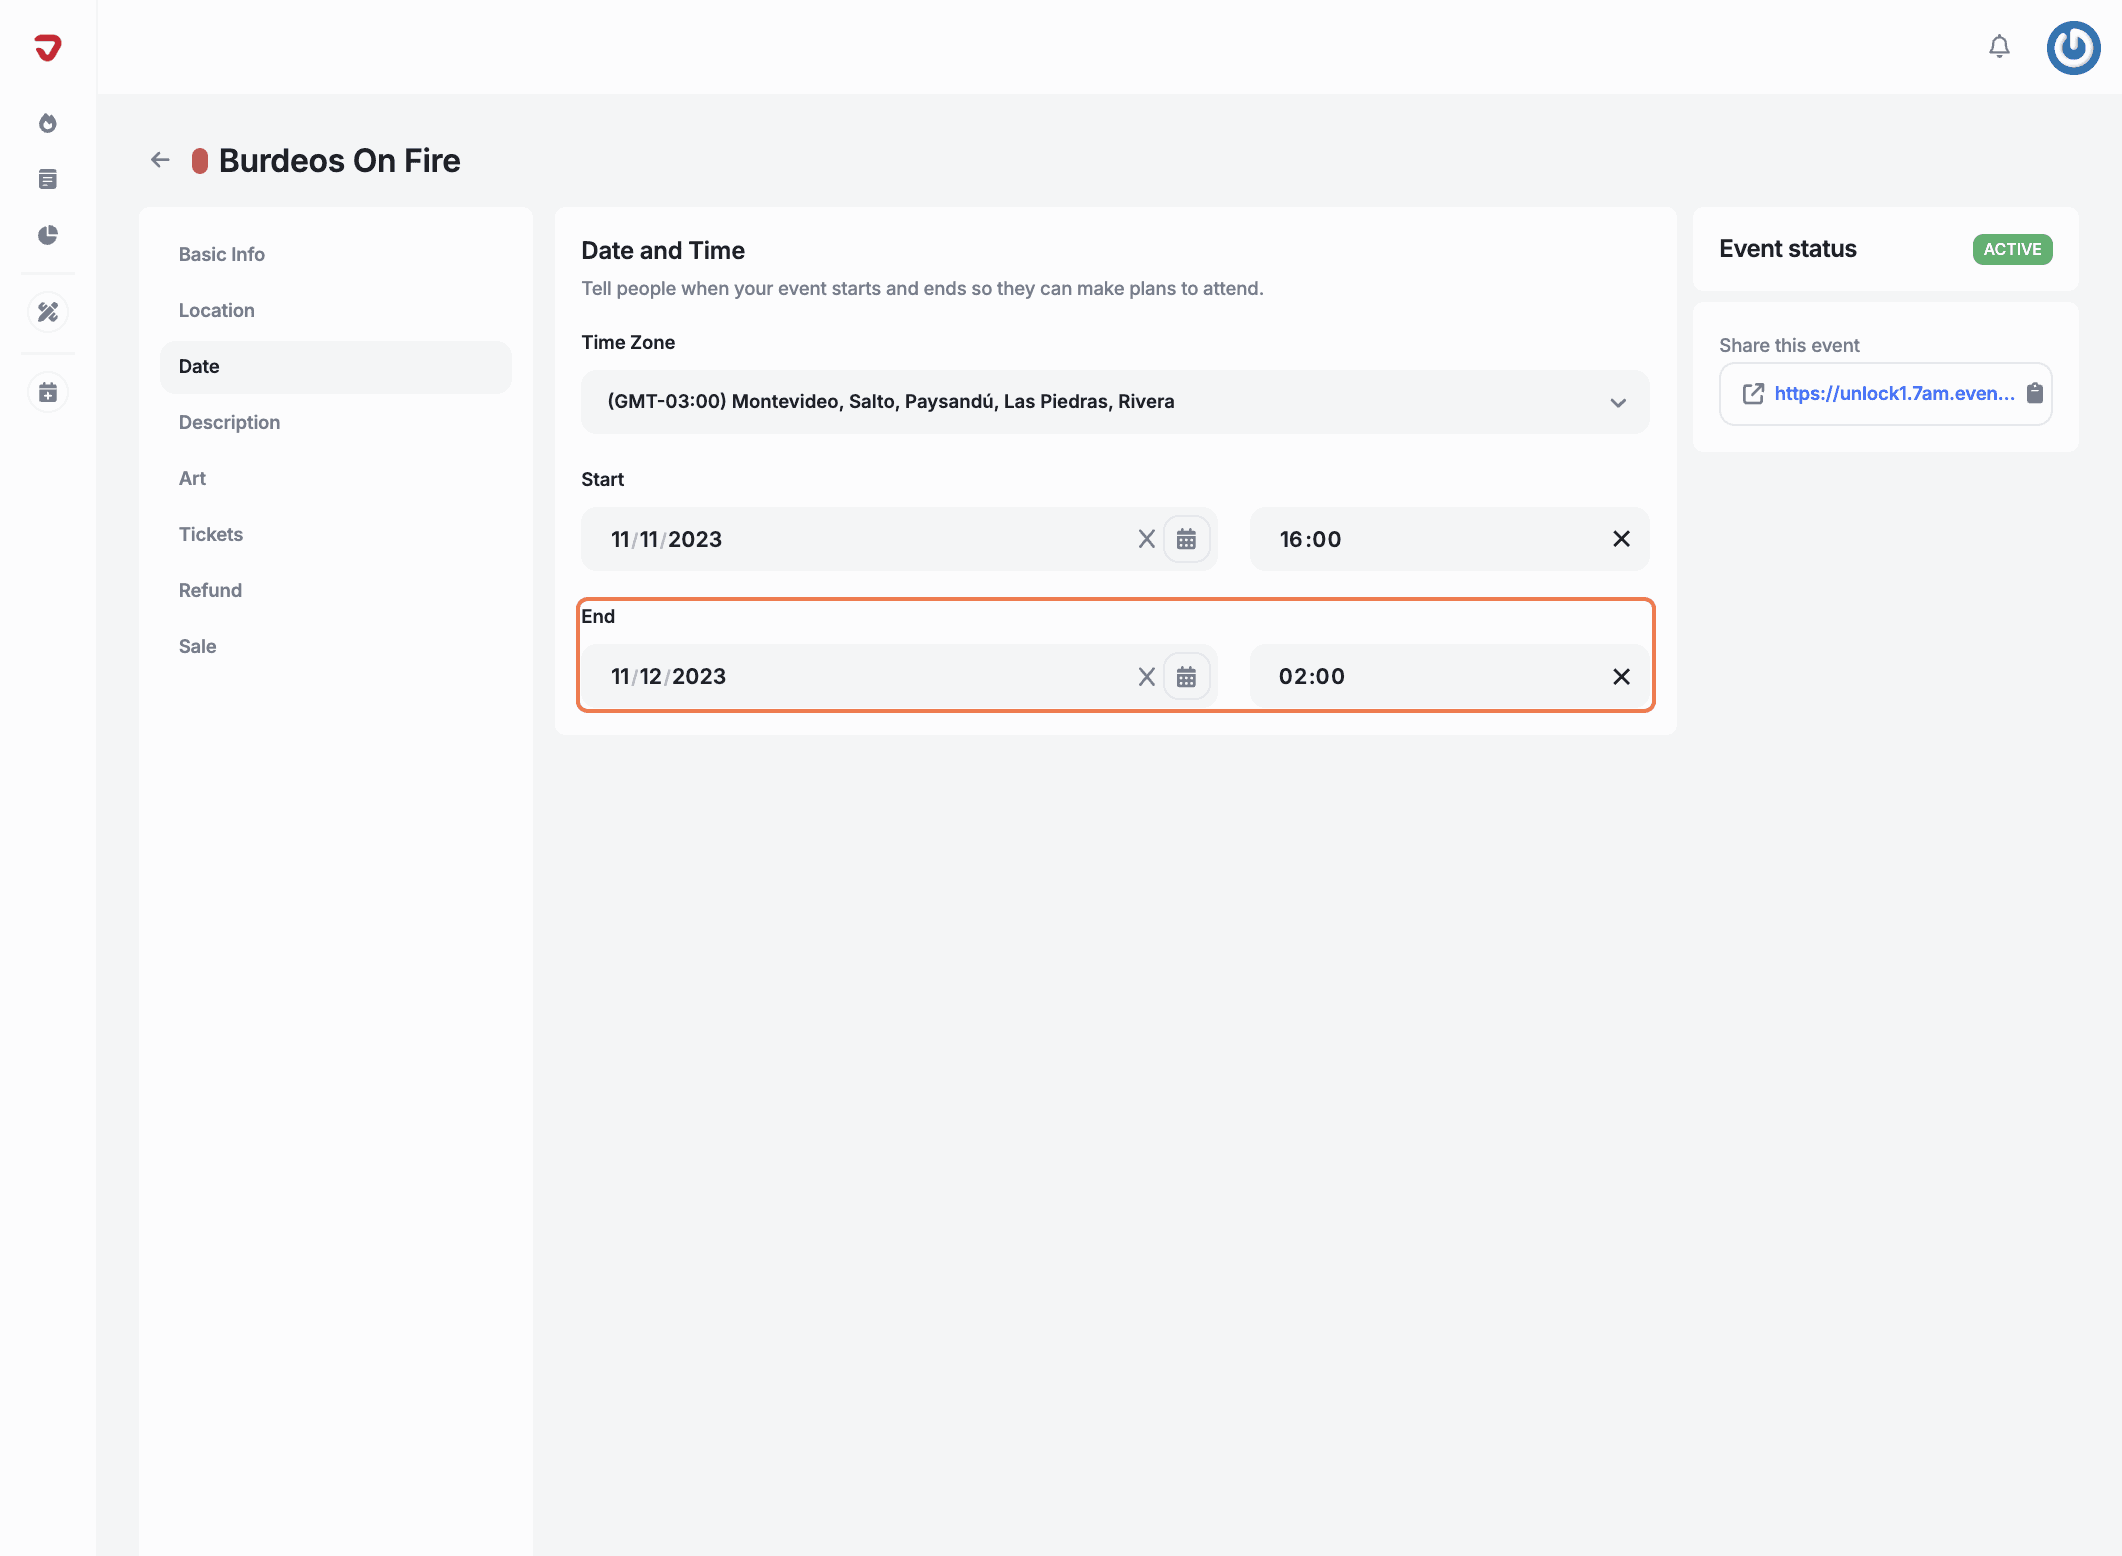
End date: Click the end date field to open a calendar and easily choose when your event will finish.
End time: Click the end time field to choose when your event will conclude.
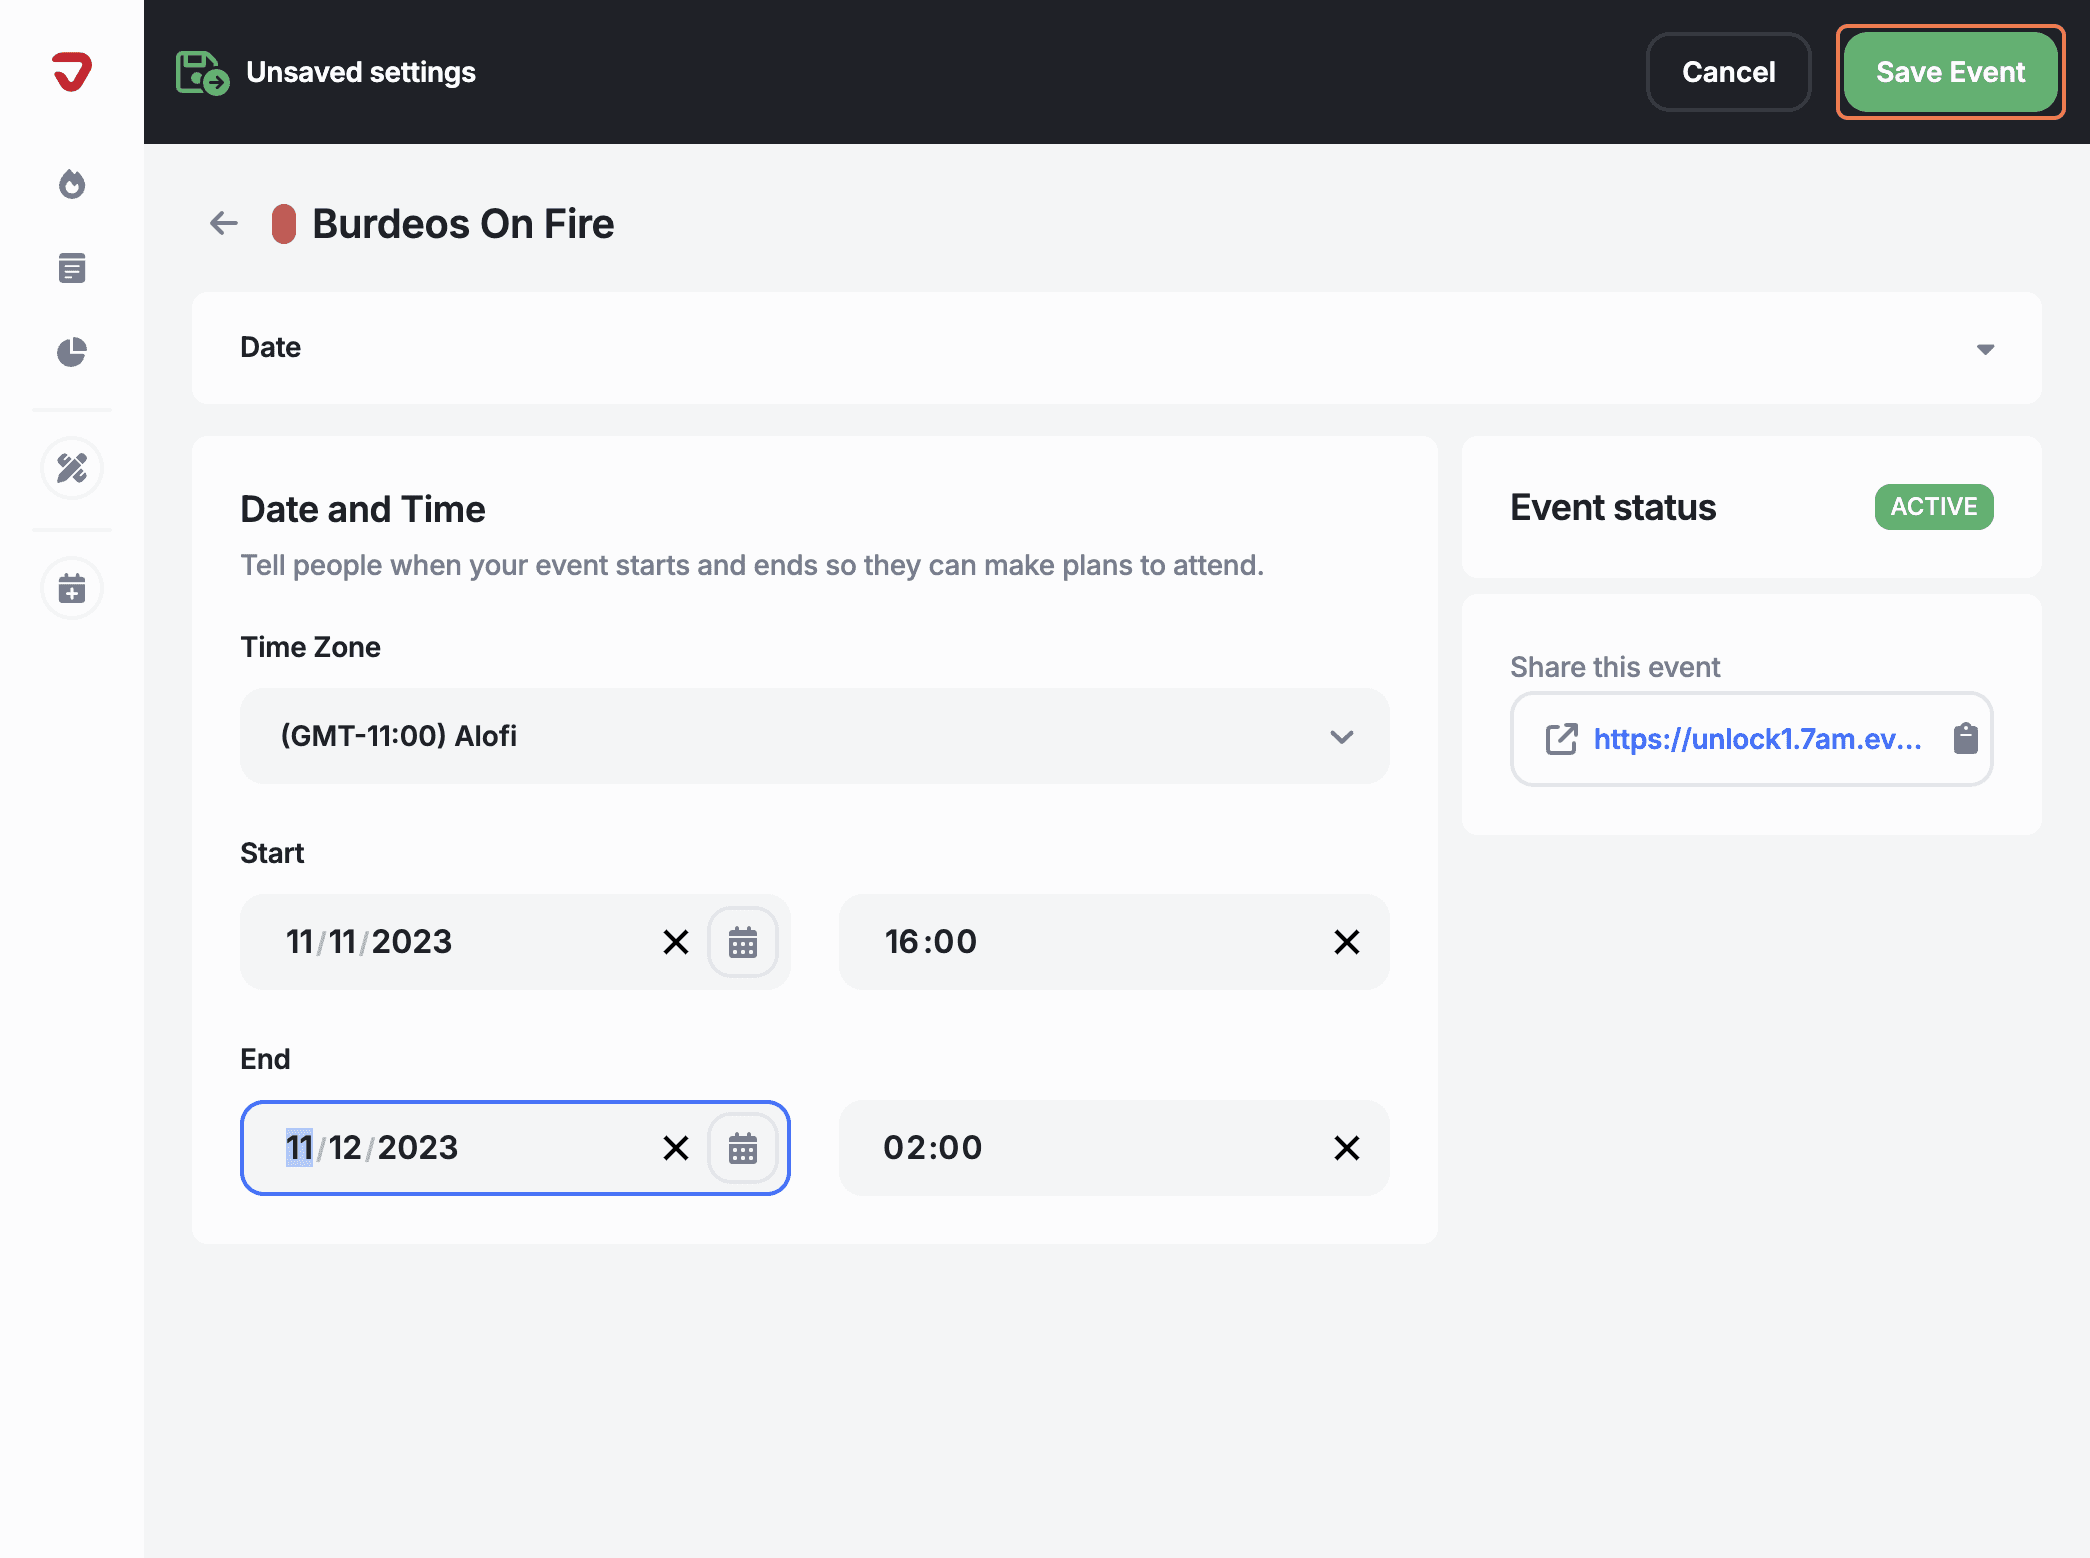
Click on the 'Save Event' button on the top right corner.
Click on 'Next step' to continue setting up your new event.
After setting up the event dates, you'll be ready to add the event description, which will provide attendees with detailed information about the event.
How can I make sure the event timing works for everyone?
Click the arrow in the orange box to select your event’s time zone. This way, everyone will receive the correct schedule regardless of where they are.
How do I lock in my event schedule?
Once you’ve set the start and end dates/times, hit 'Save Event' in the top right corner to finalize the schedule!
Explore More
View All