Lorem ipsum dolor sit amet, consetetur sadipscing elitr, sed diam nonumy eirmod.
Lorem ipsum dolor sit amet, consetetur sadipscing elitr, sed diam nonumy eirmod.
7am App Store

Create and manage seat maps for your events with assigned seating. This feature lets you design custom venue layouts, define seating areas, and link them to specific events for seamless ticket booking.
In this article:
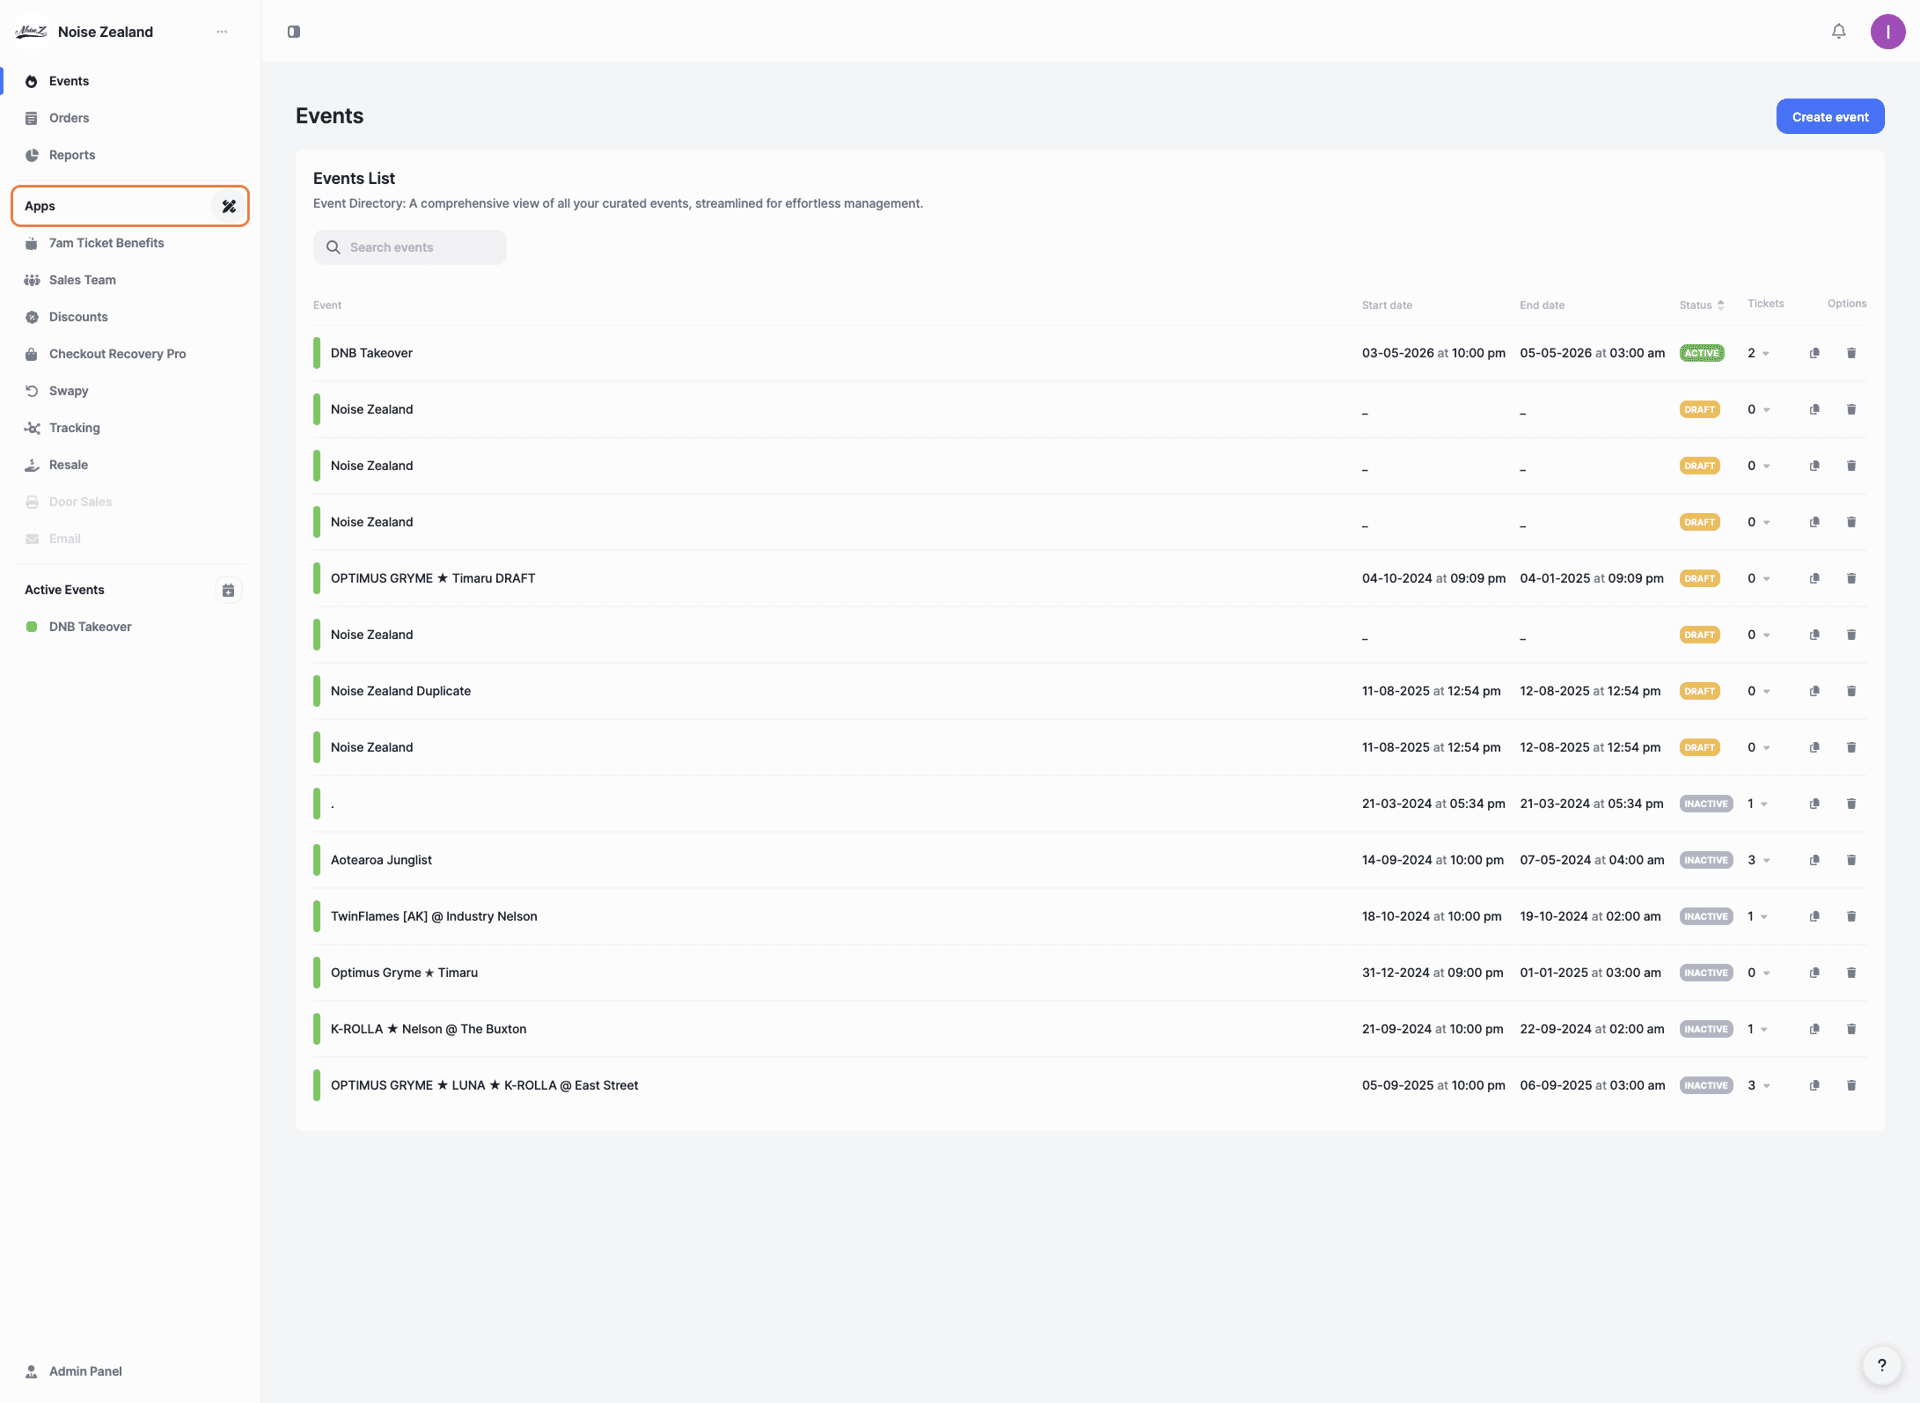
Click on 'Apps' in the left-hand menu.
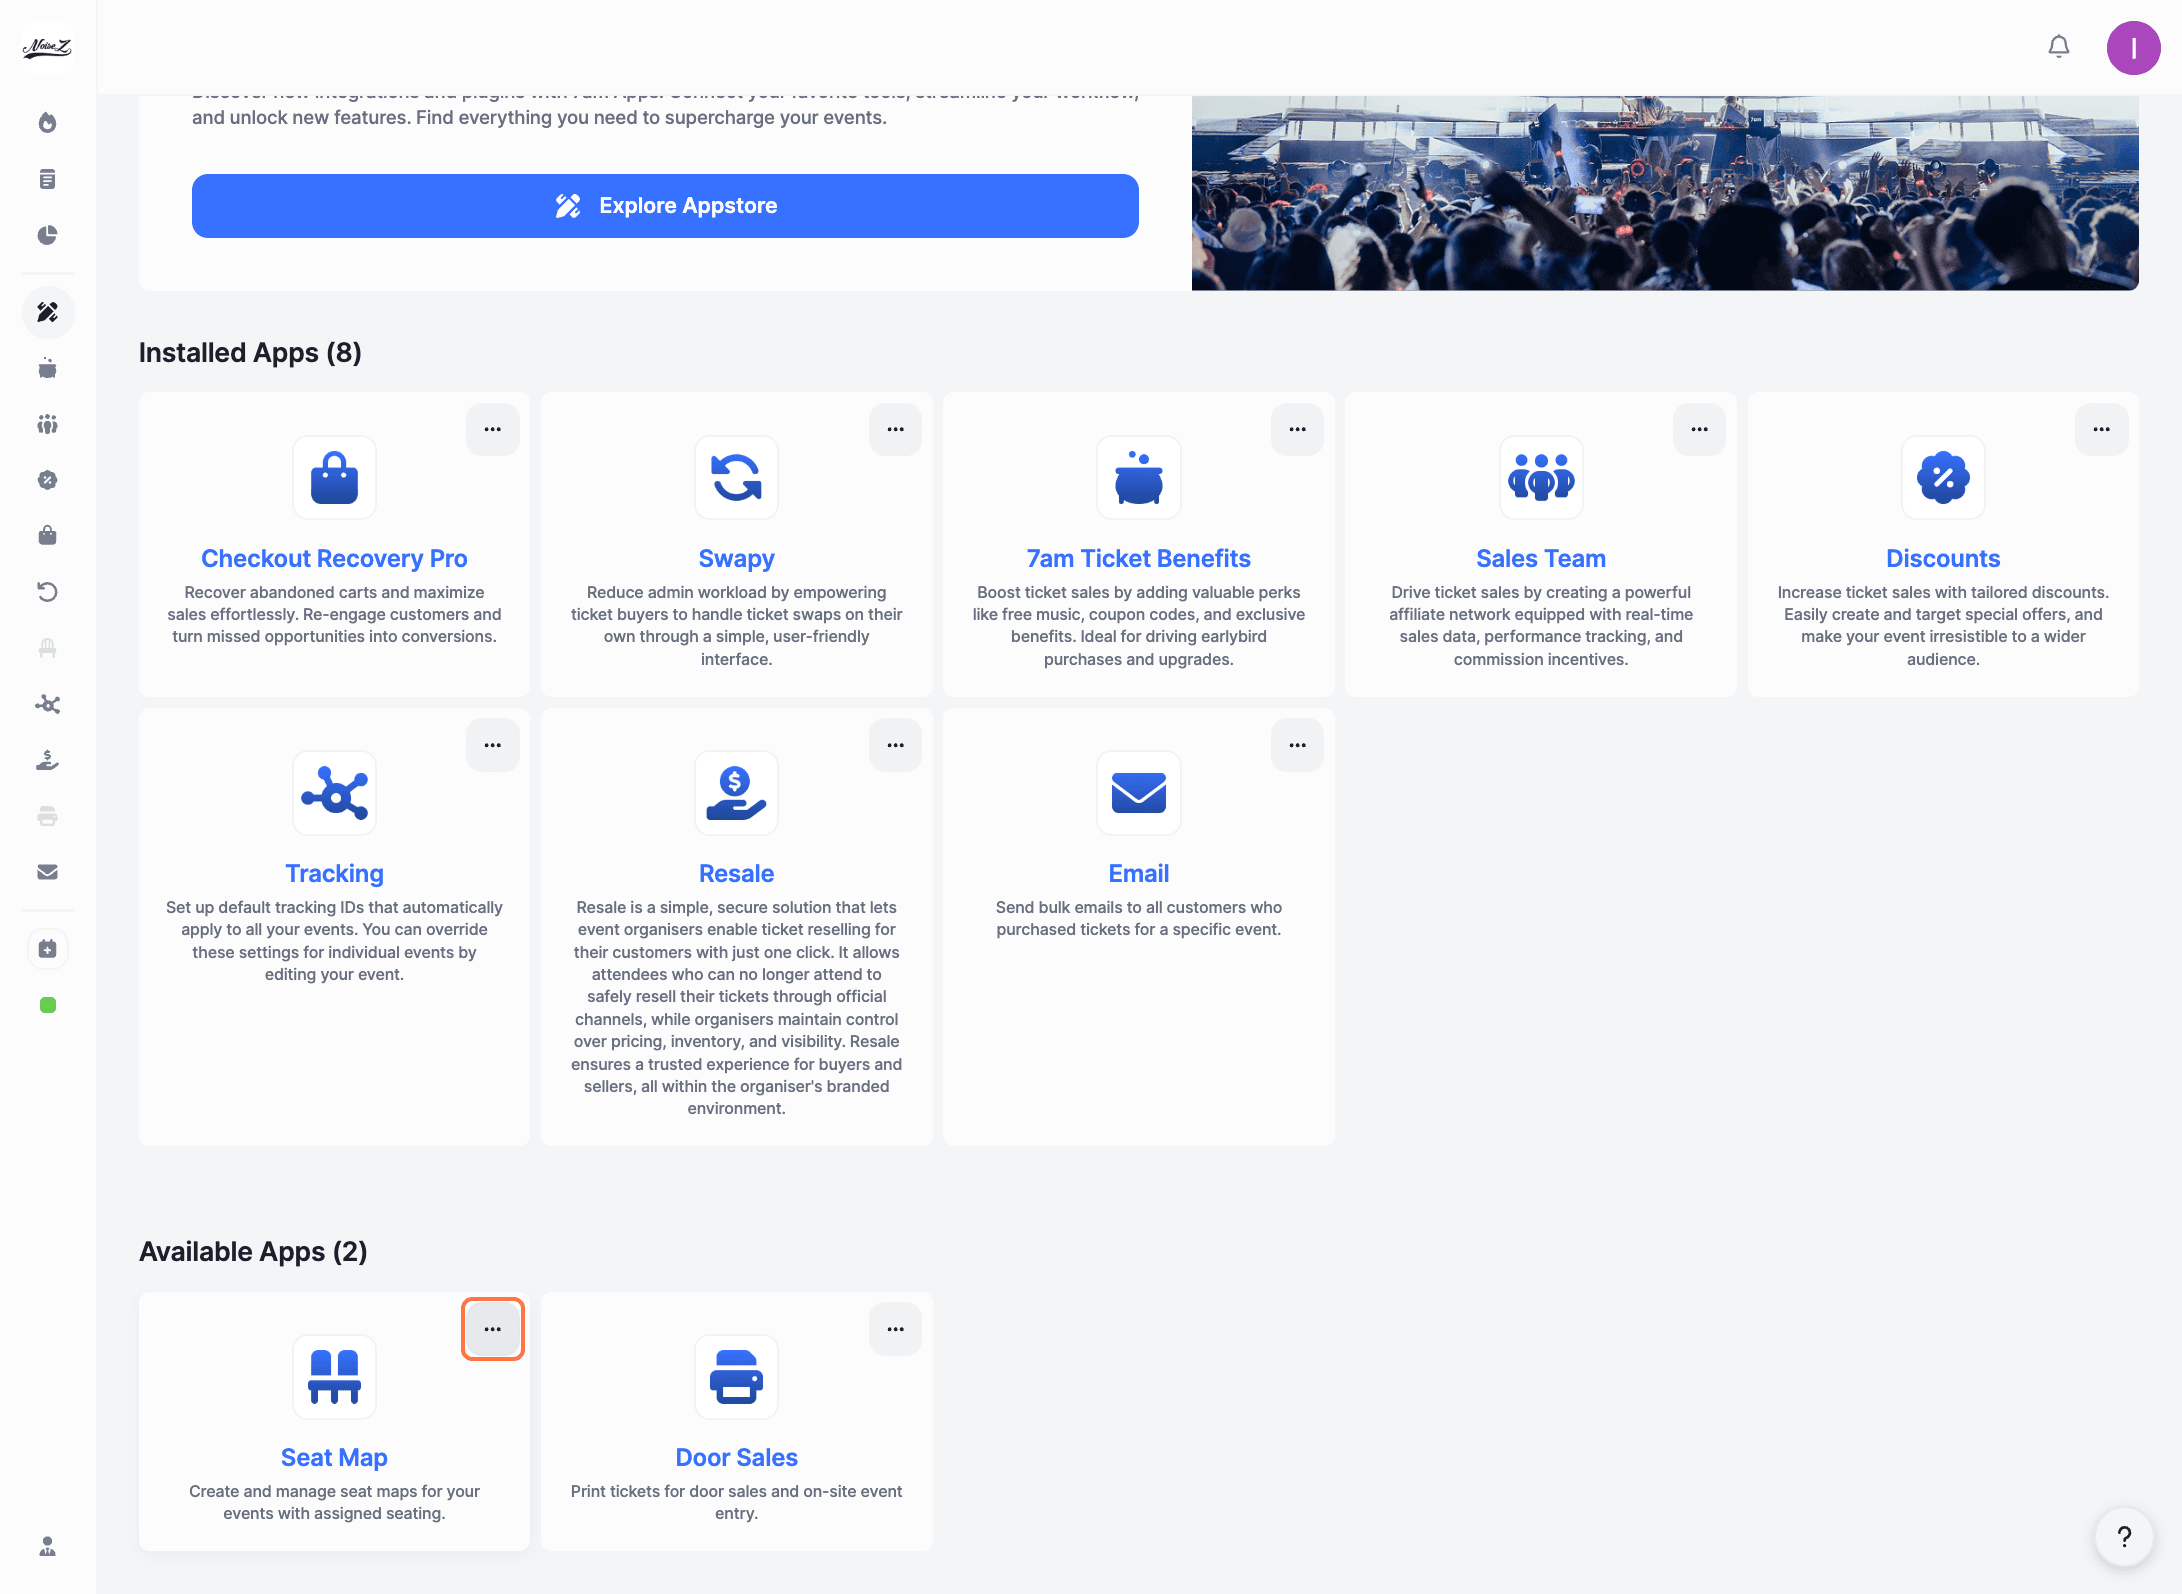
Under 'Available Apps', find 'Seat Map'. Click the three dots in the top-right corner of the app card.
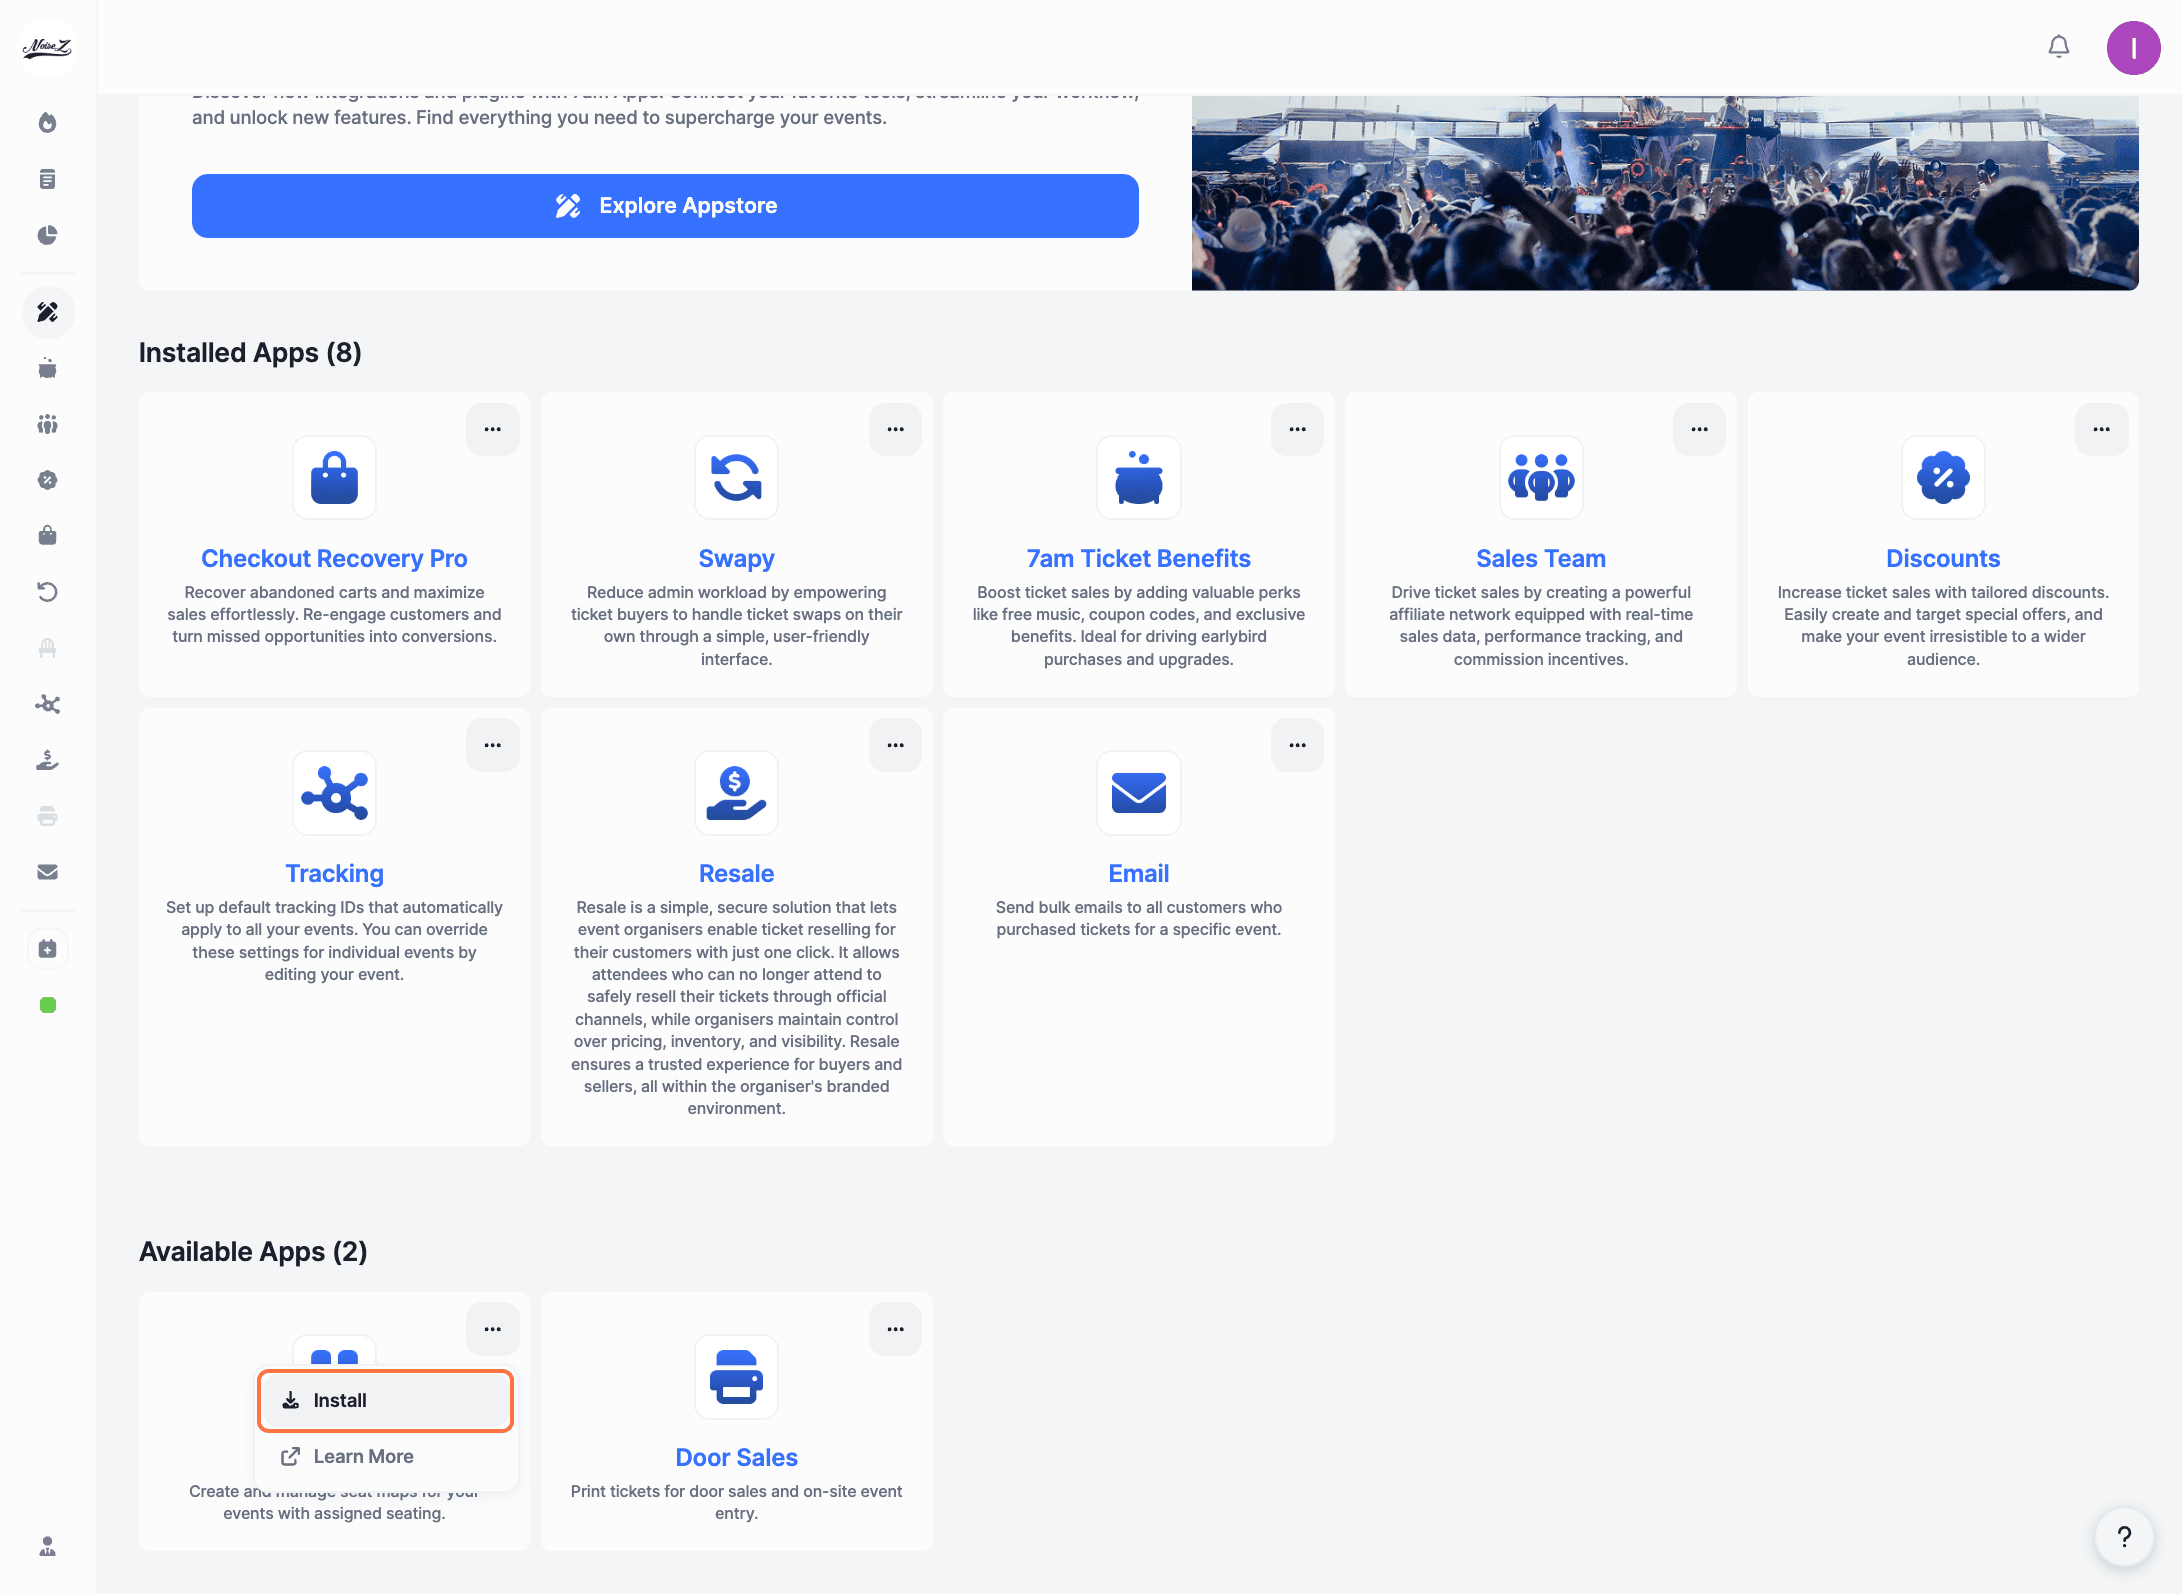
Click 'Install'.
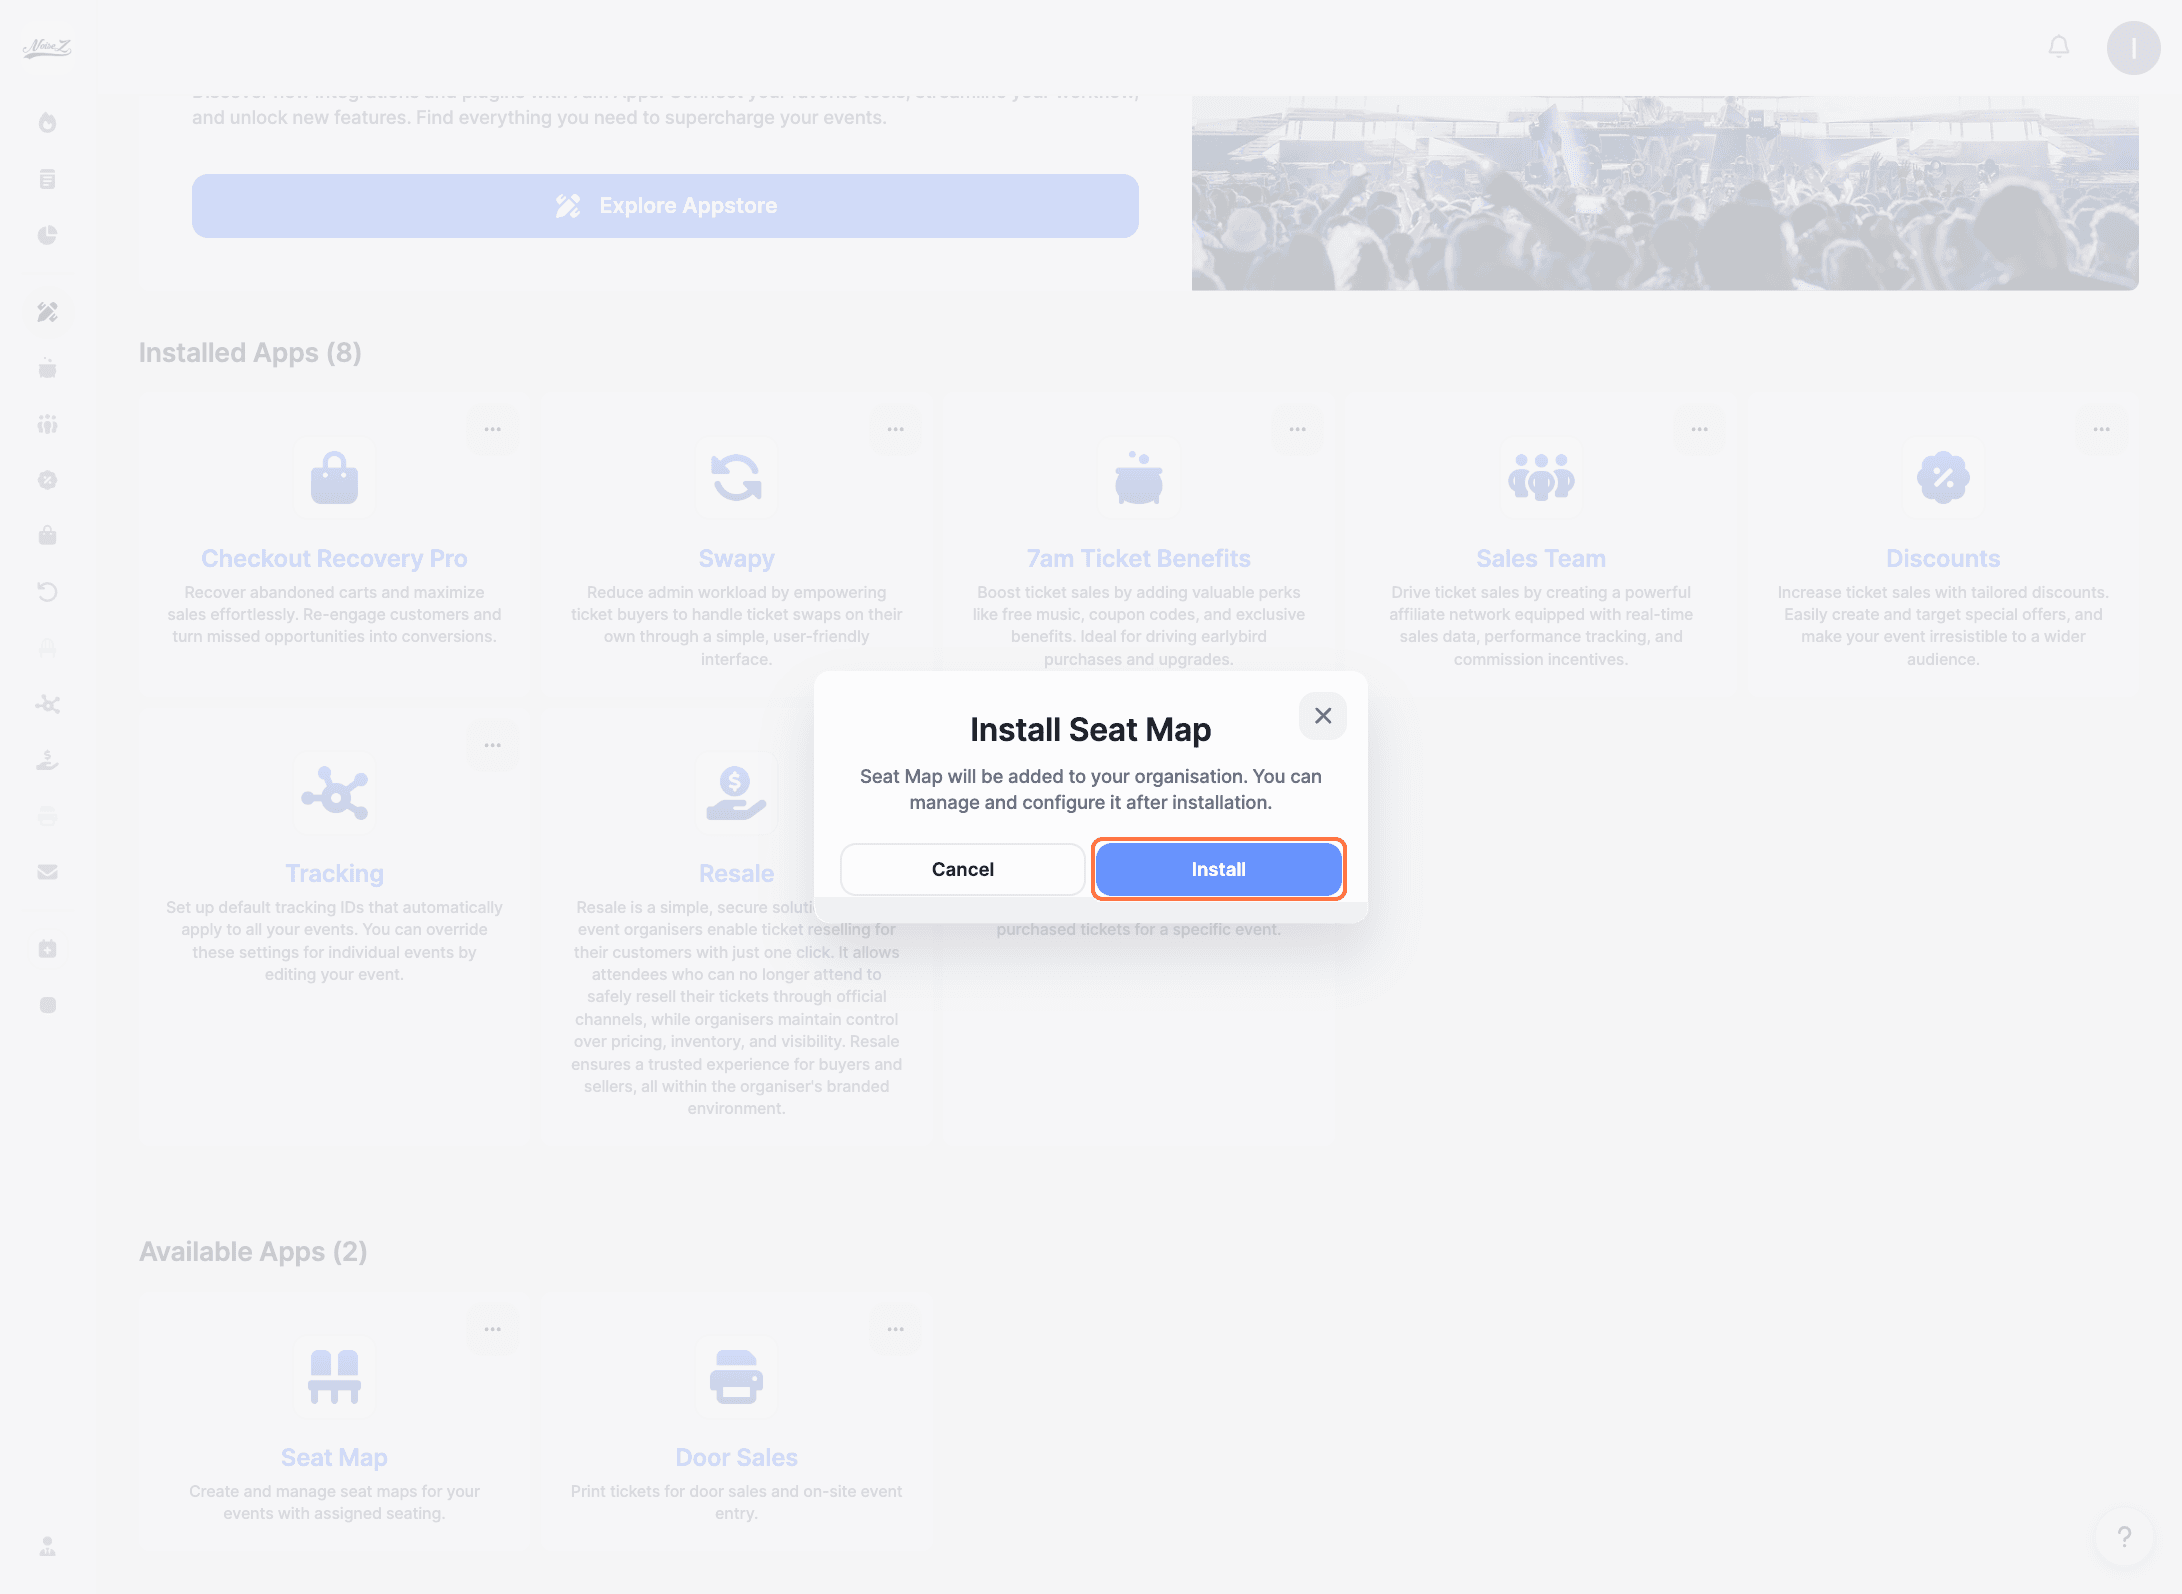
A confirmation window will appear. Click 'Install' to confirm.
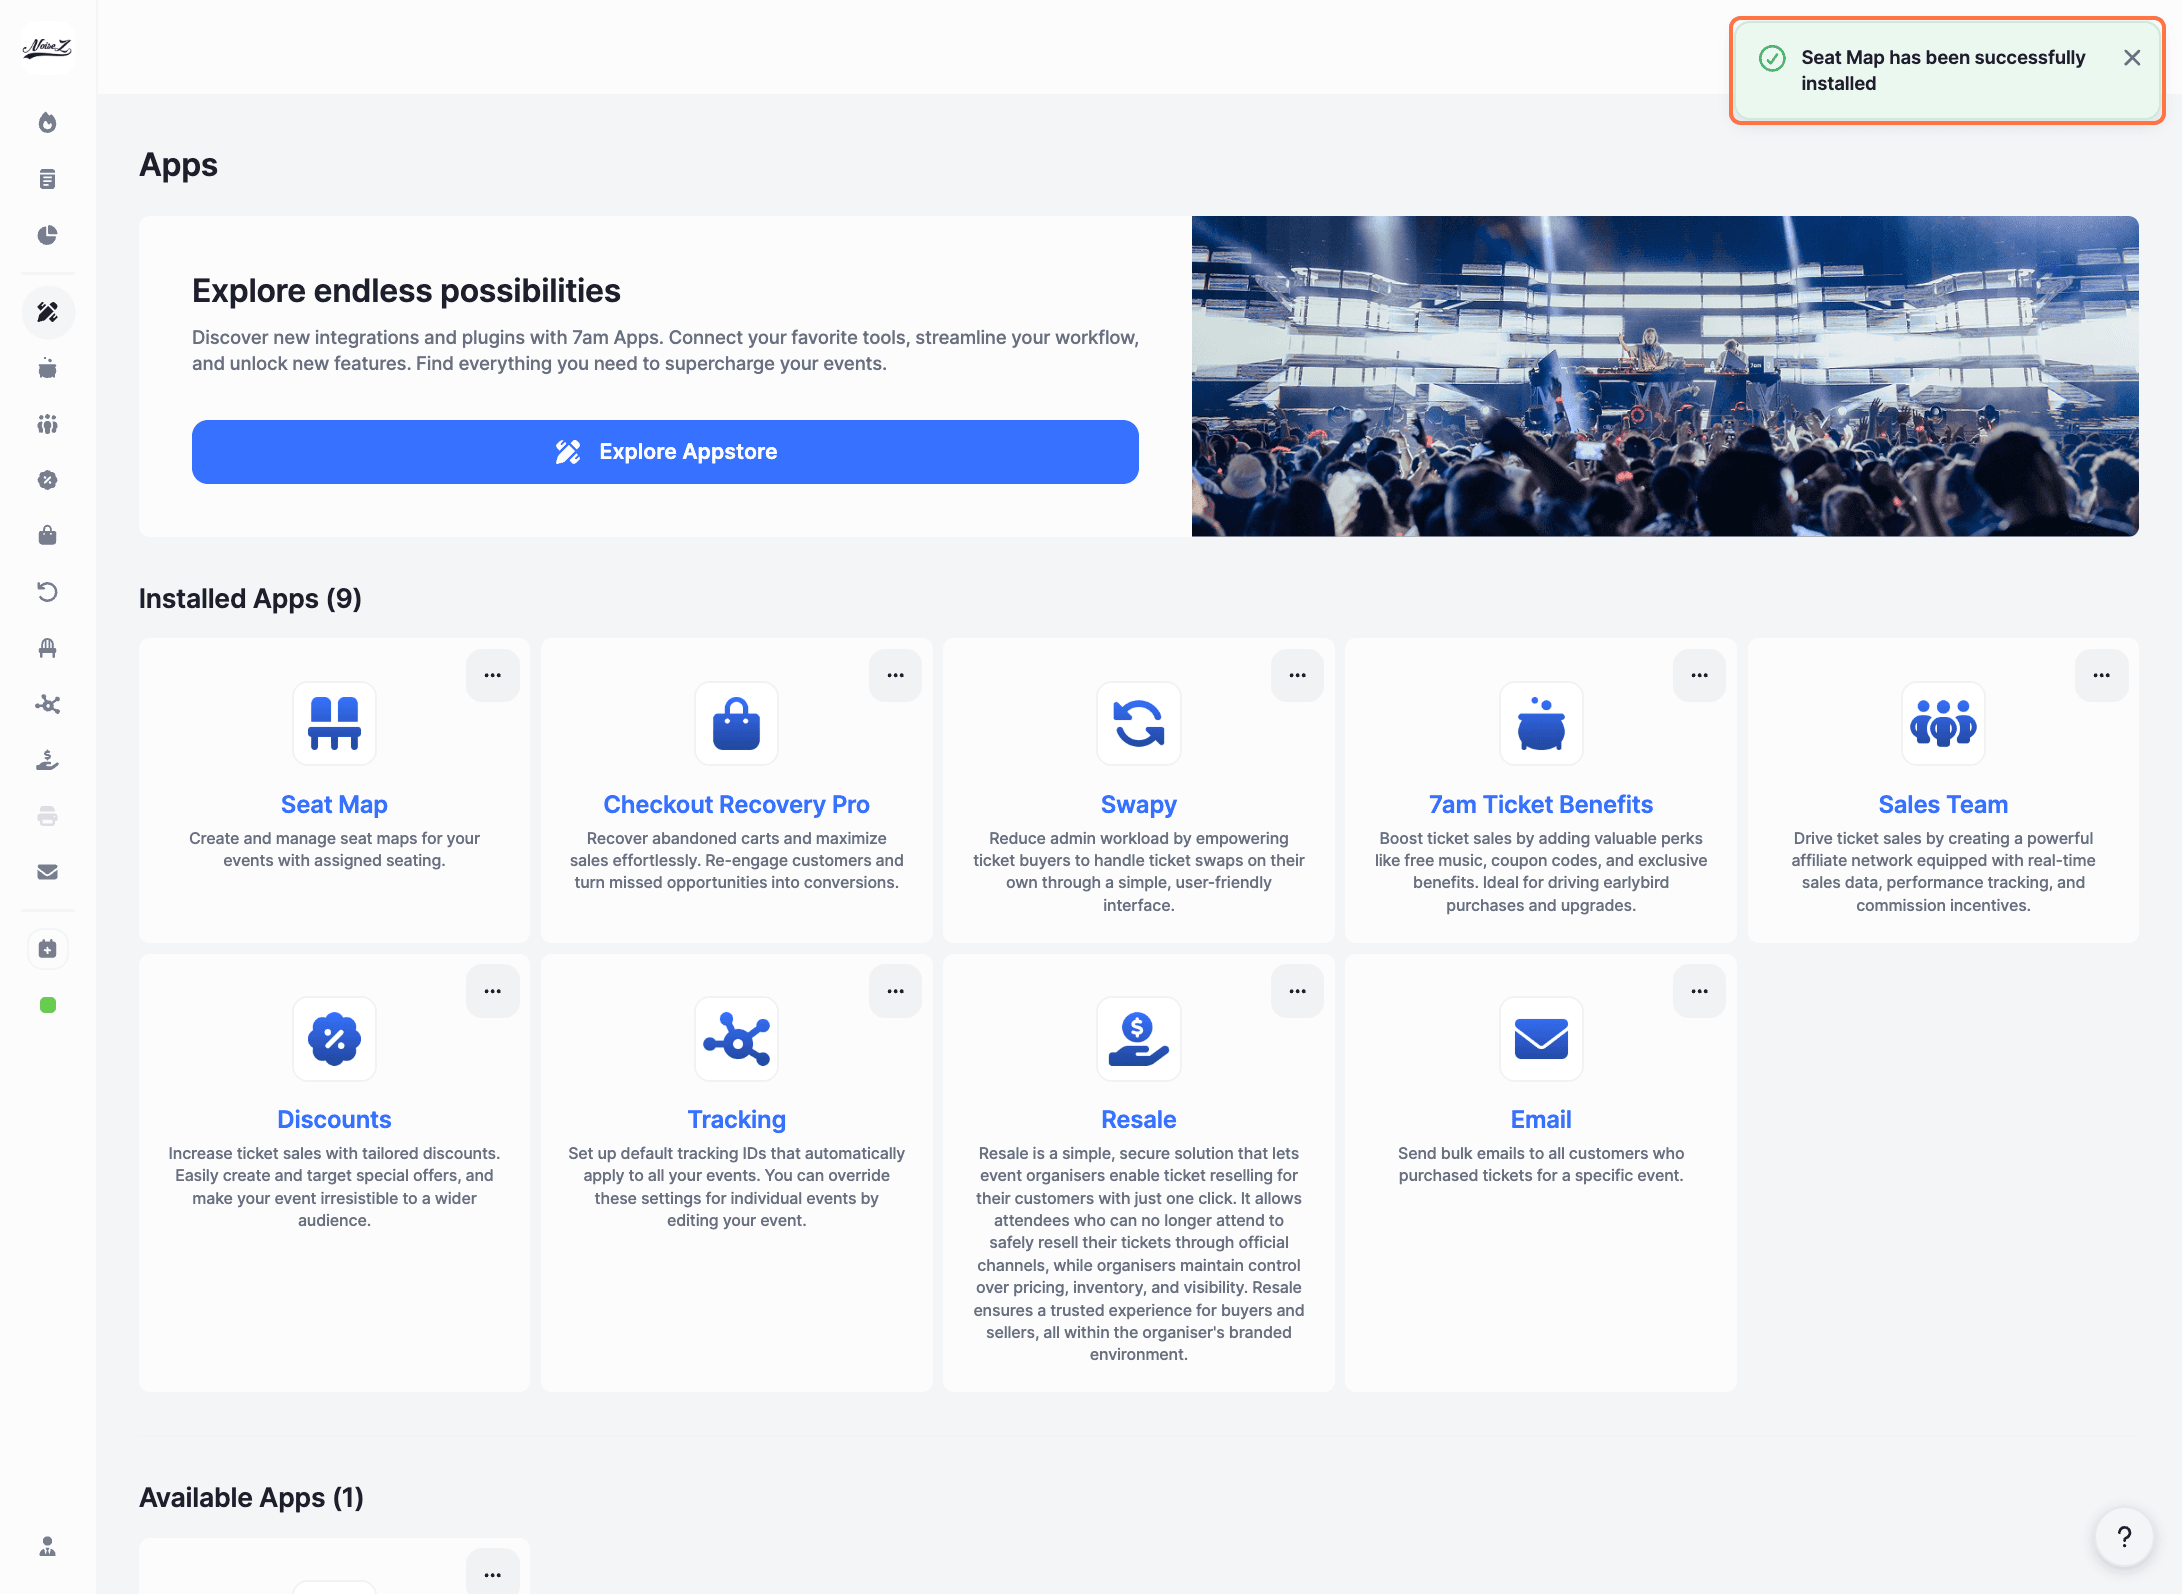
You'll see a success message: 'Seat Map has been successfully installed'. The app will now appear under 'Installed Apps'.
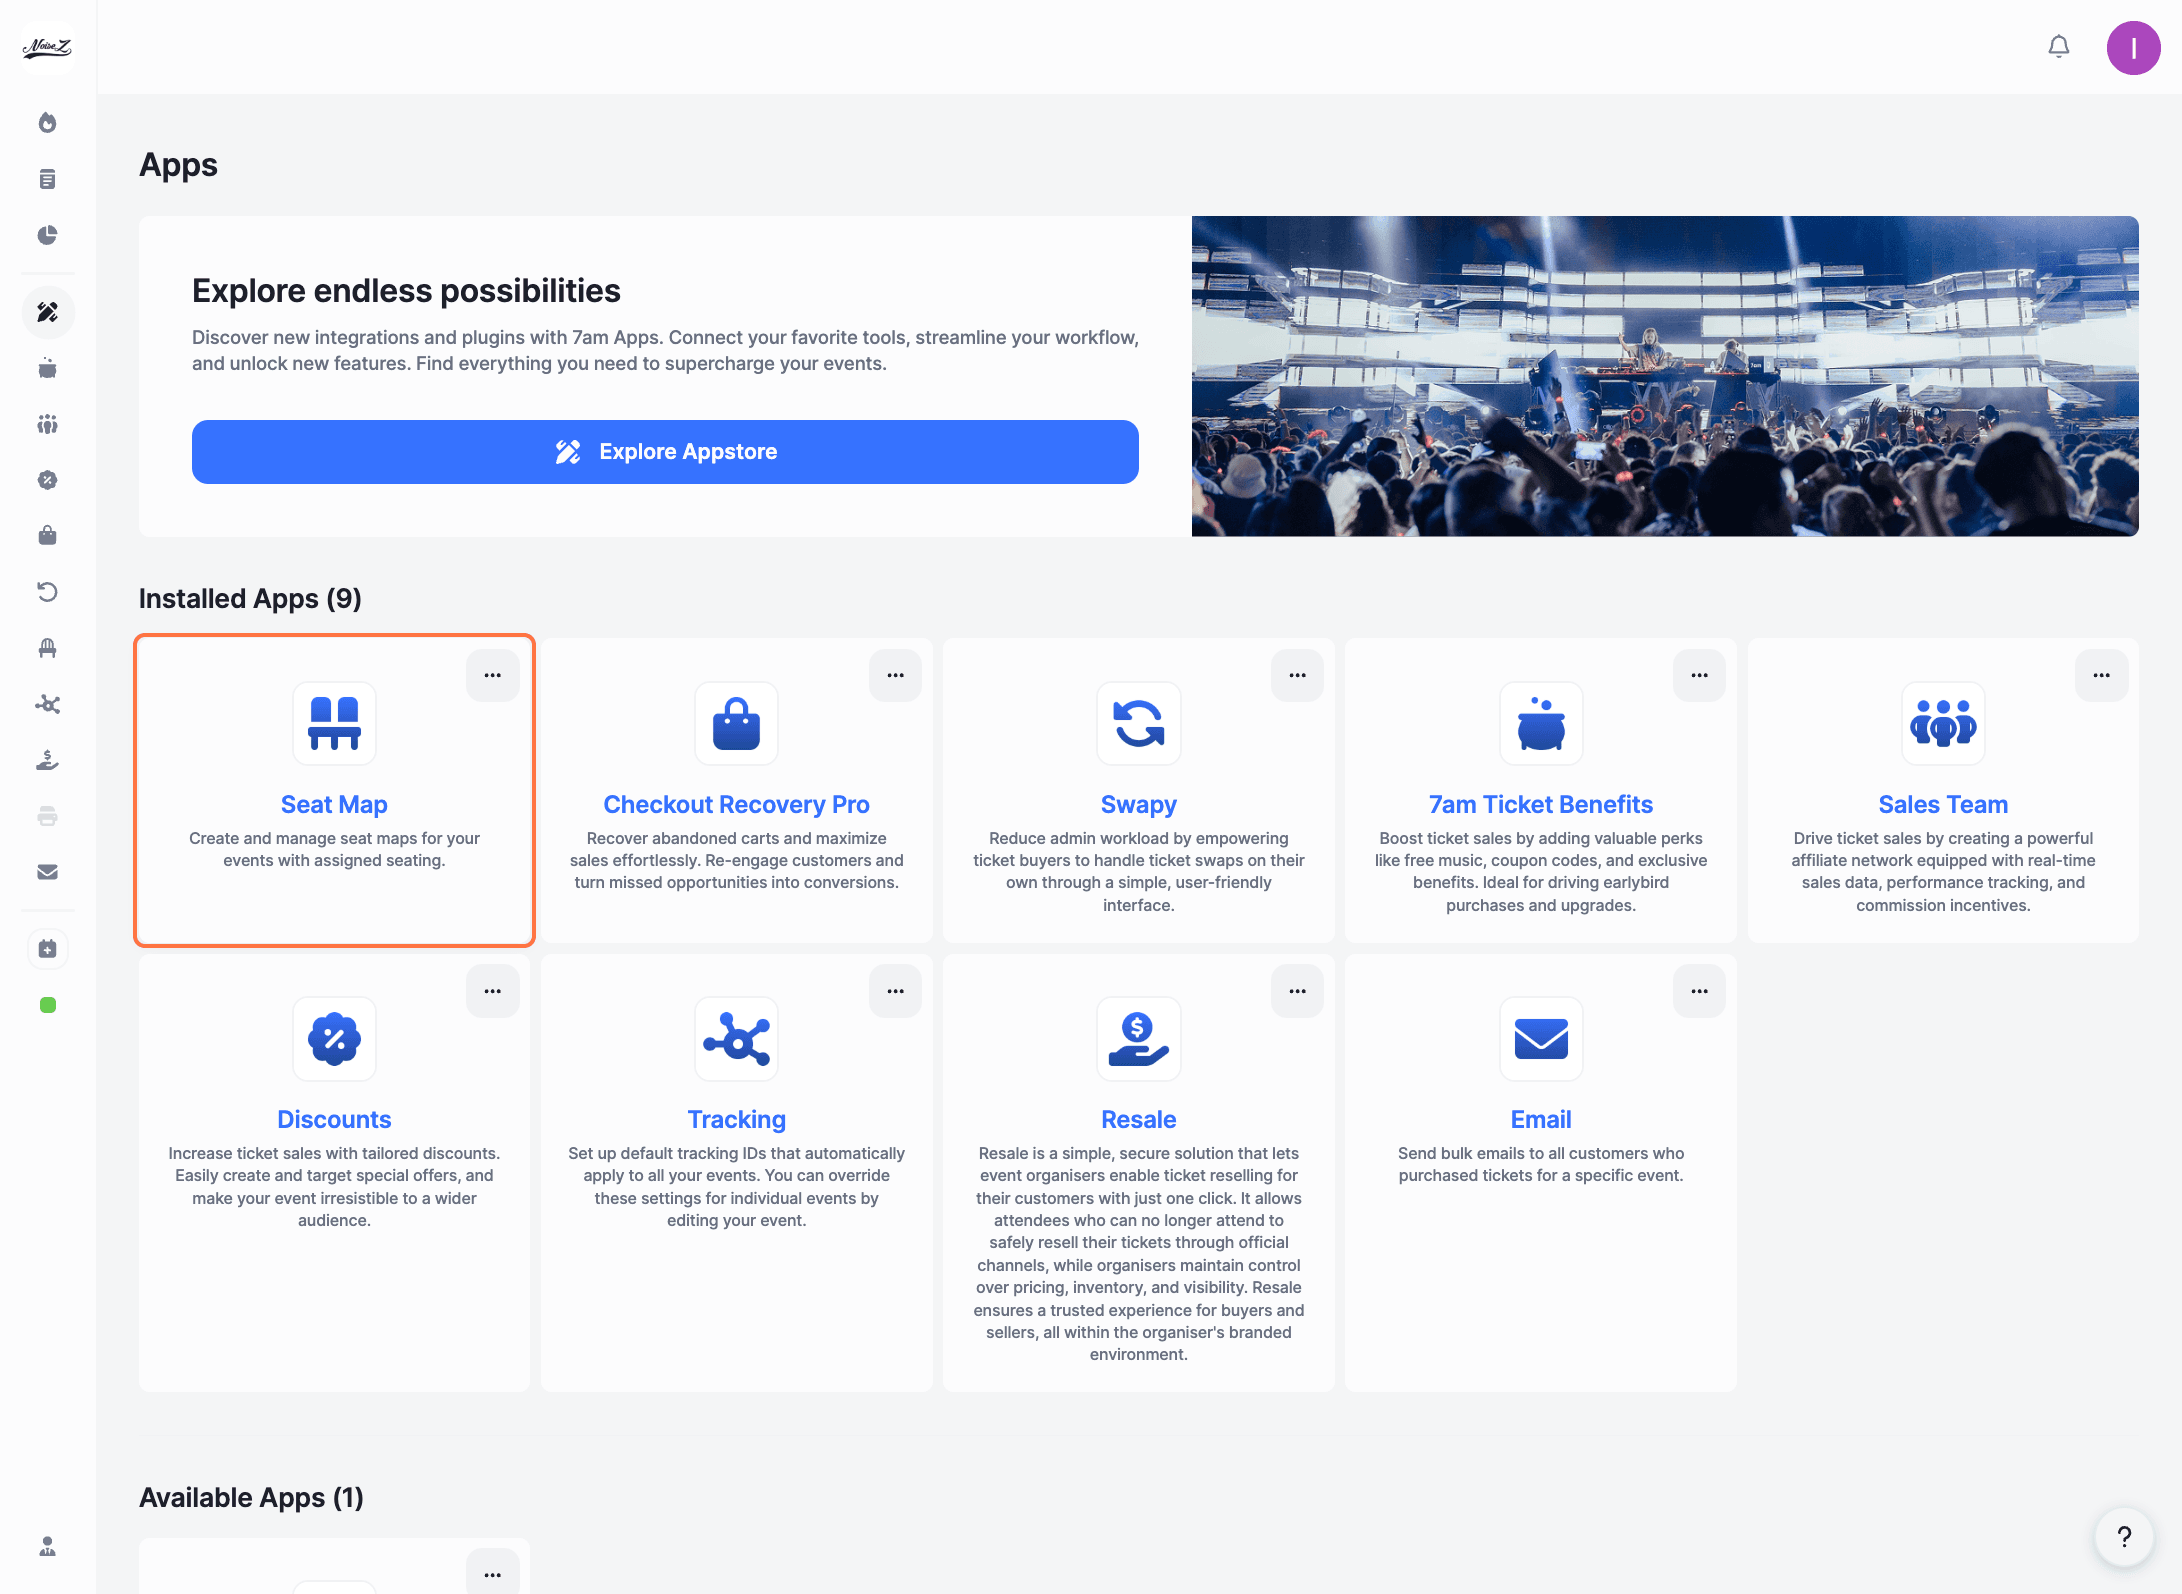
Click on 'Seat Map' under your Installed Apps.
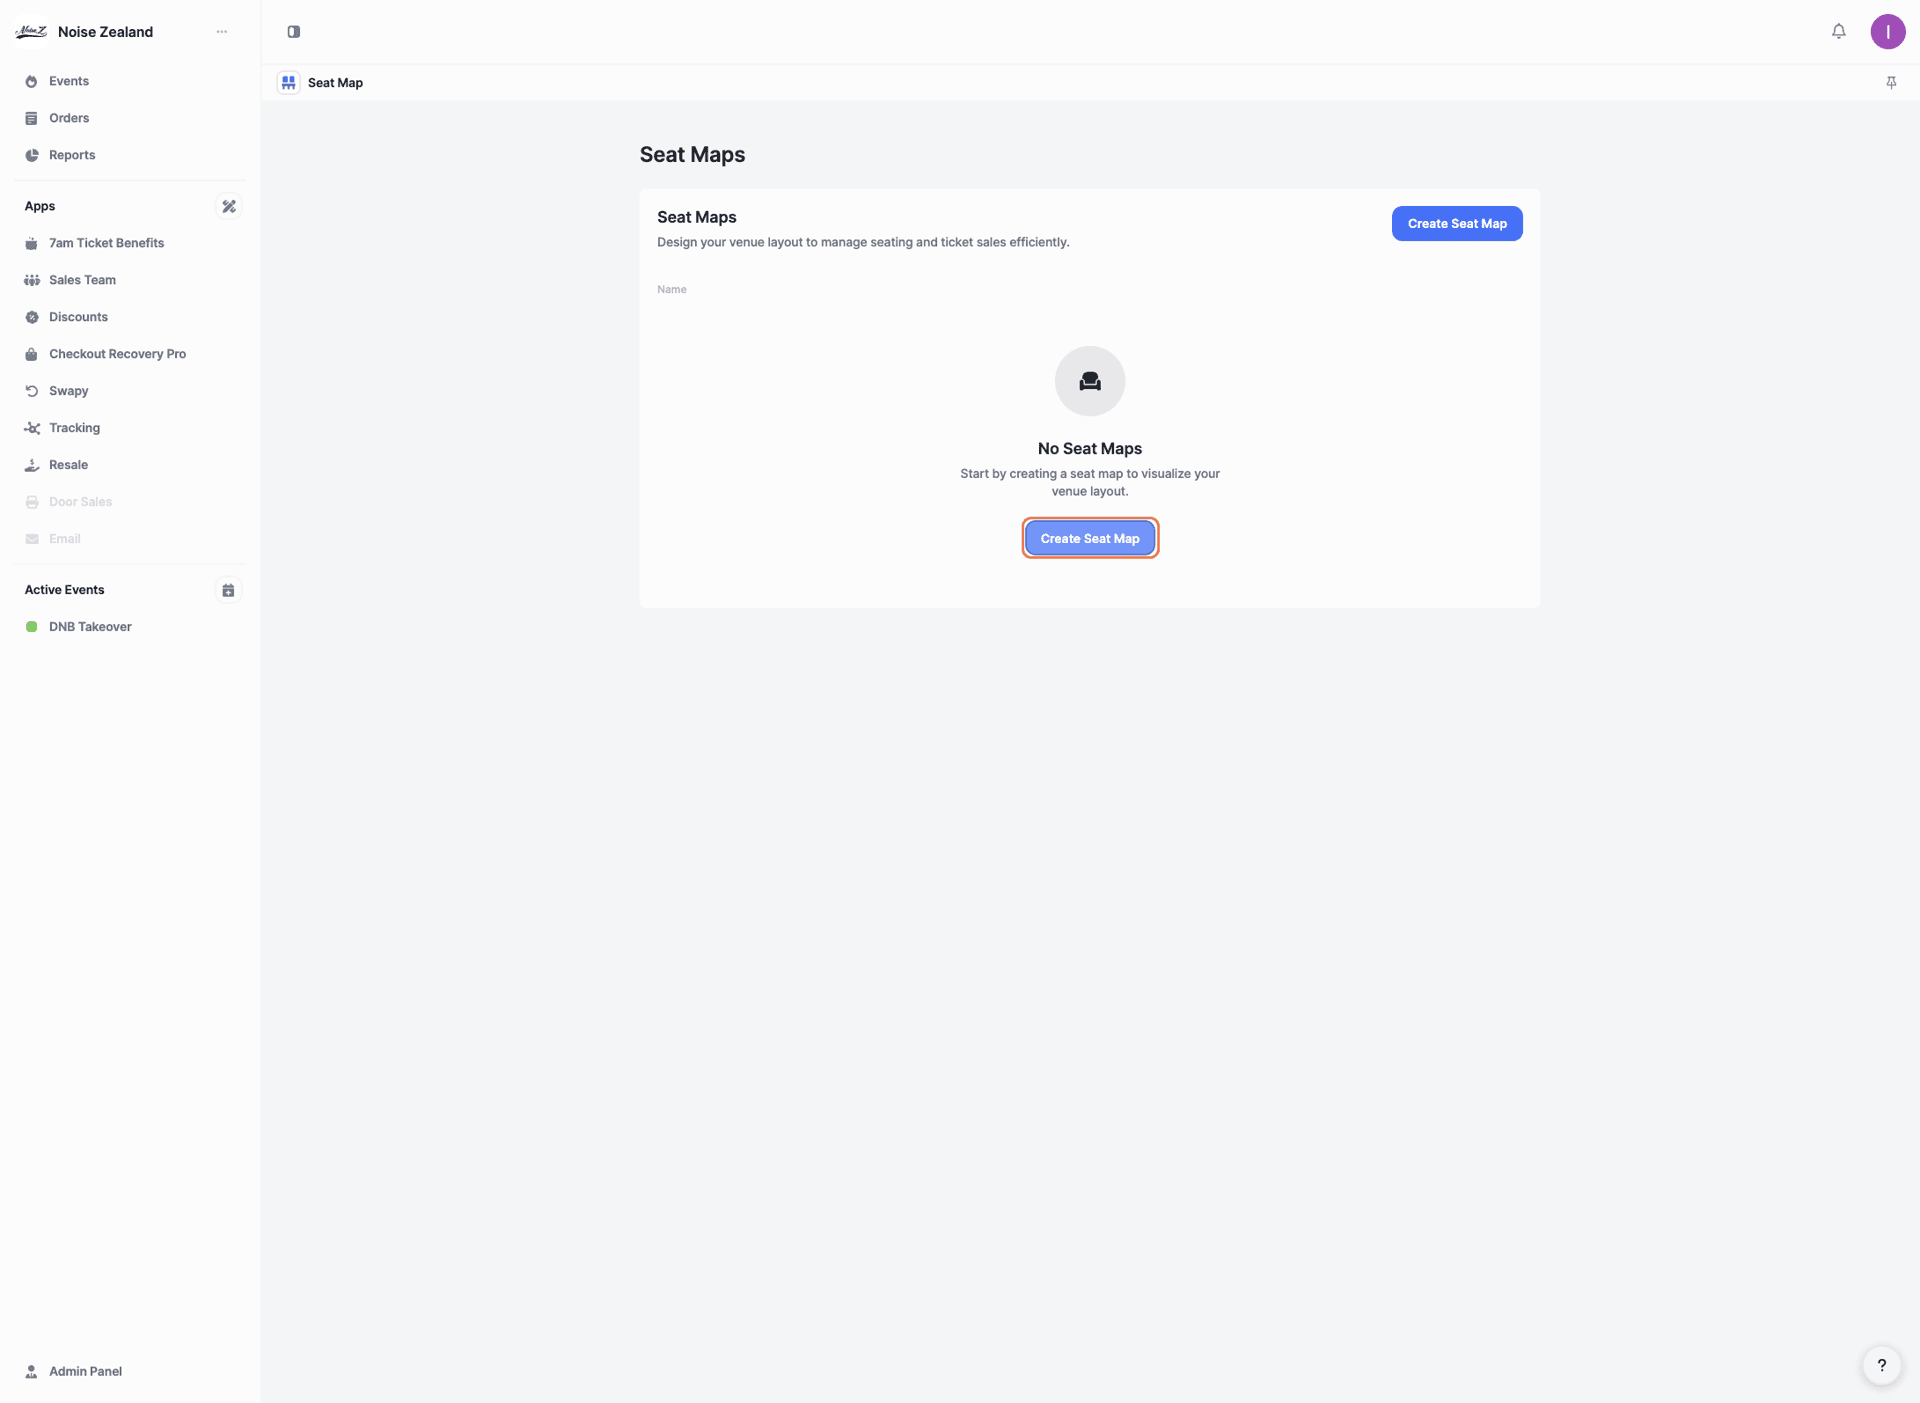
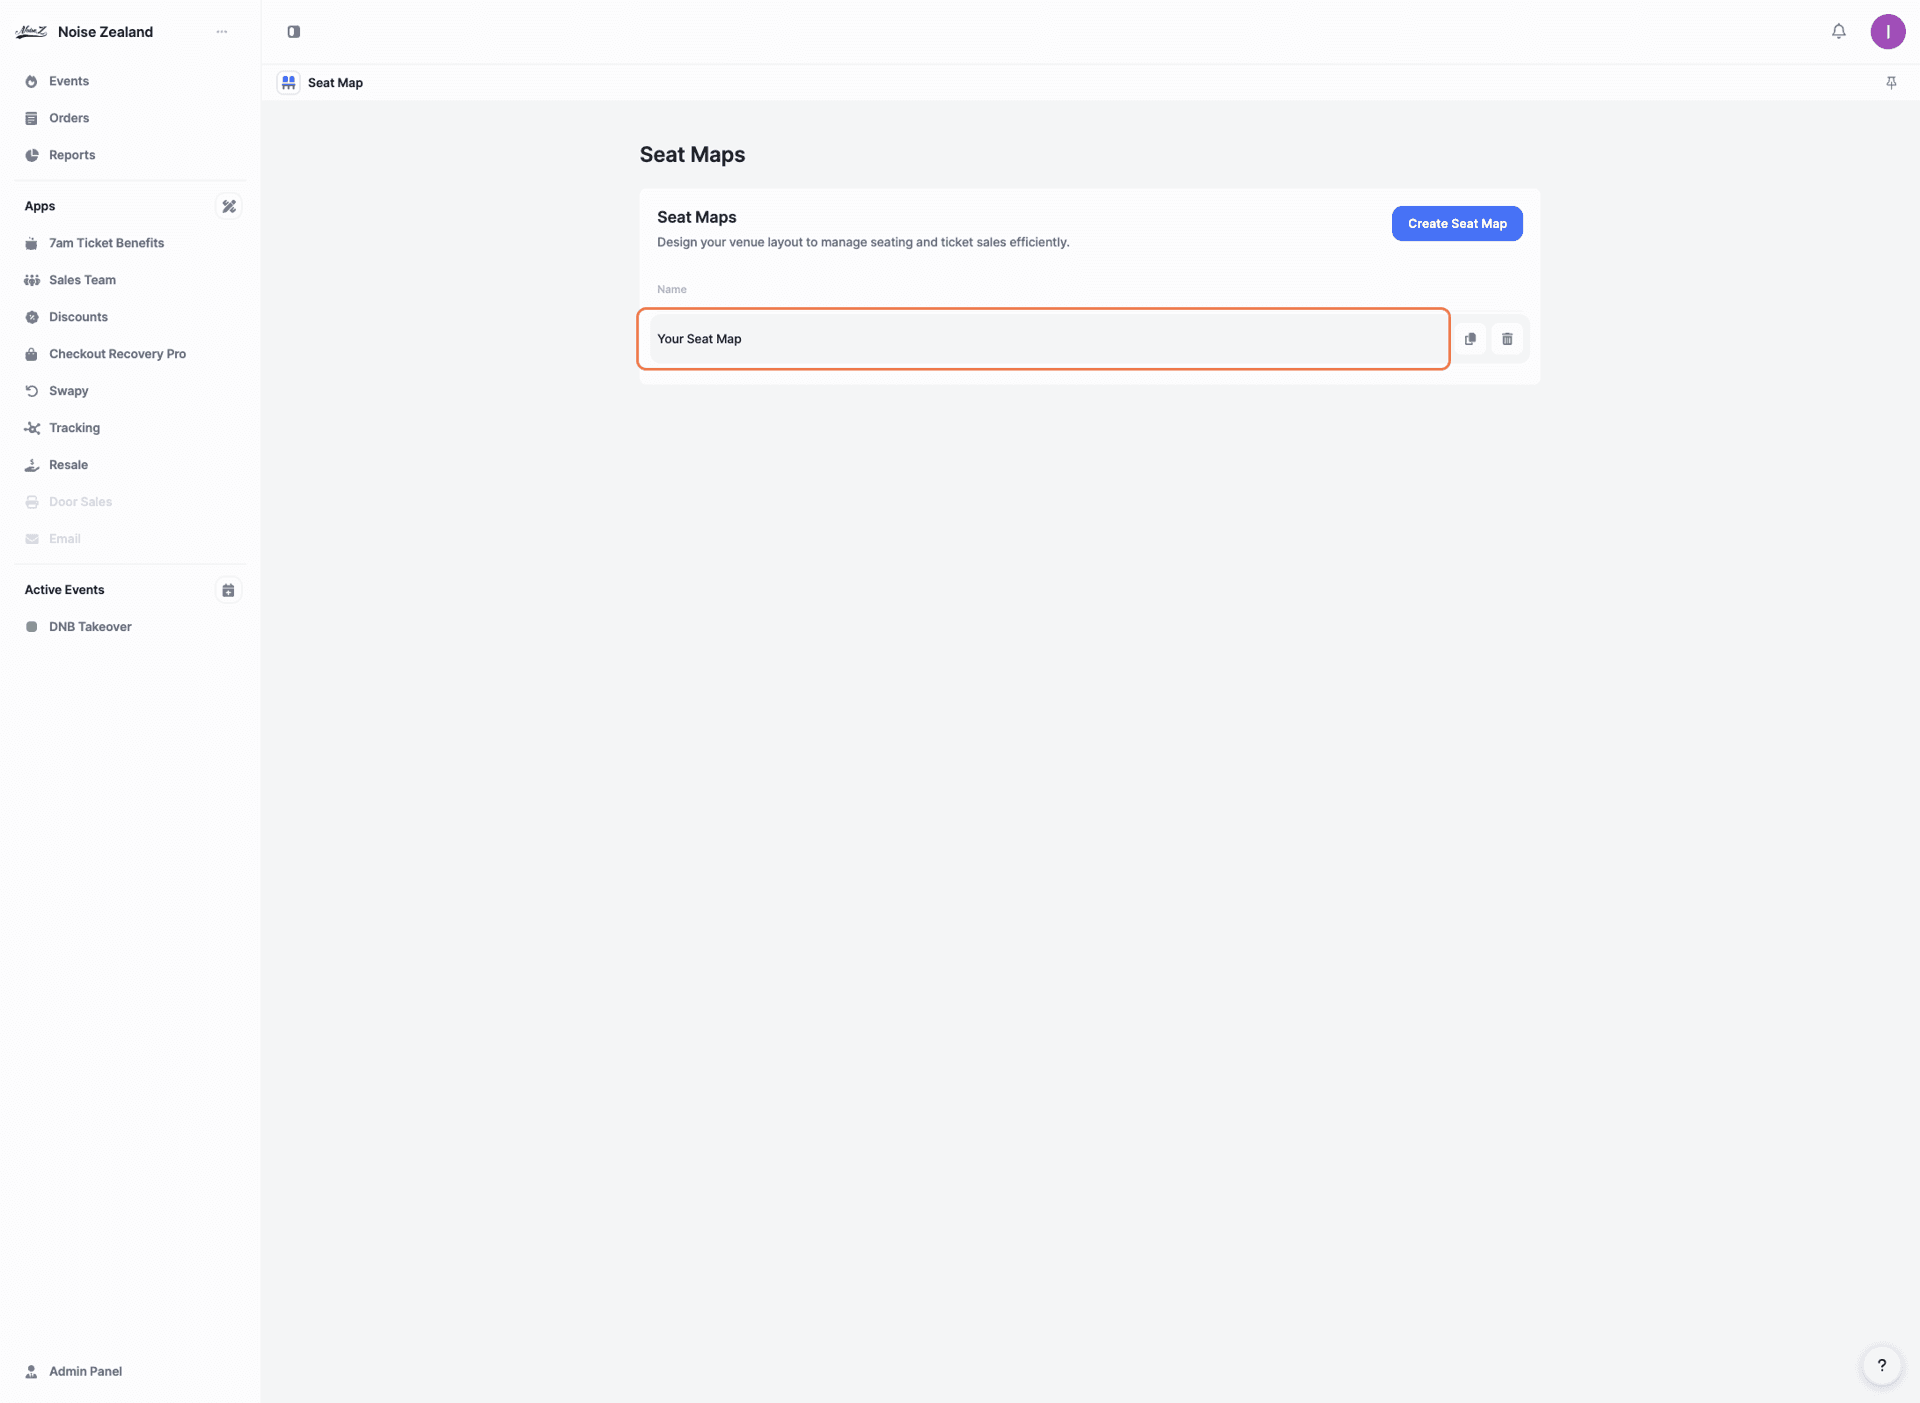
Click 'Create Seat Map'.
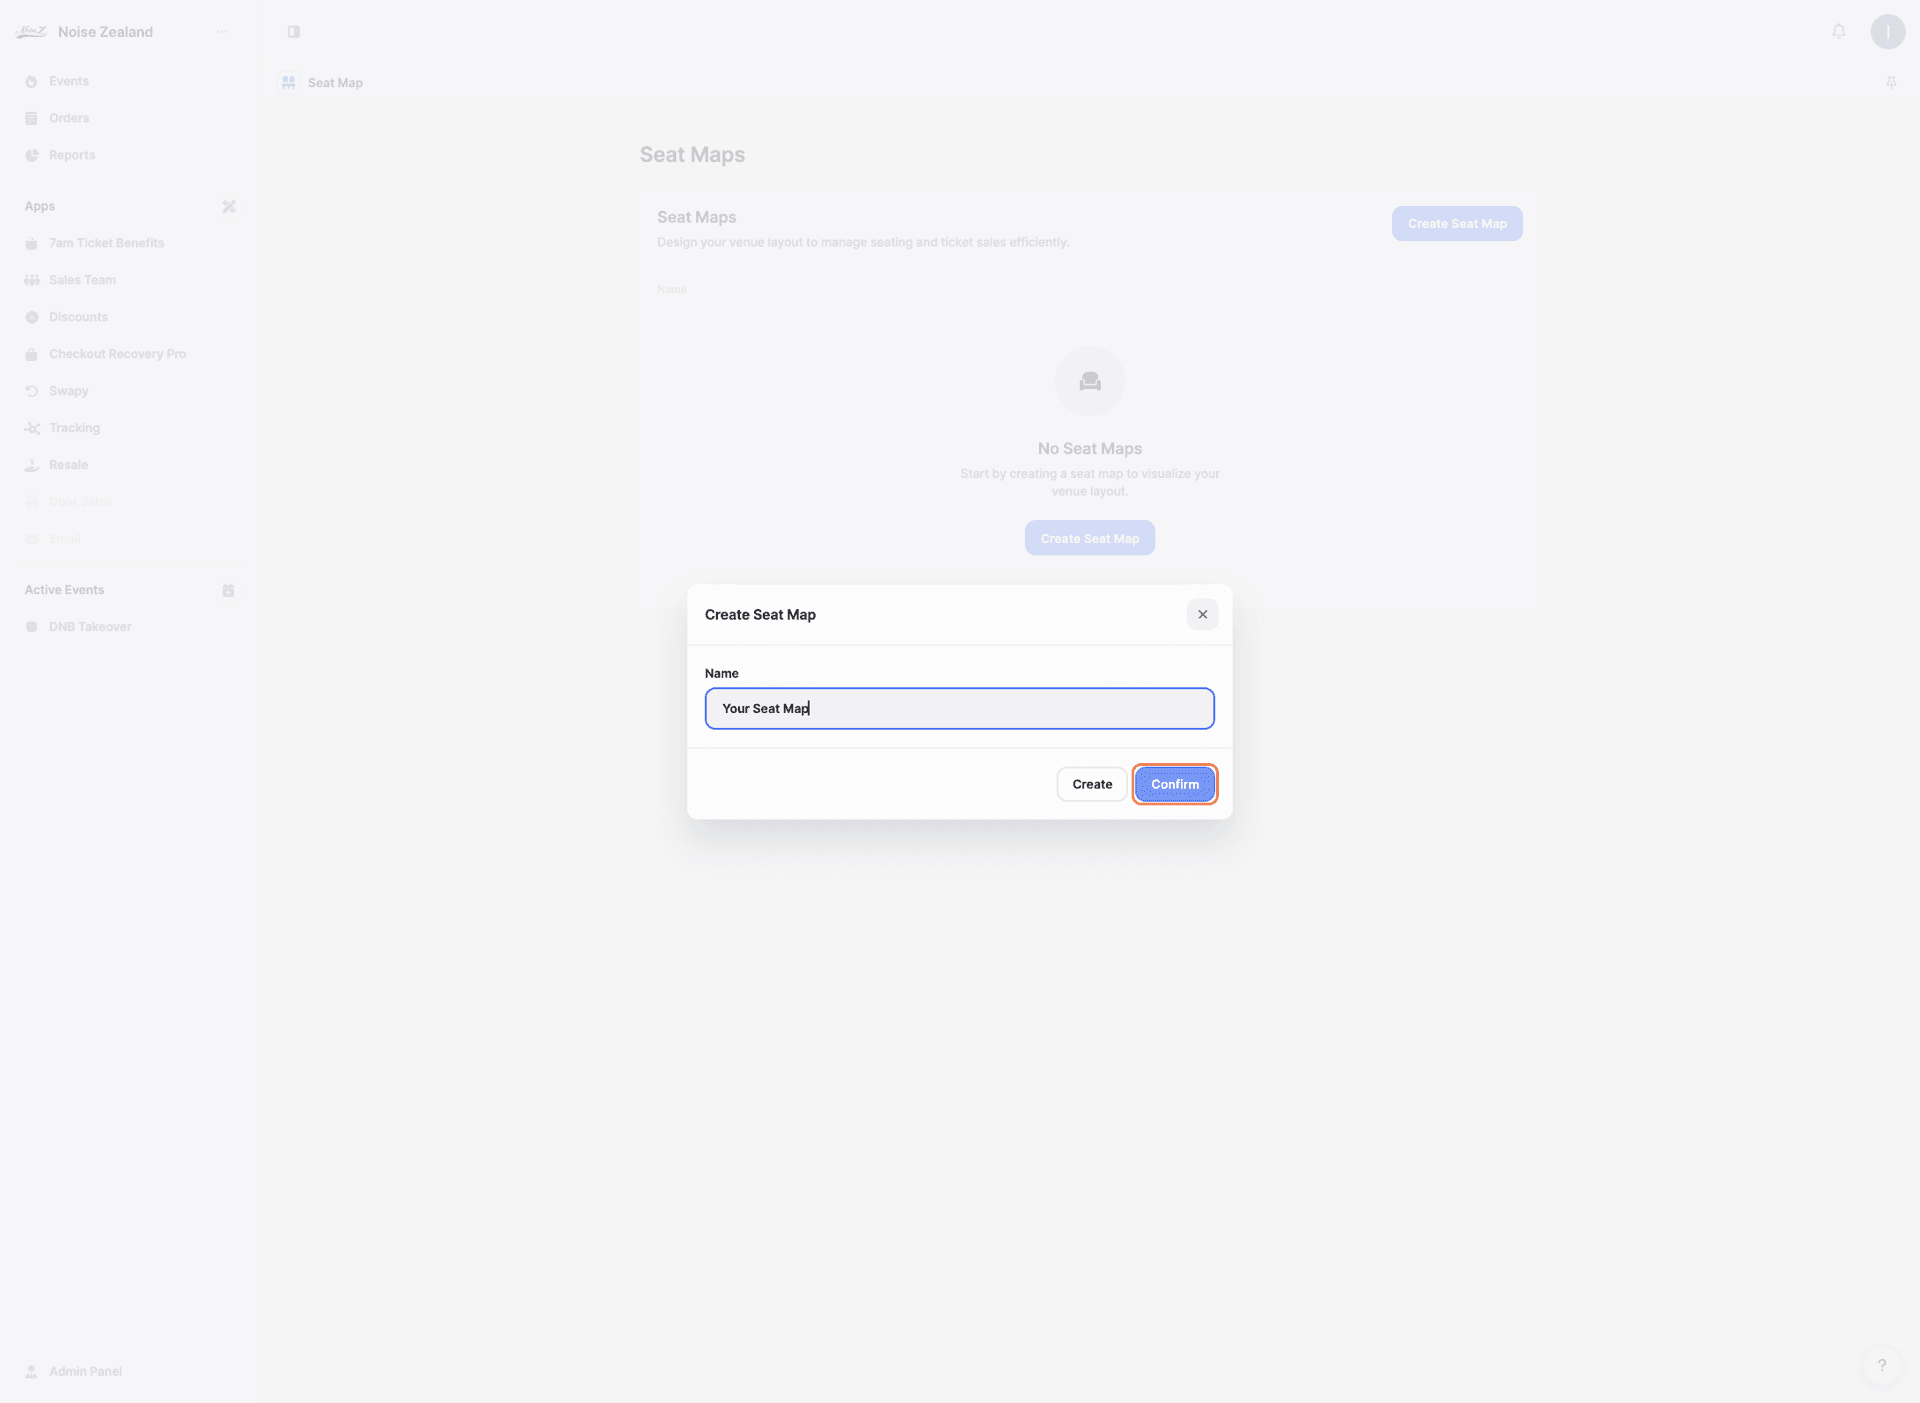
Enter a name for your seat map and click 'Confirm'. Your new seat map will appear in the list.
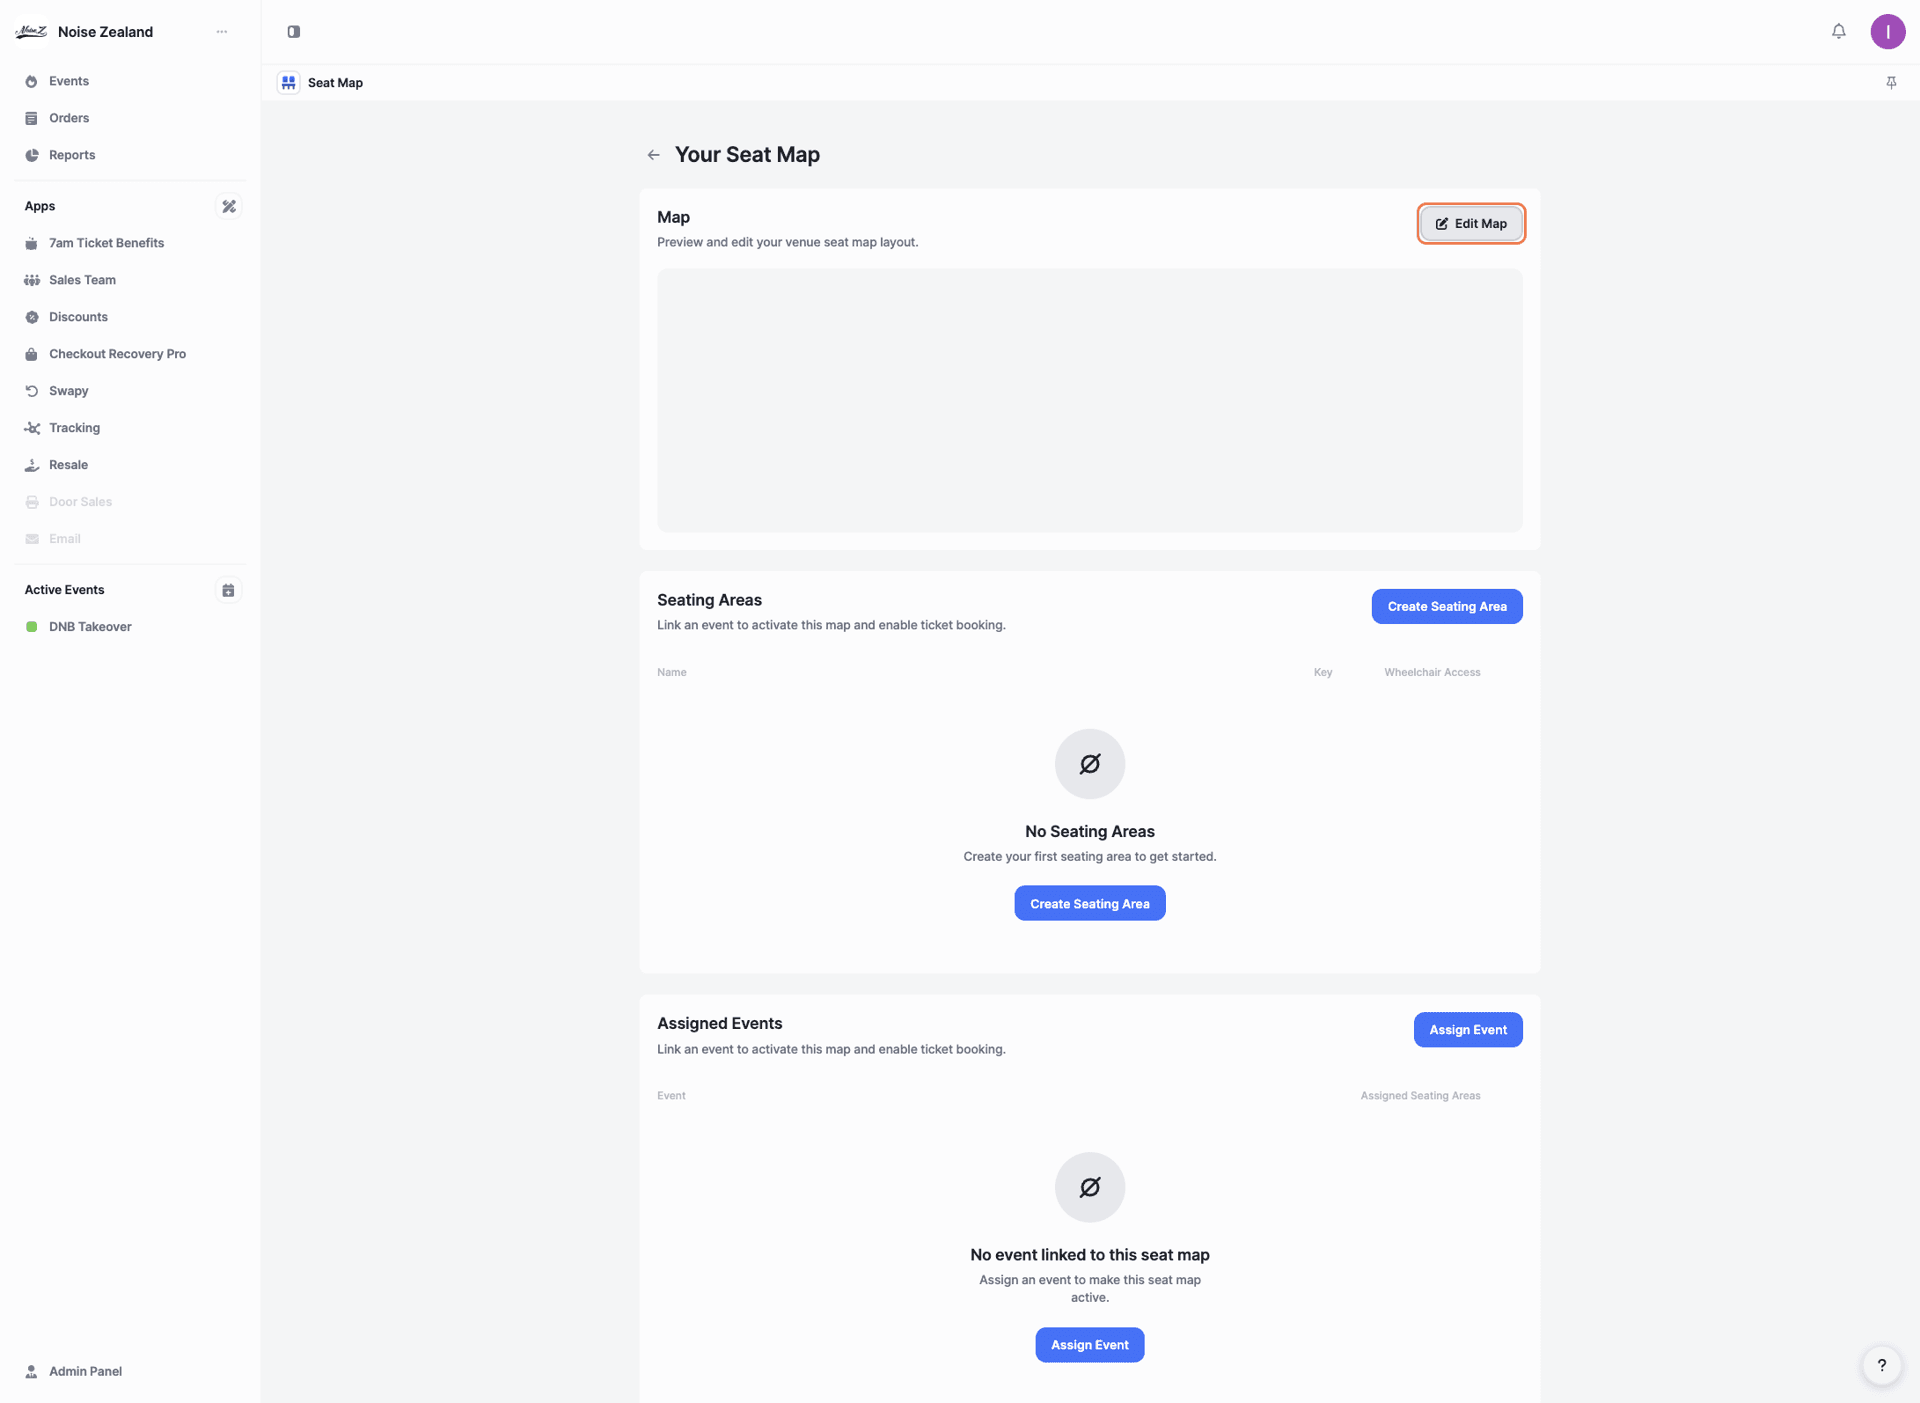
Click on the seat map you just created.
You'll see three sections: Map, Seating Areas, and Assigned Events. In the 'Map' section, click 'Edit Map'.
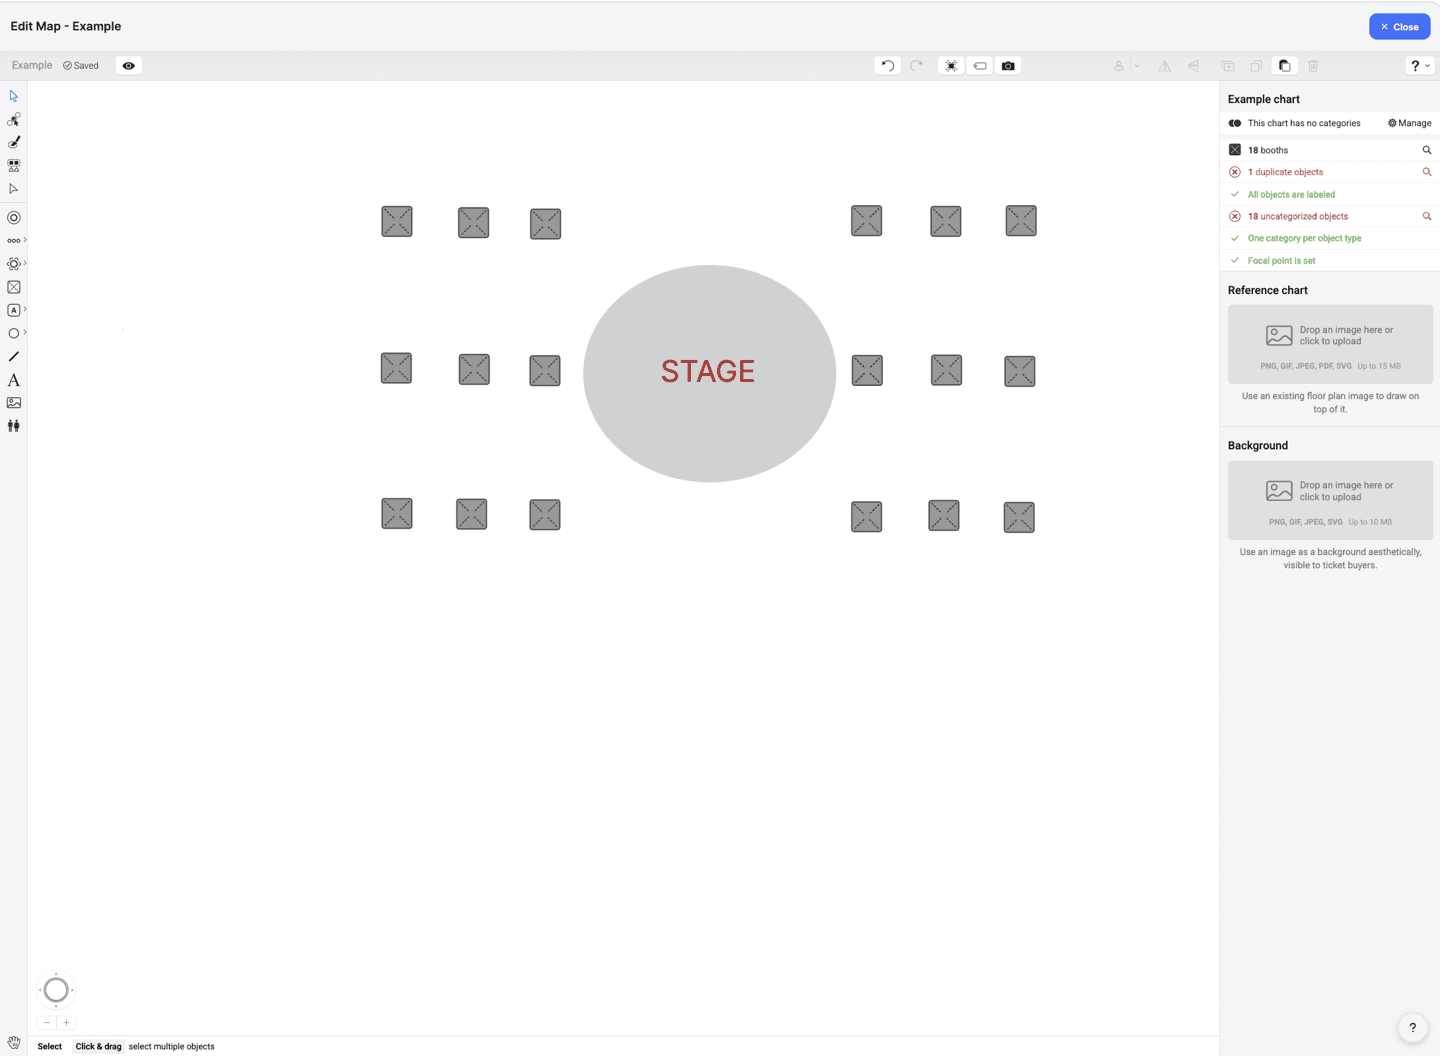
The Chart Designer will open. You can take the 60-second tour (recommended) or click 'Skip' to start designing right away.
The editor includes tools for building your layout:
If you upload a reference chart, a new window will open to scan your floor plan. Click 'Next' to begin scanning.
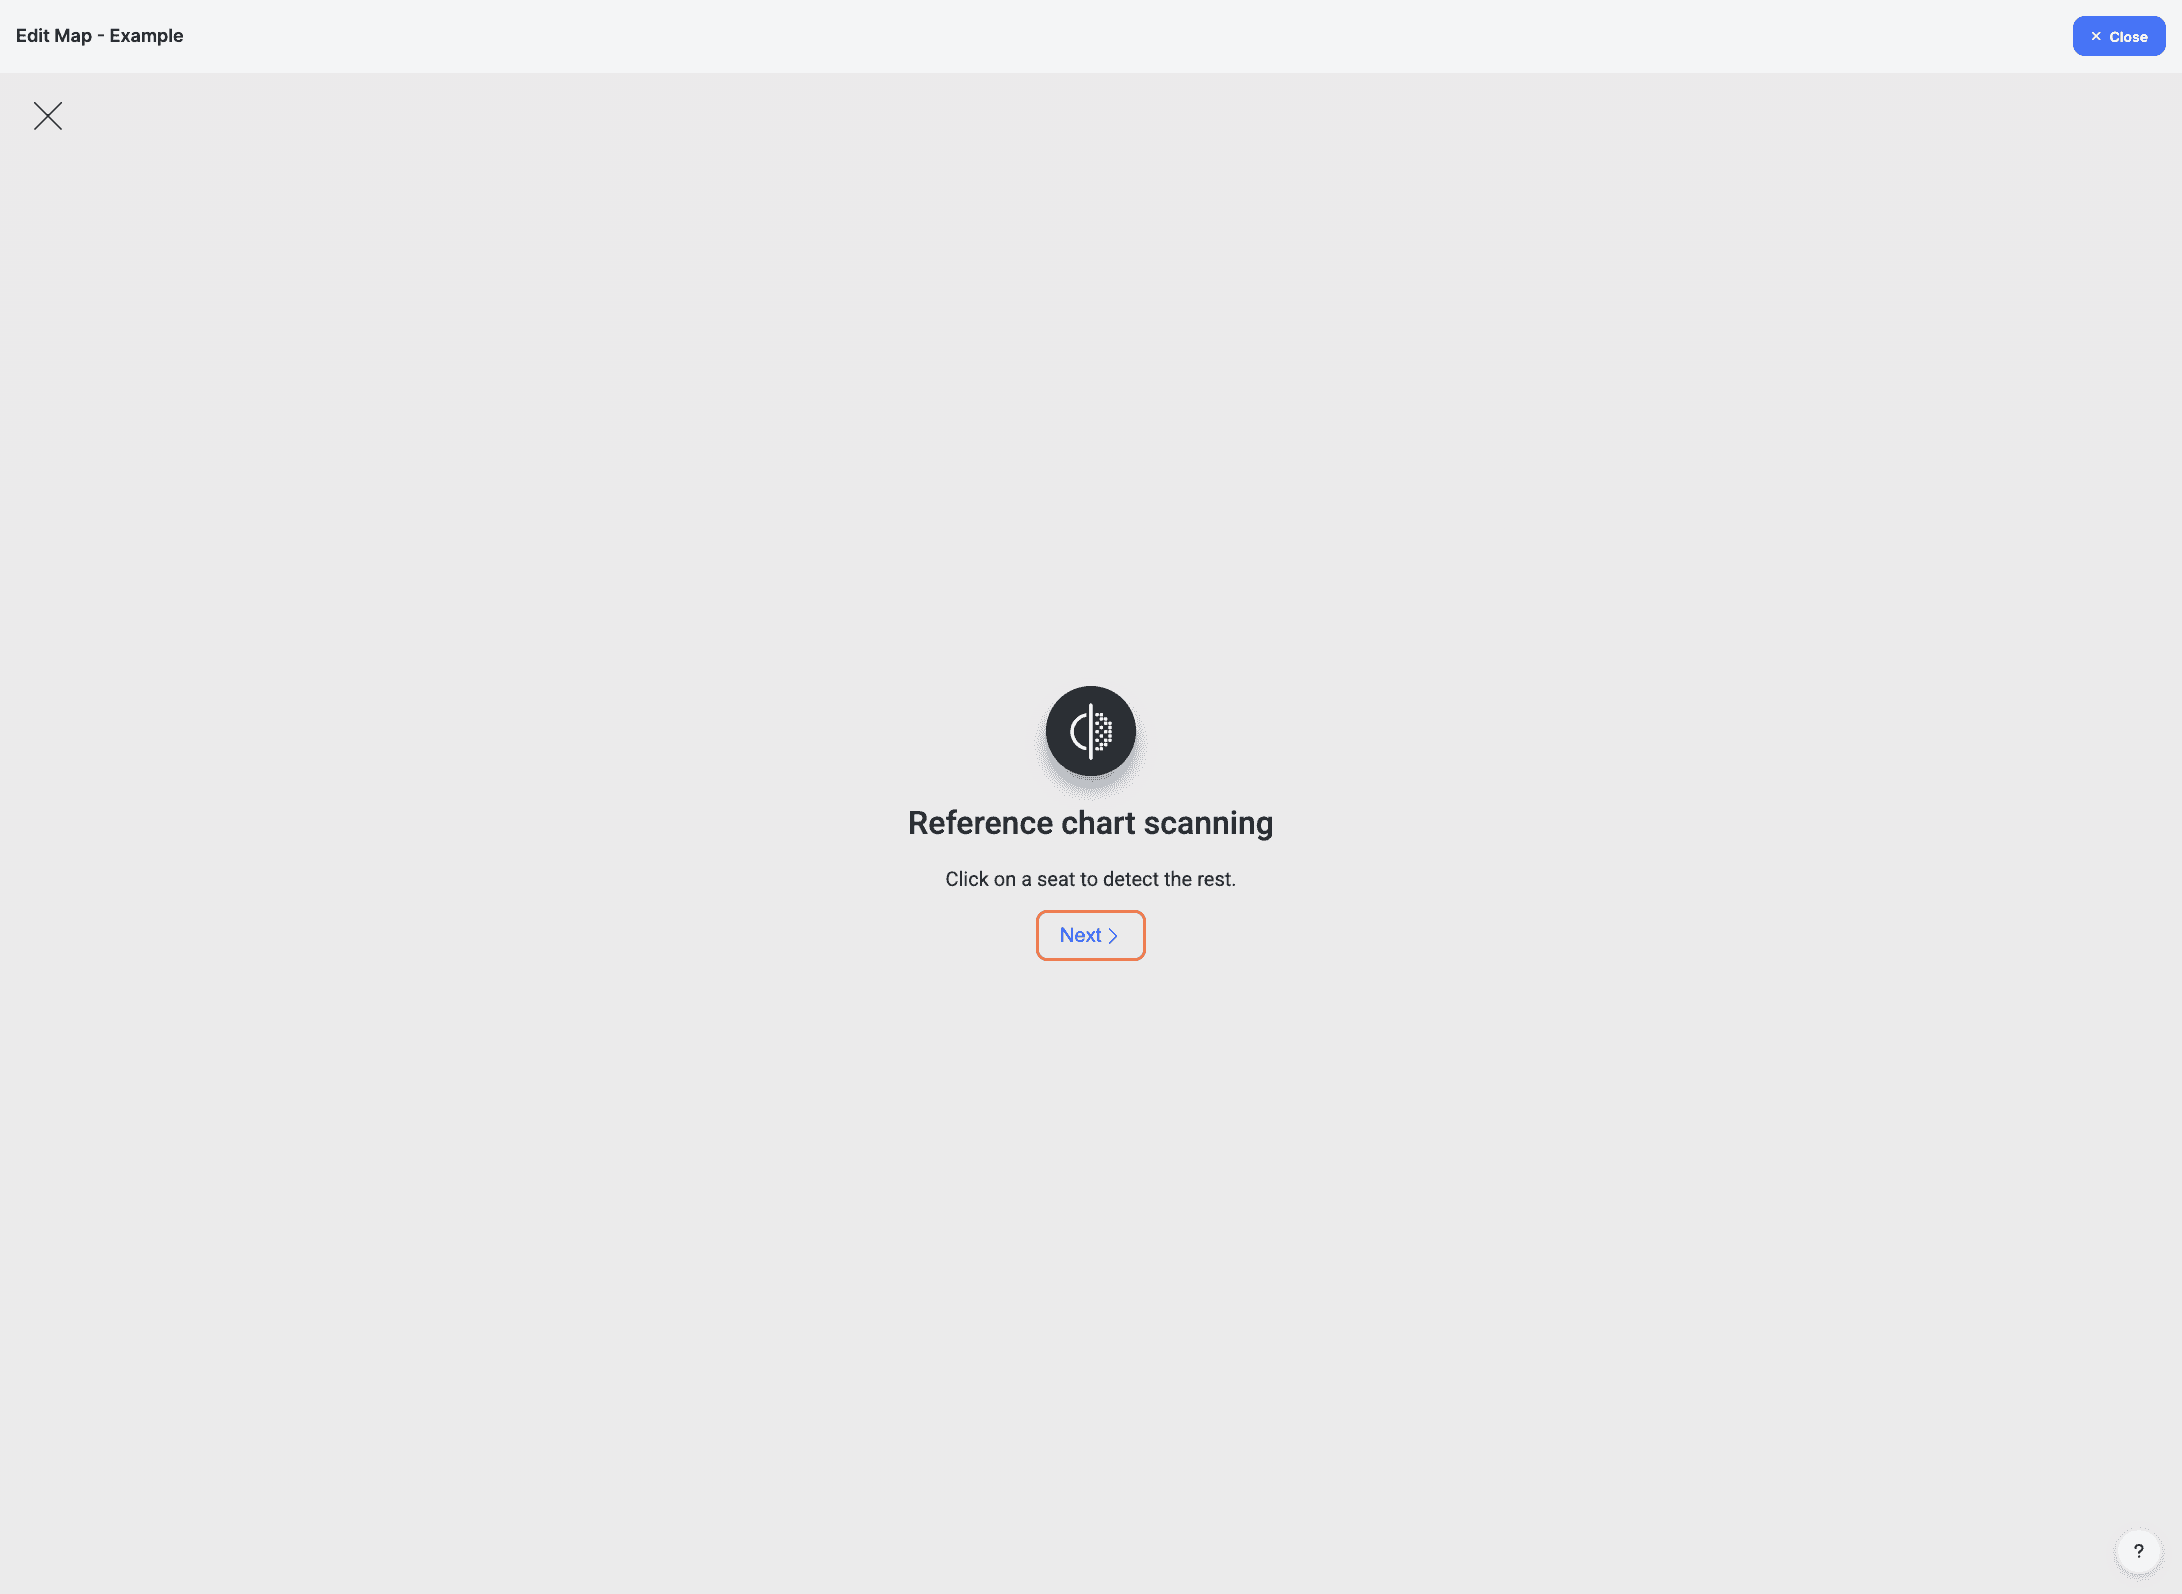
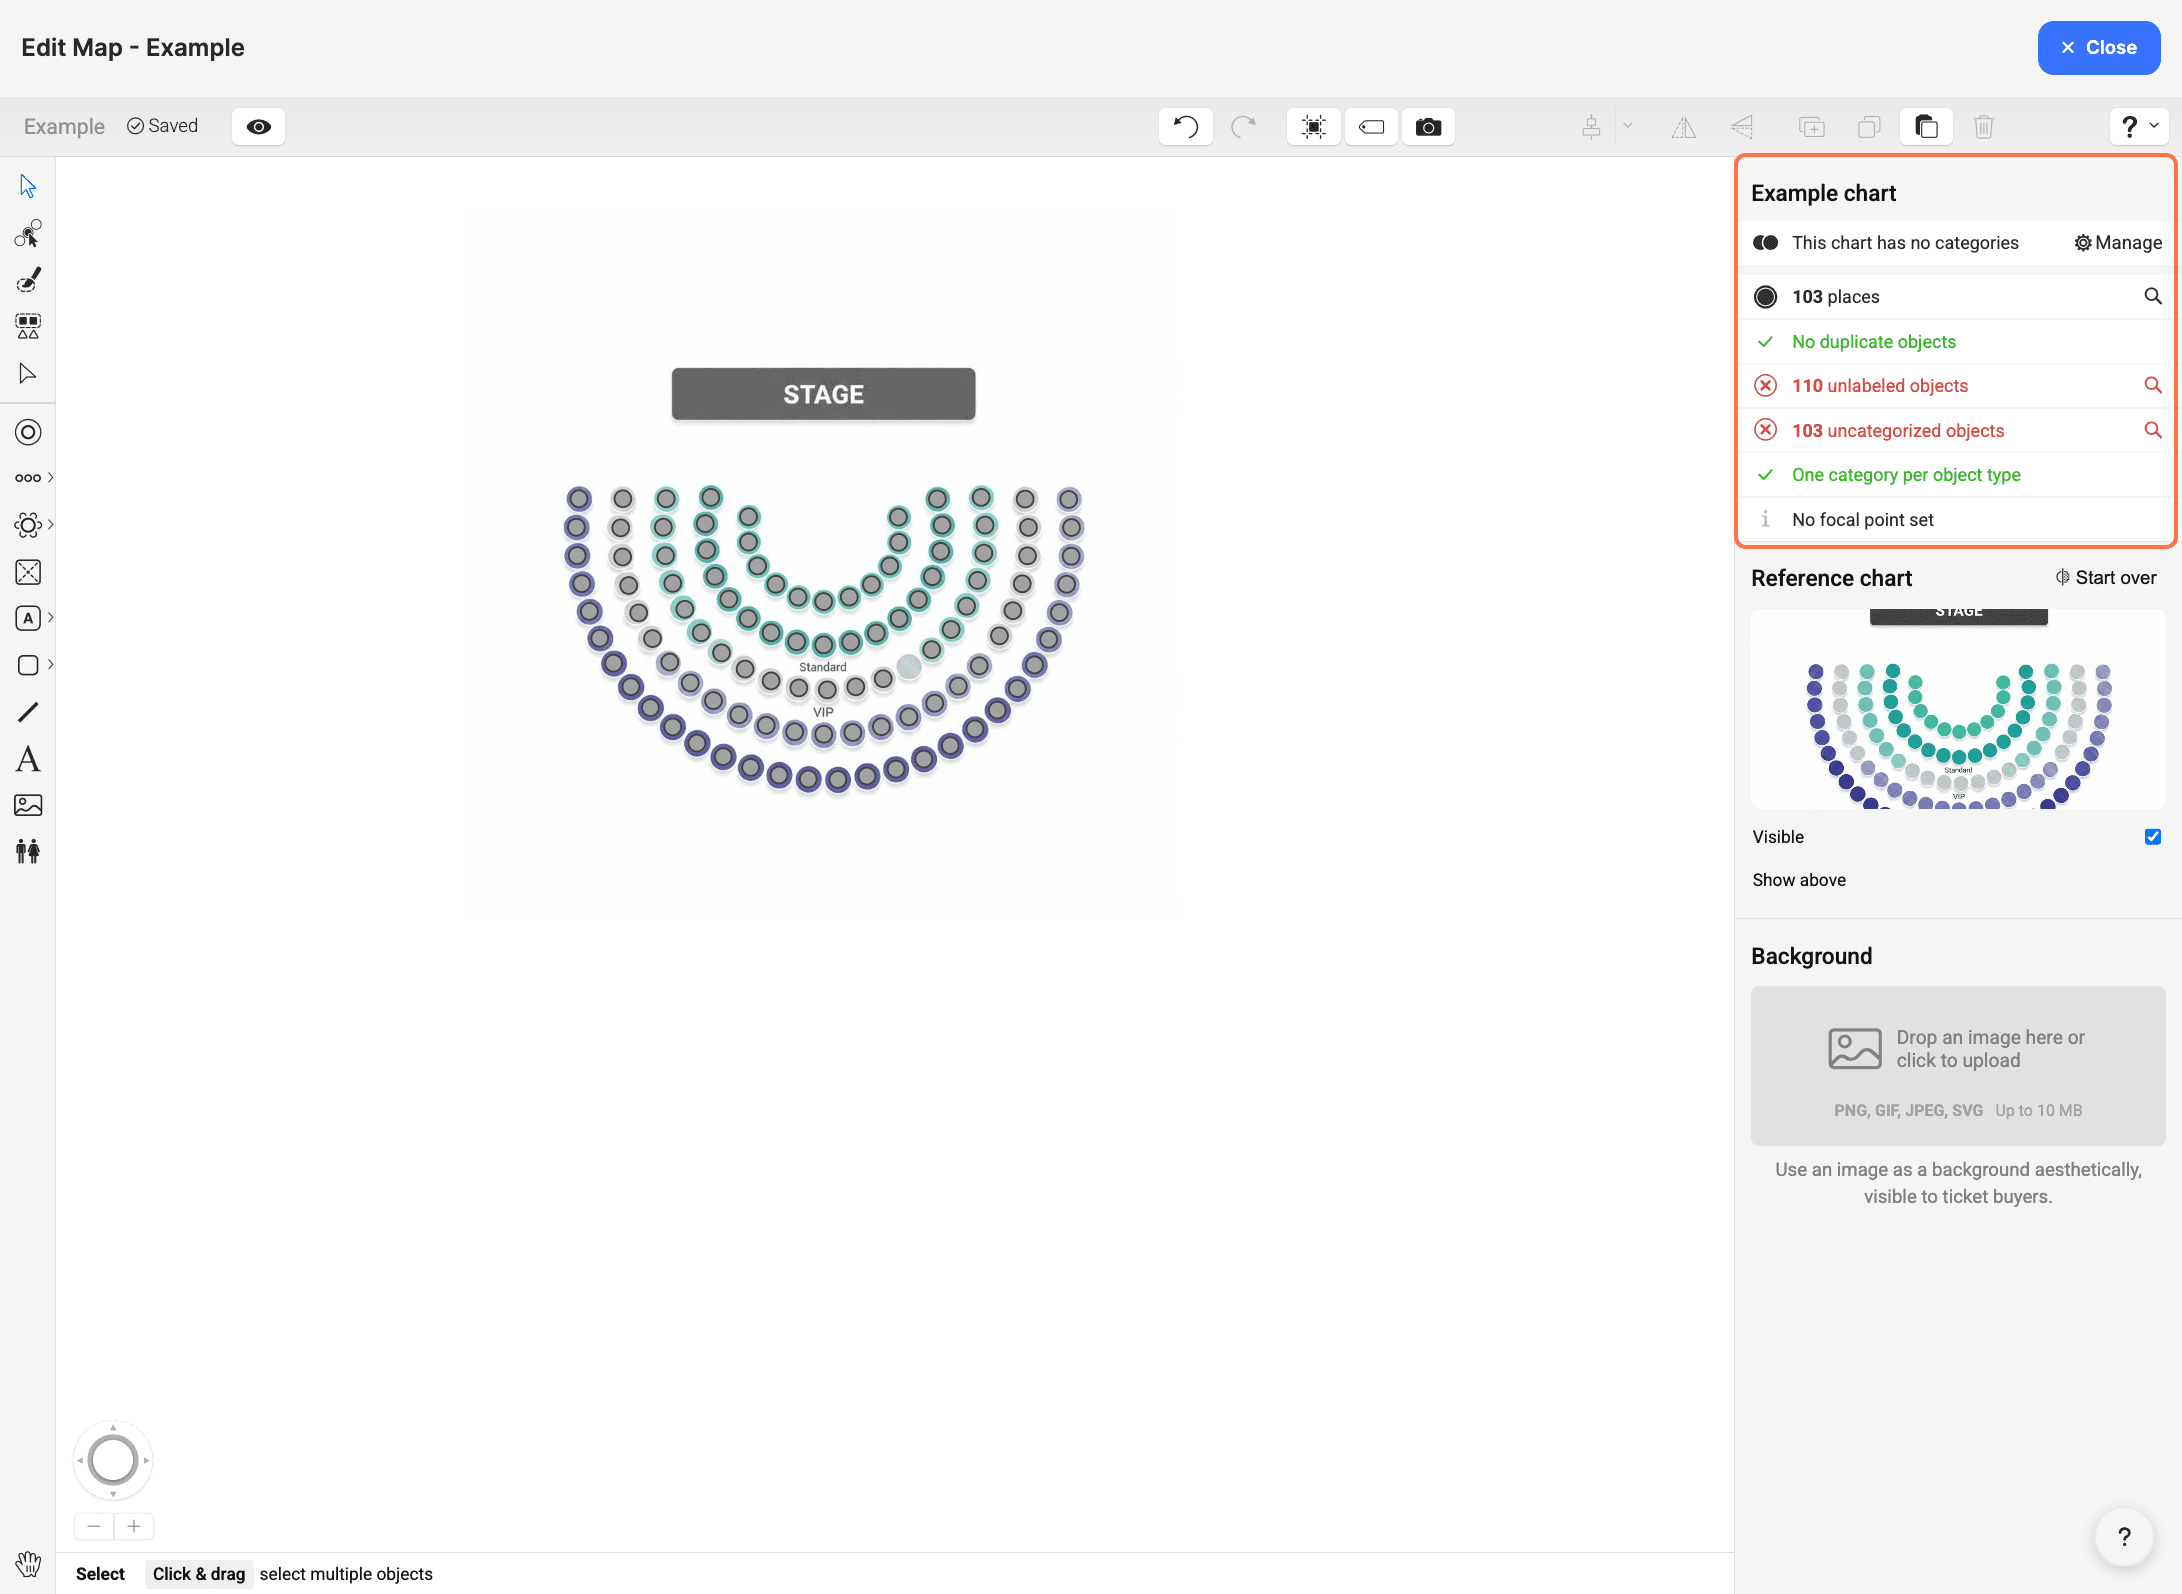
Zoom in and select seats on your uploaded image. The system will detect rows and seat counts. Click ‘Done’ once you have finished.

You'll see a summary of detected objects on the right panel (e.g., unlabeled objects or uncategorized seats). Label and categorize the detected objects to keep your seat map organized.
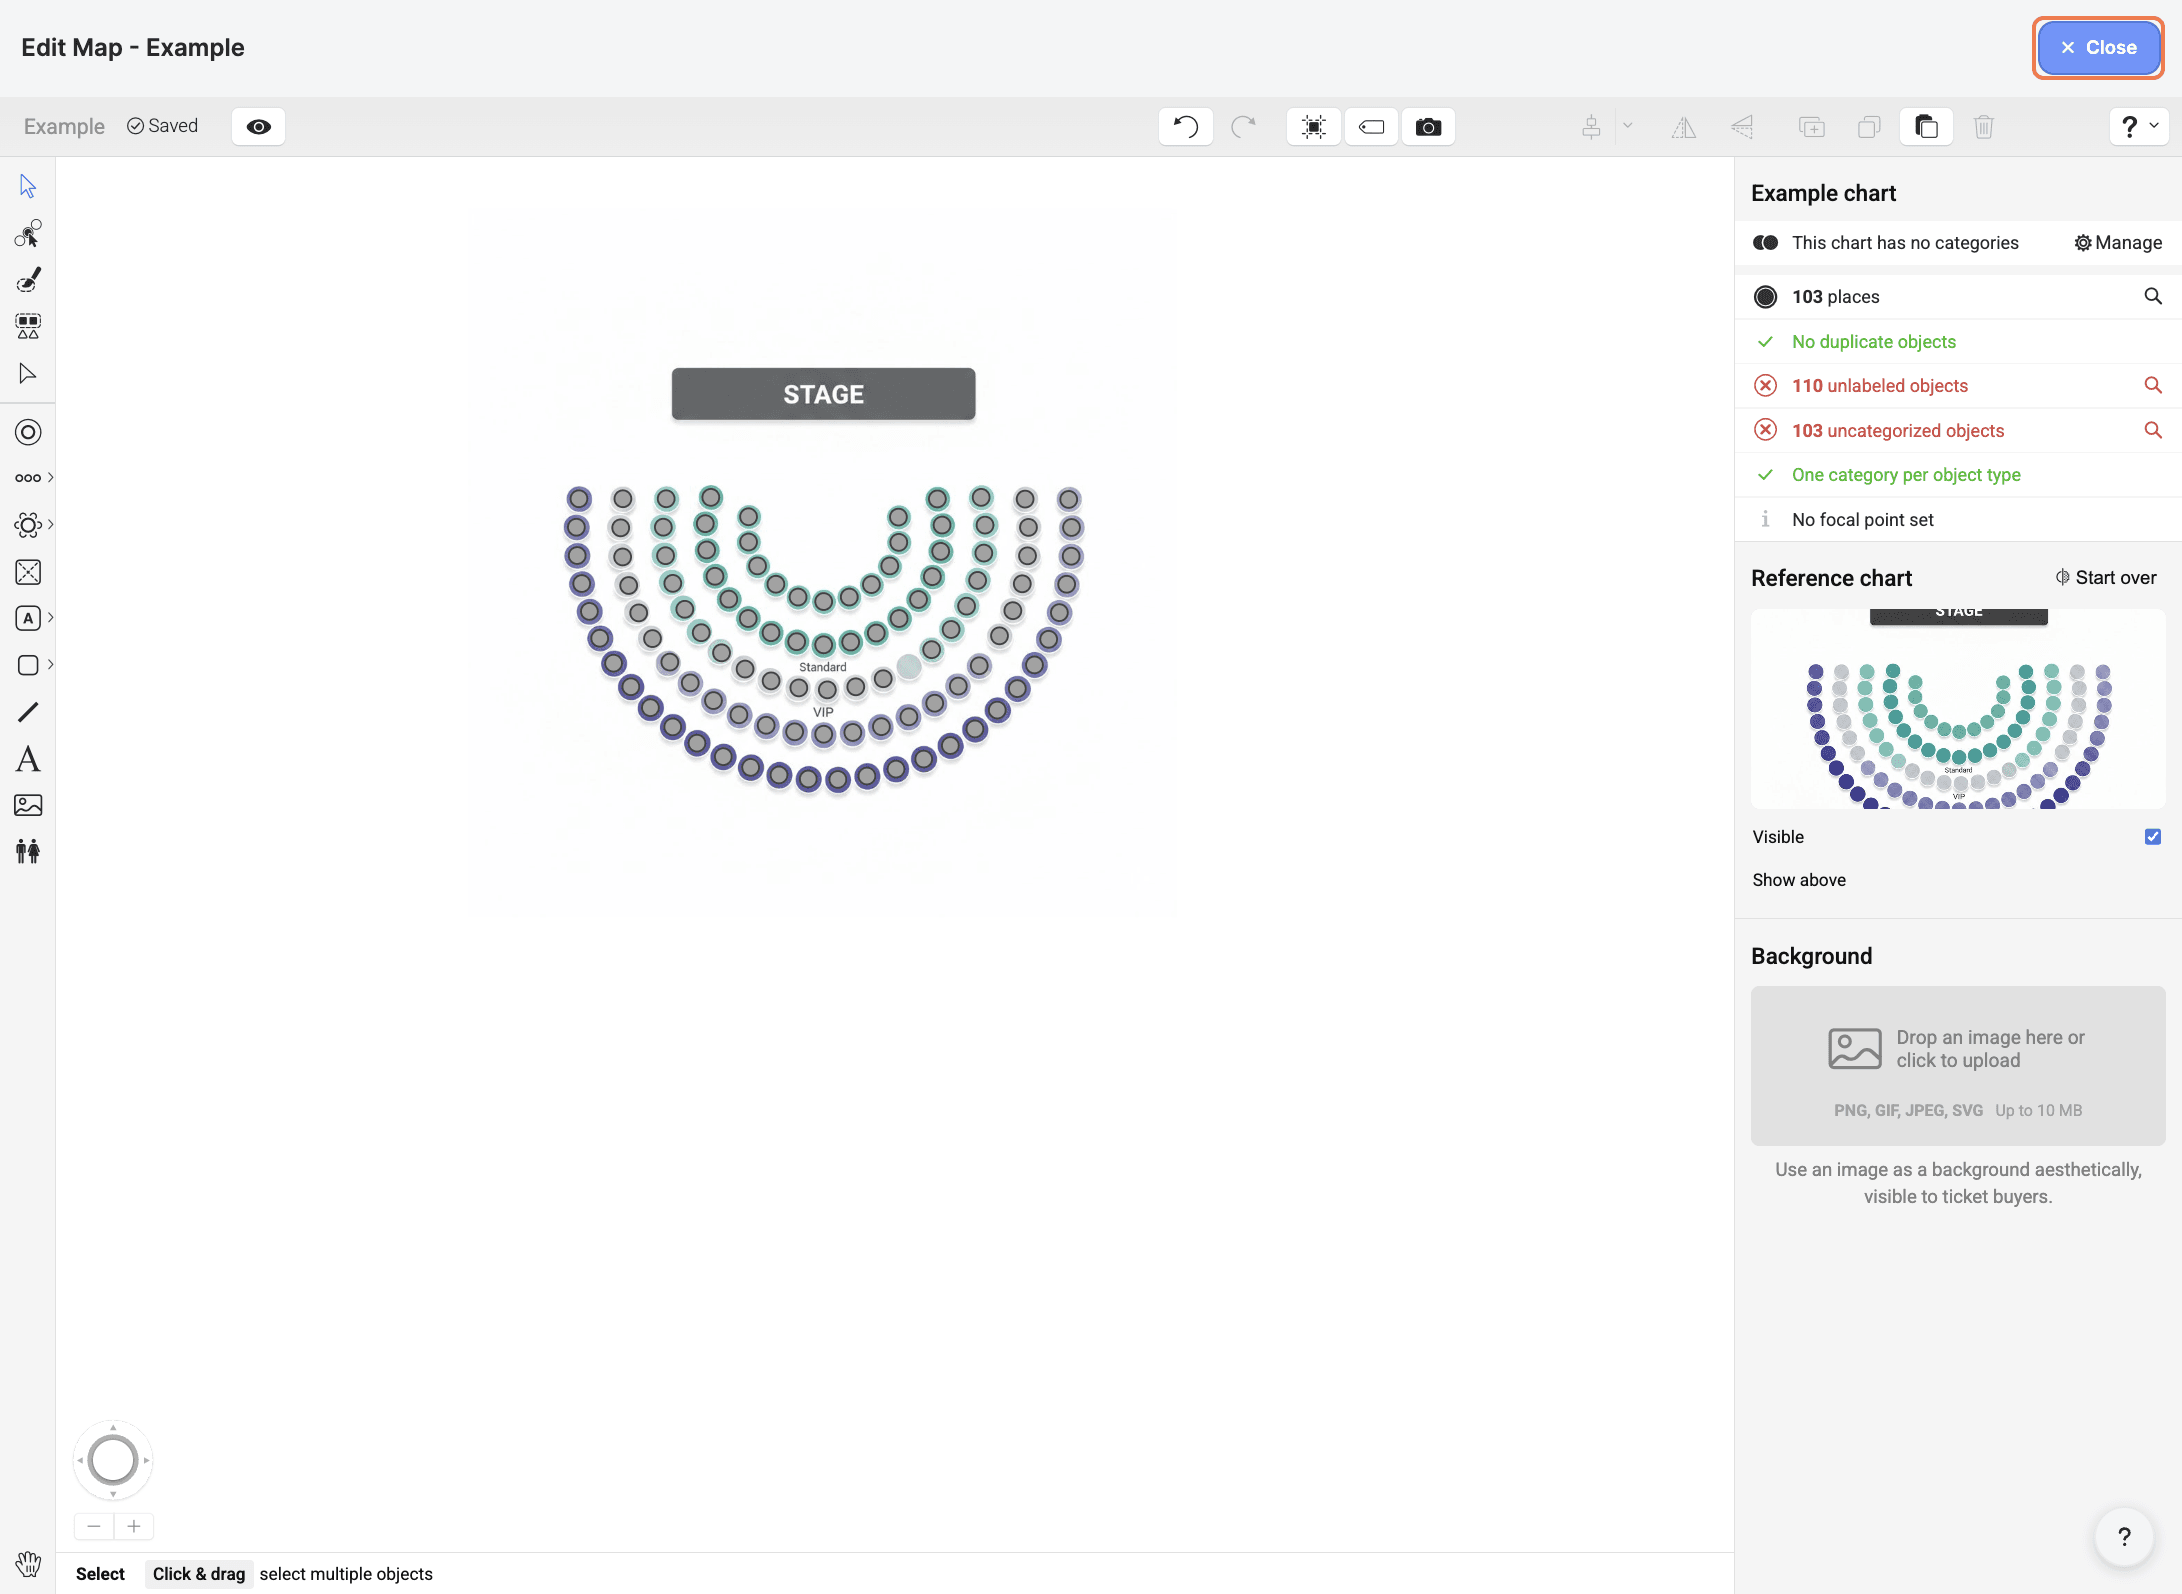
When you're finished editing, click 'Close' in the top-right corner. Your changes are saved automatically.
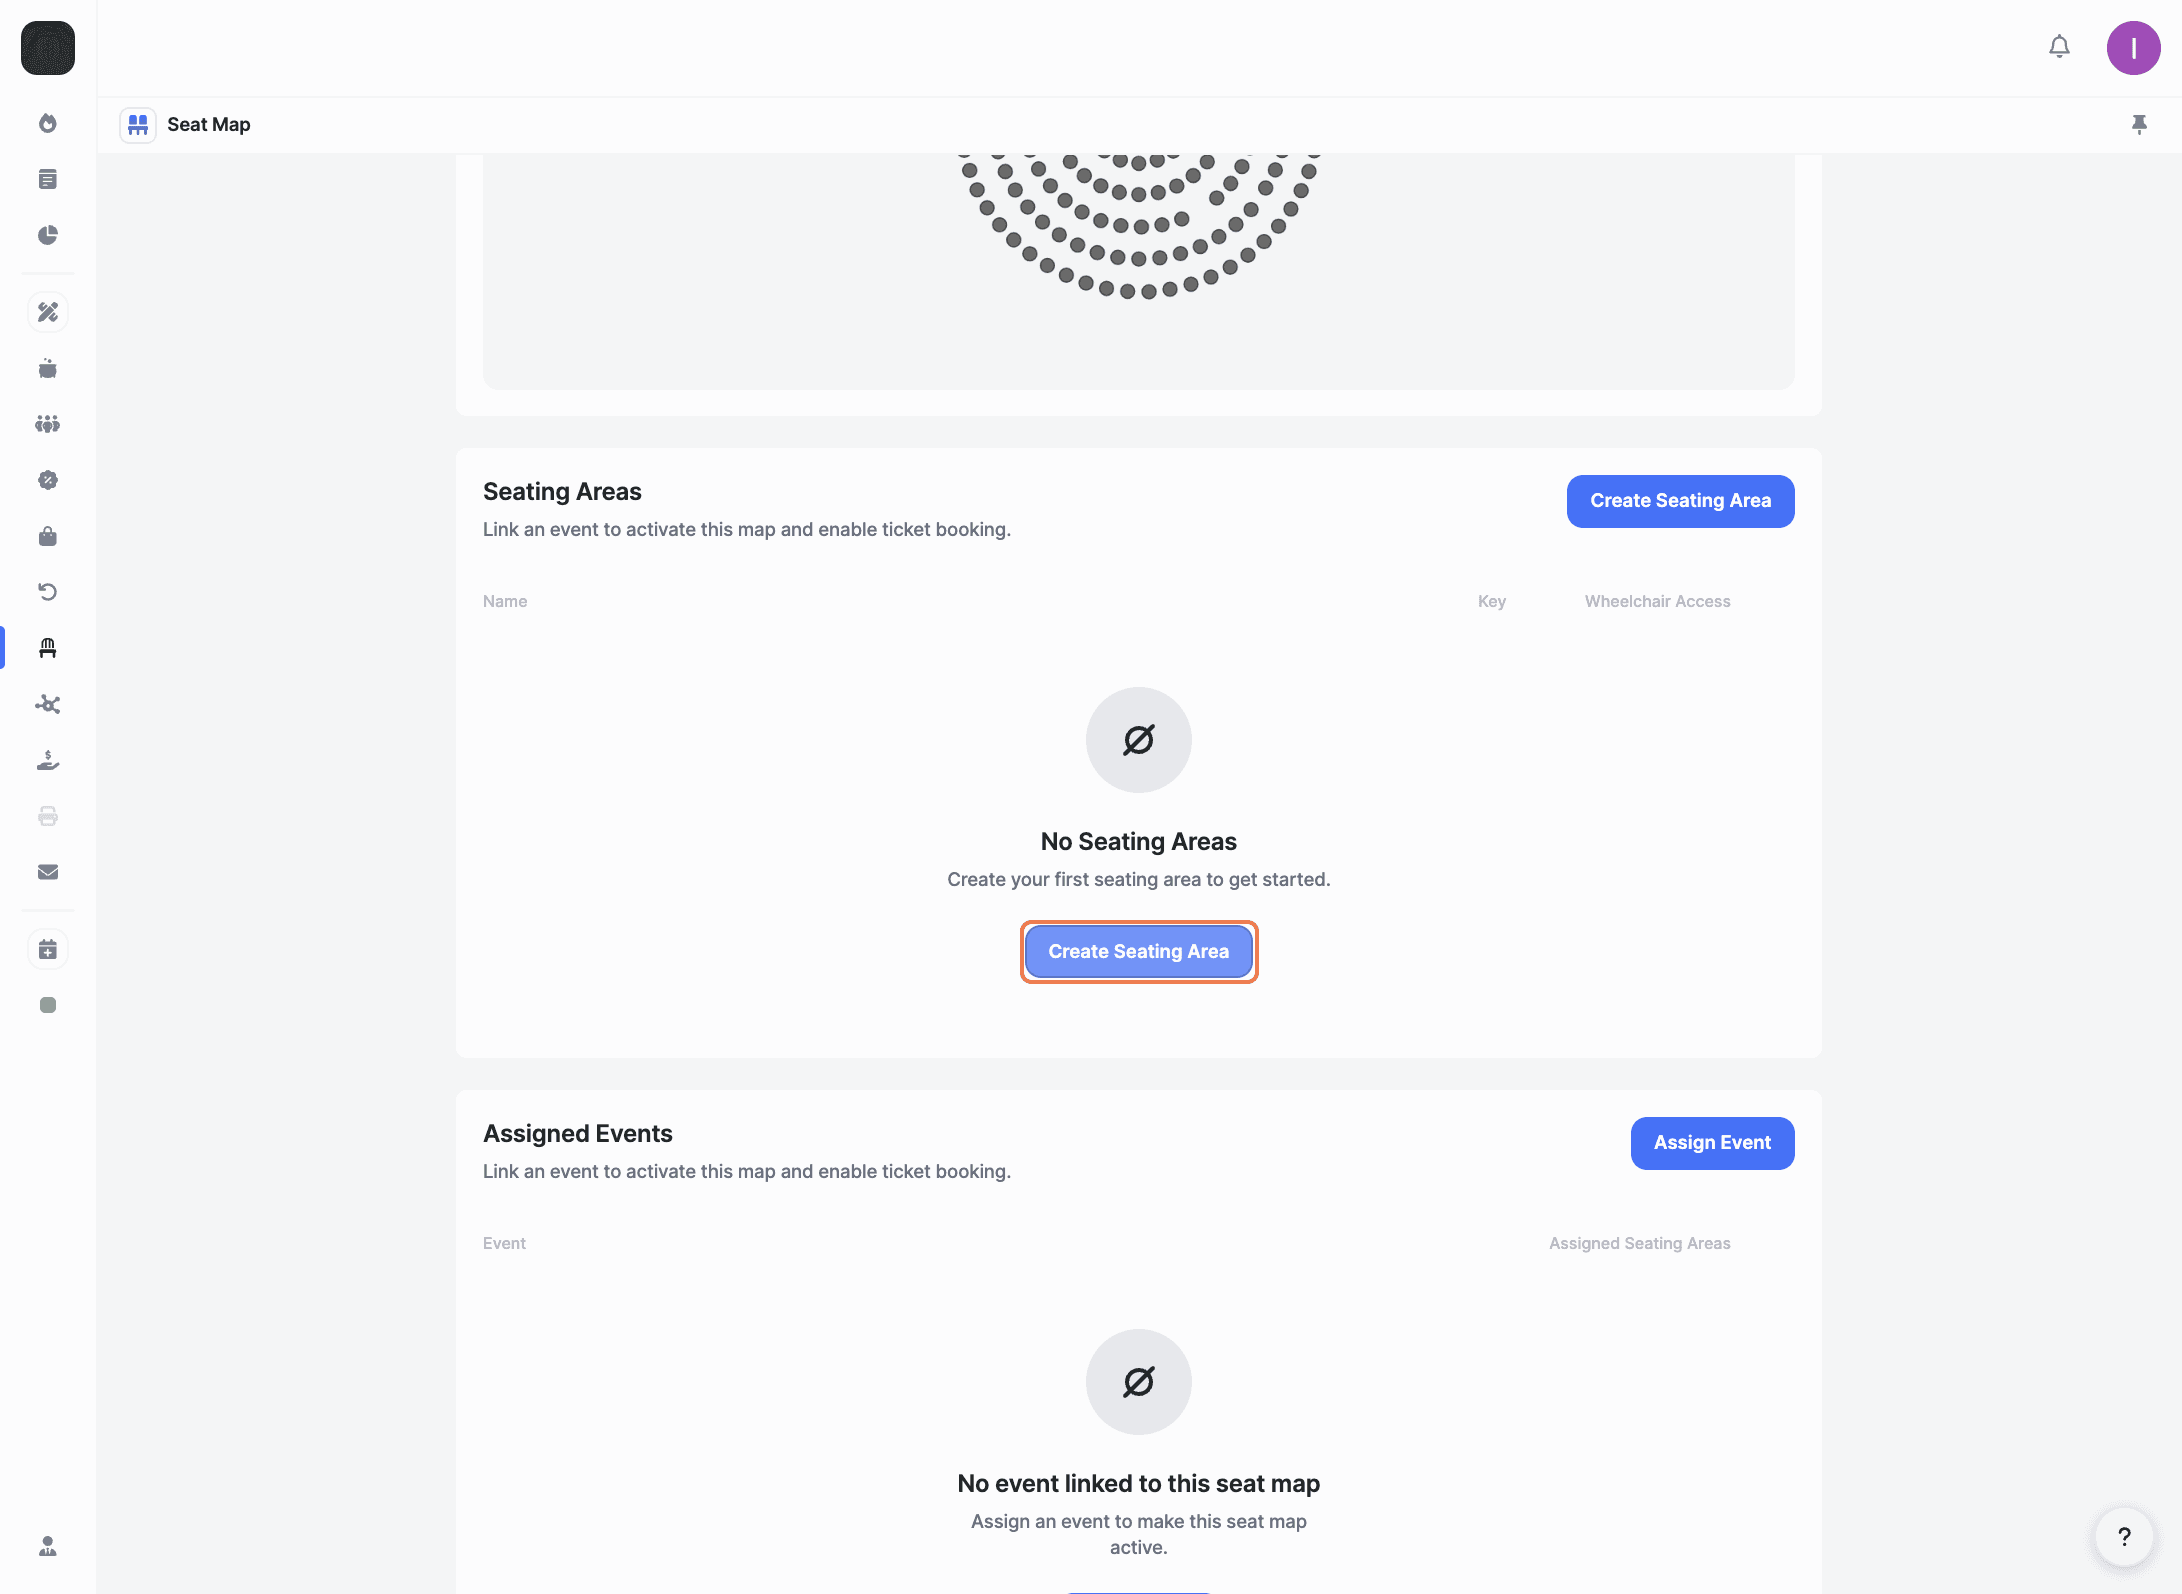
Seating areas help you organize your venue and link tickets to specific sections.
In the 'Seating Areas' section, click 'Create Seating Area'.
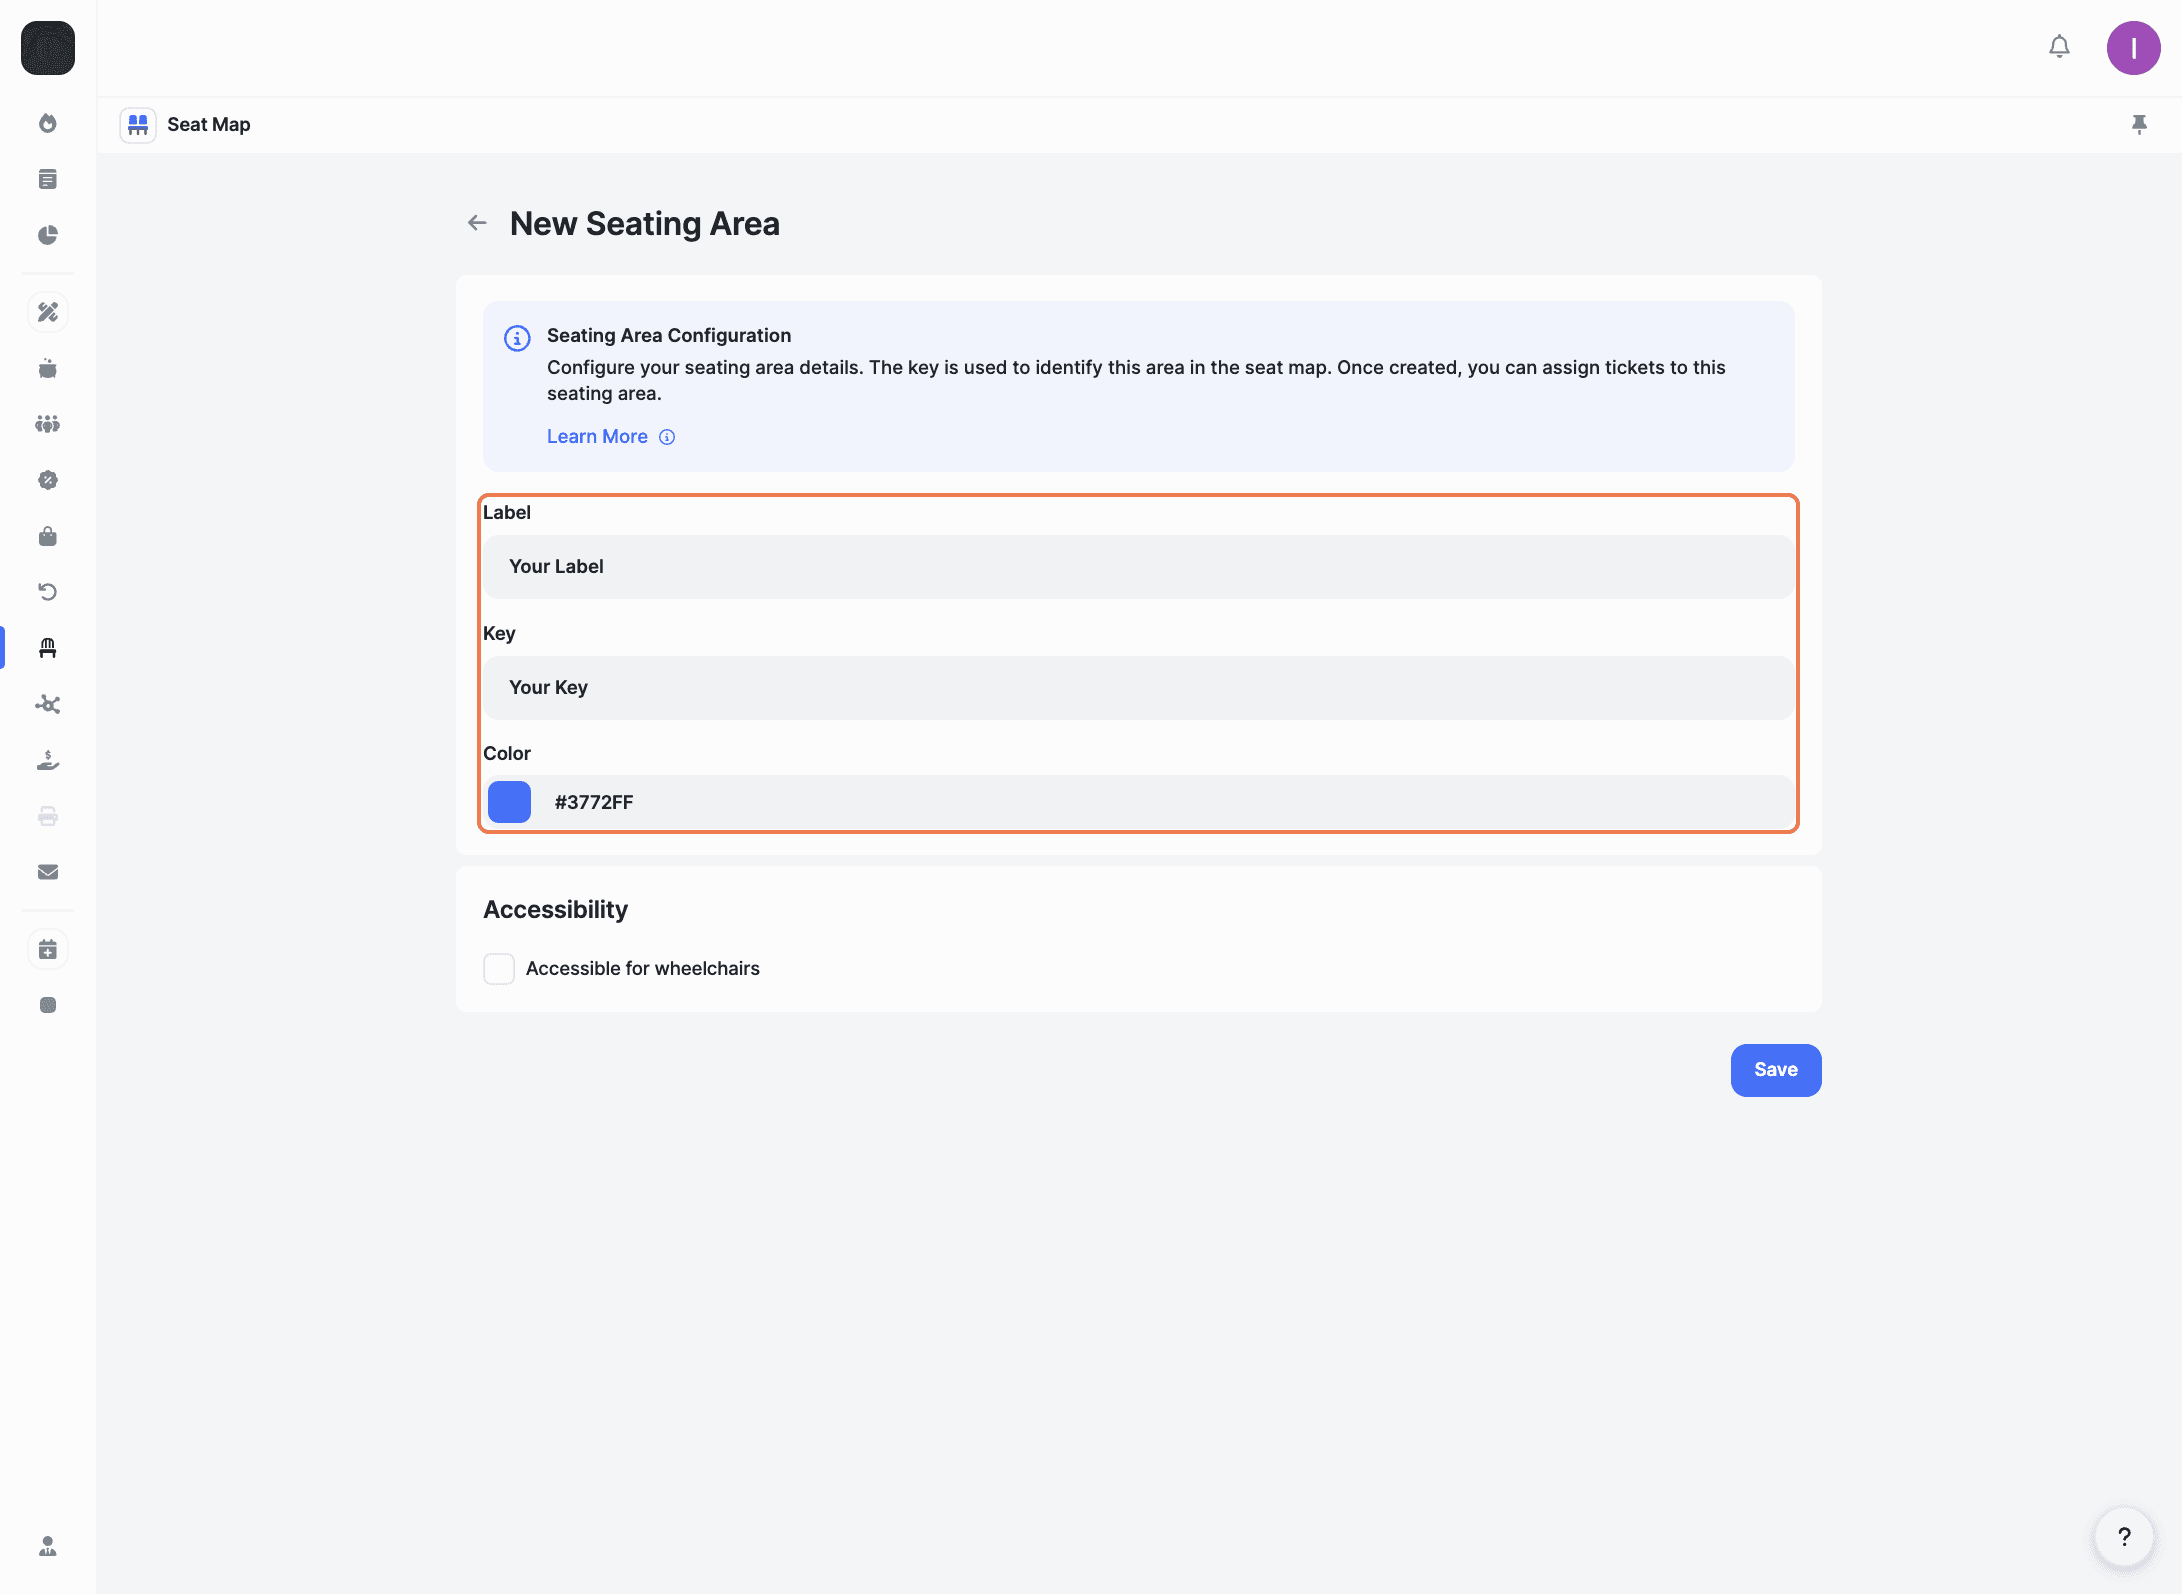
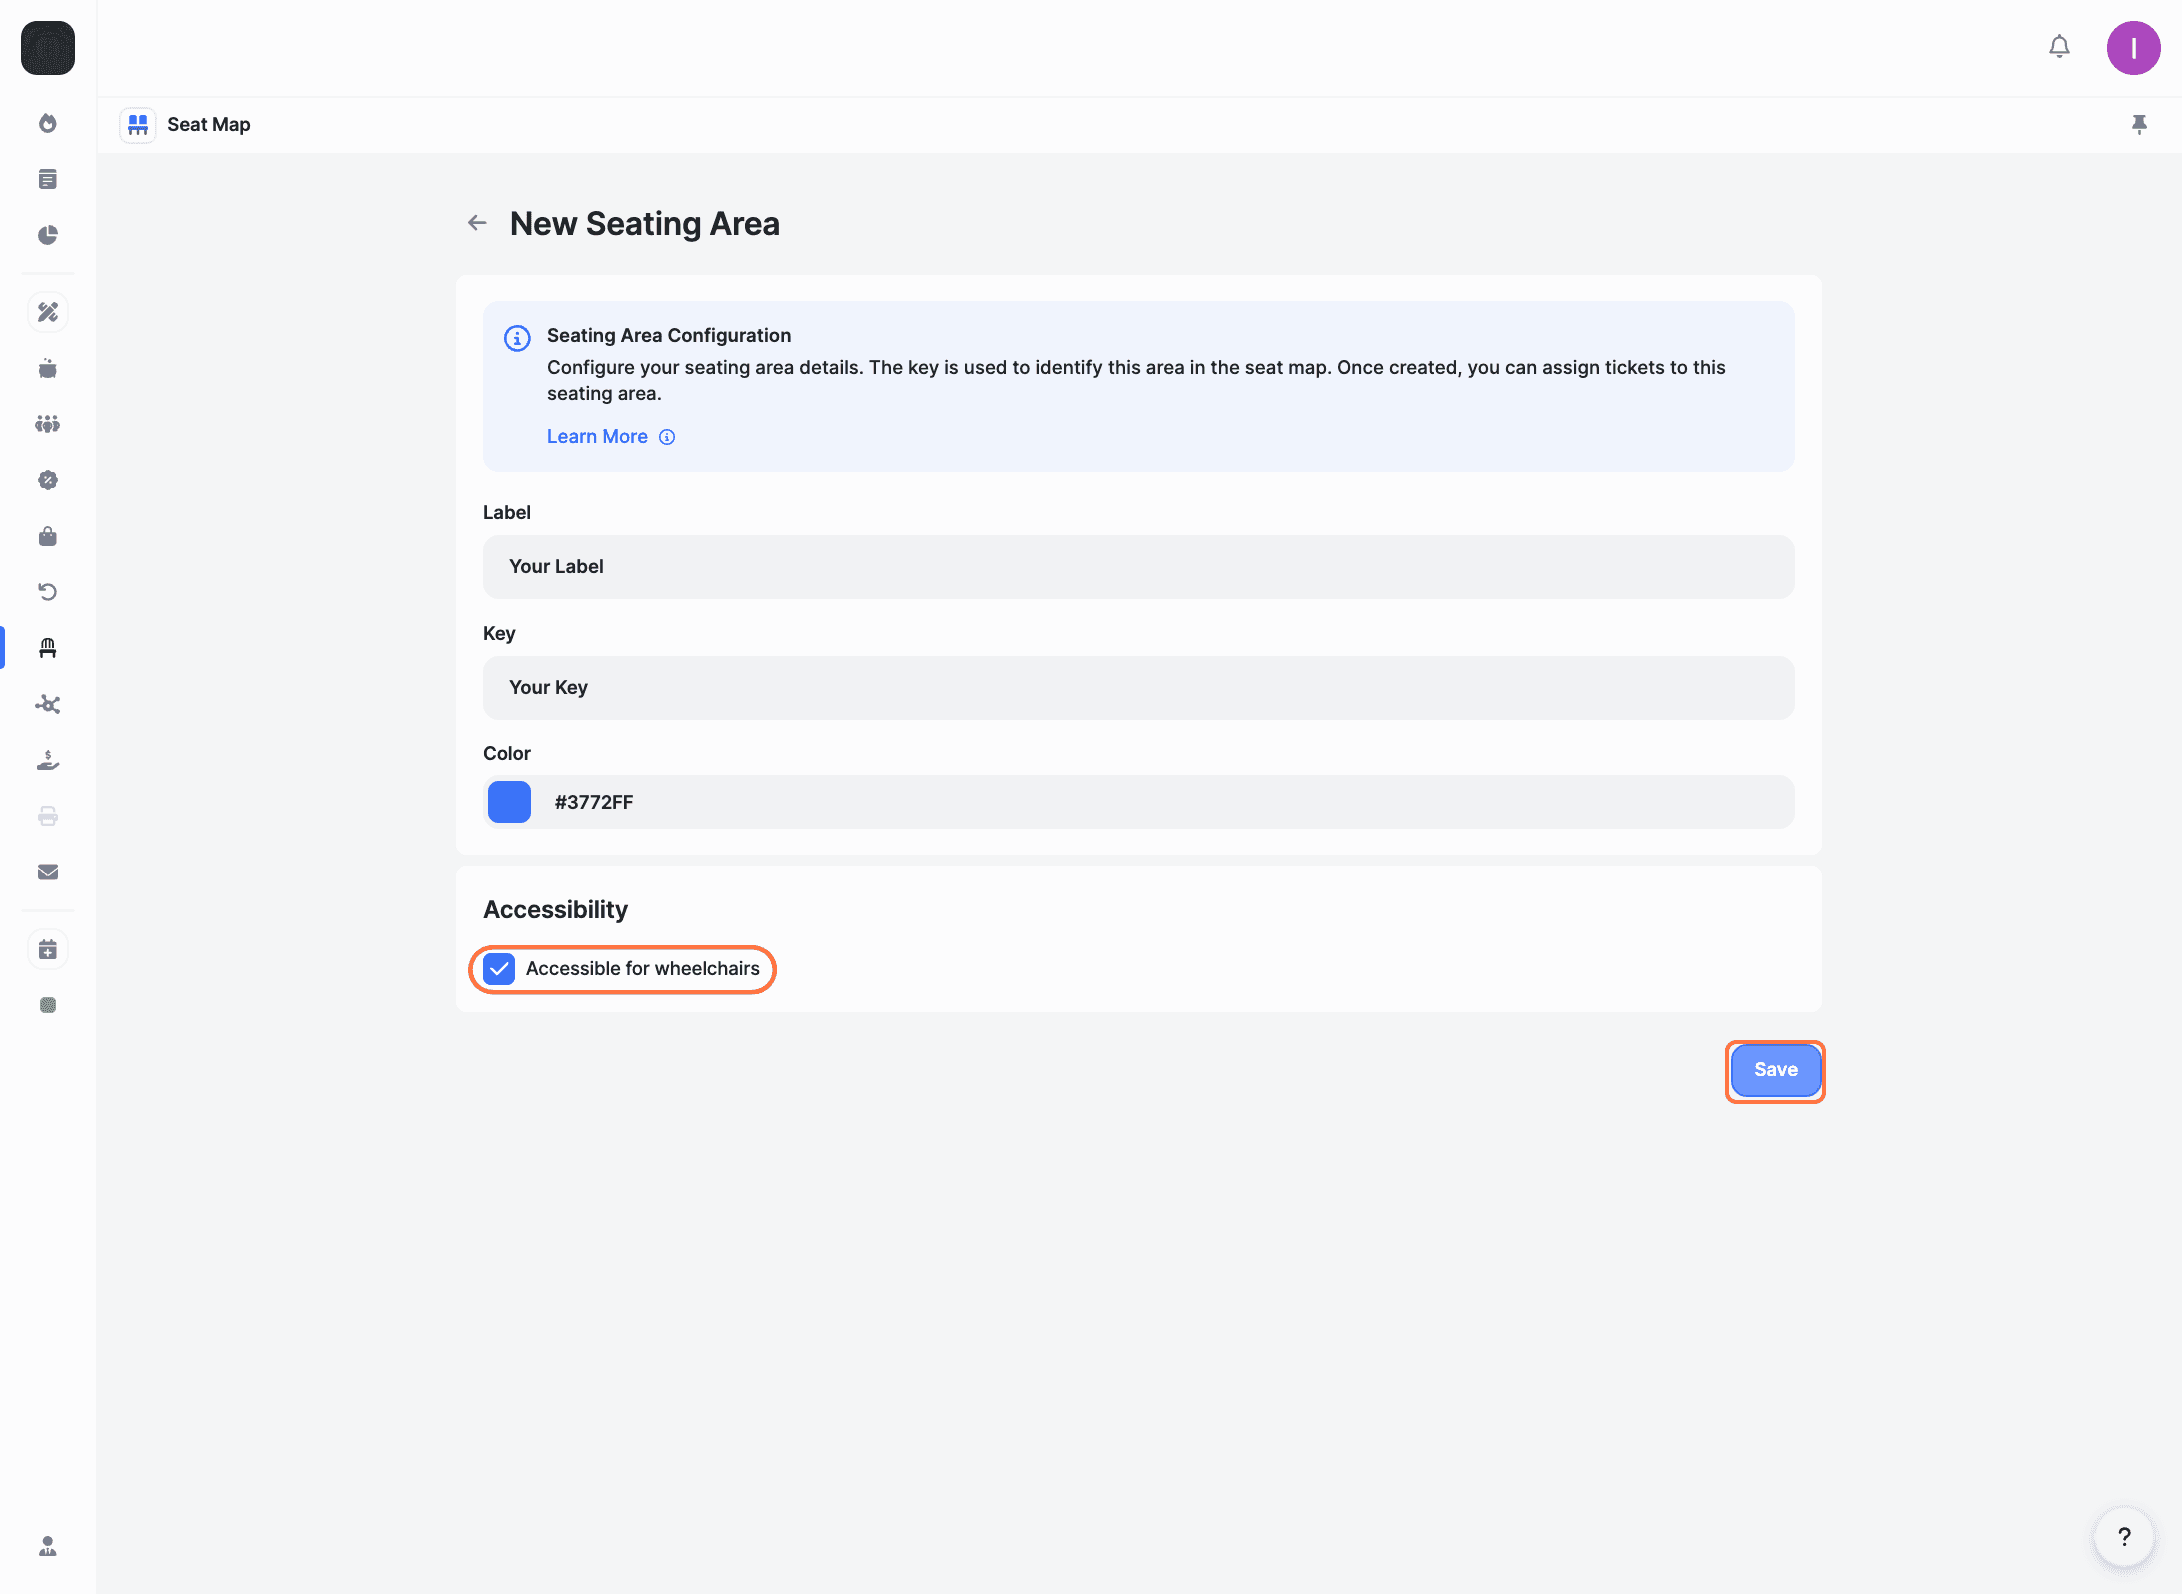
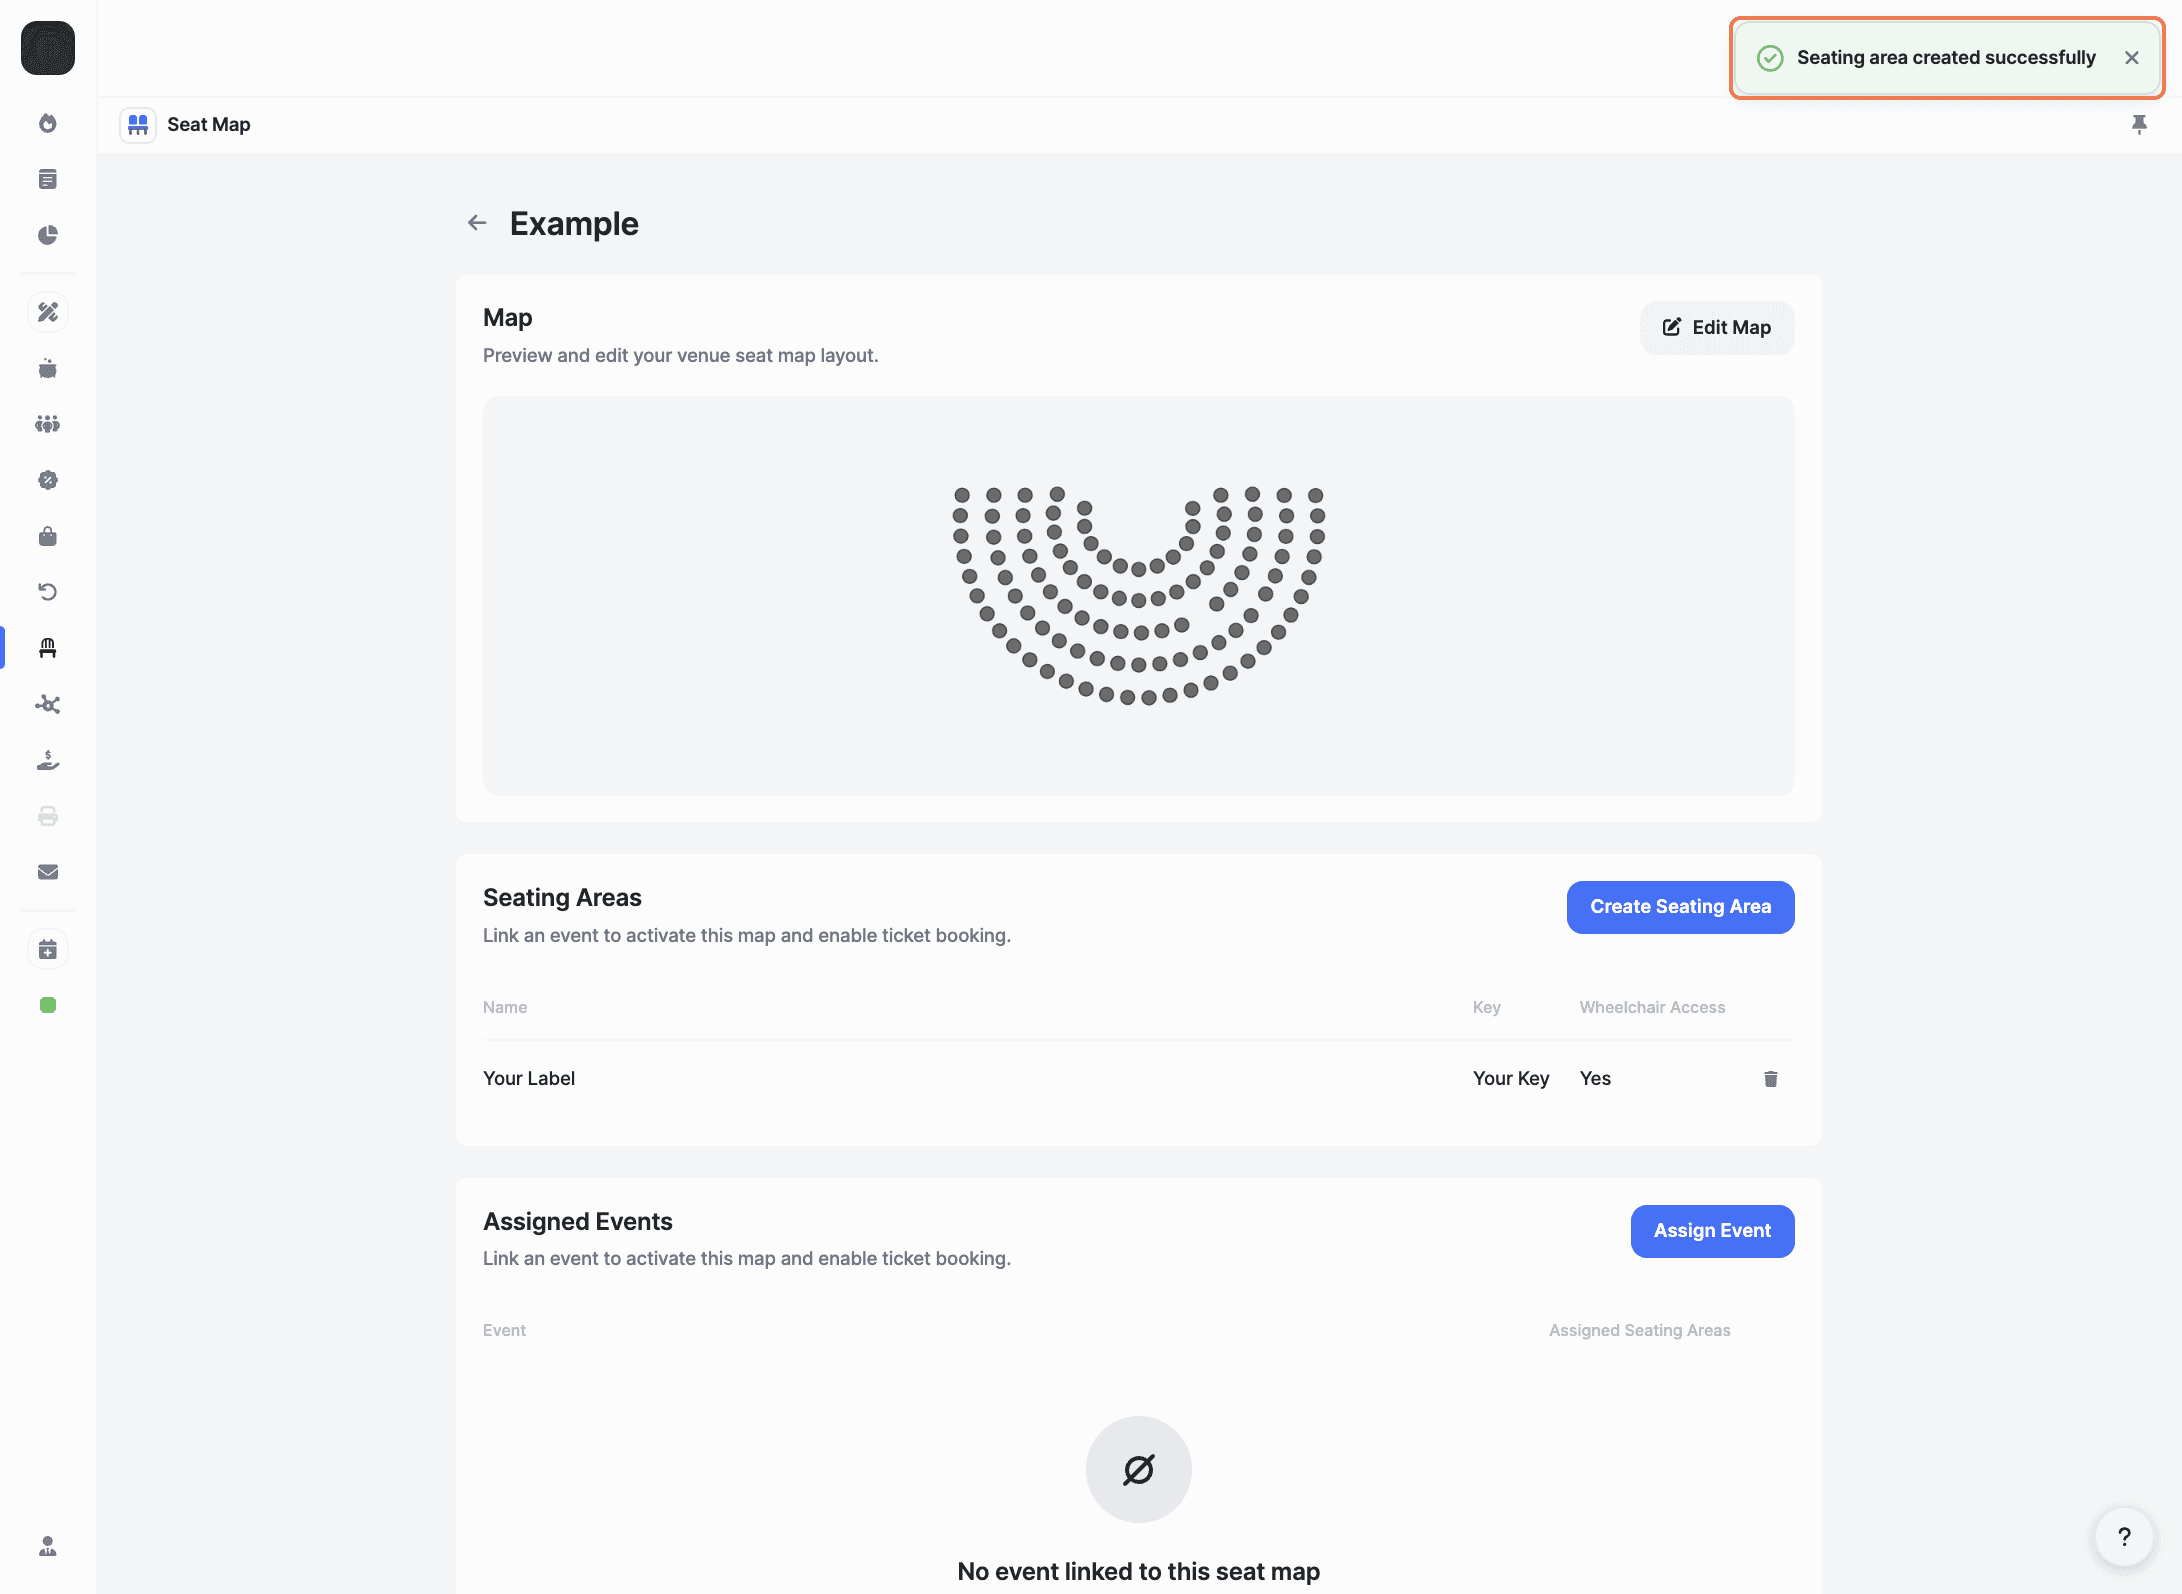
You'll see a confirmation message: 'Seating area has been created successfully'. Once created, you can assign tickets to this seating area.
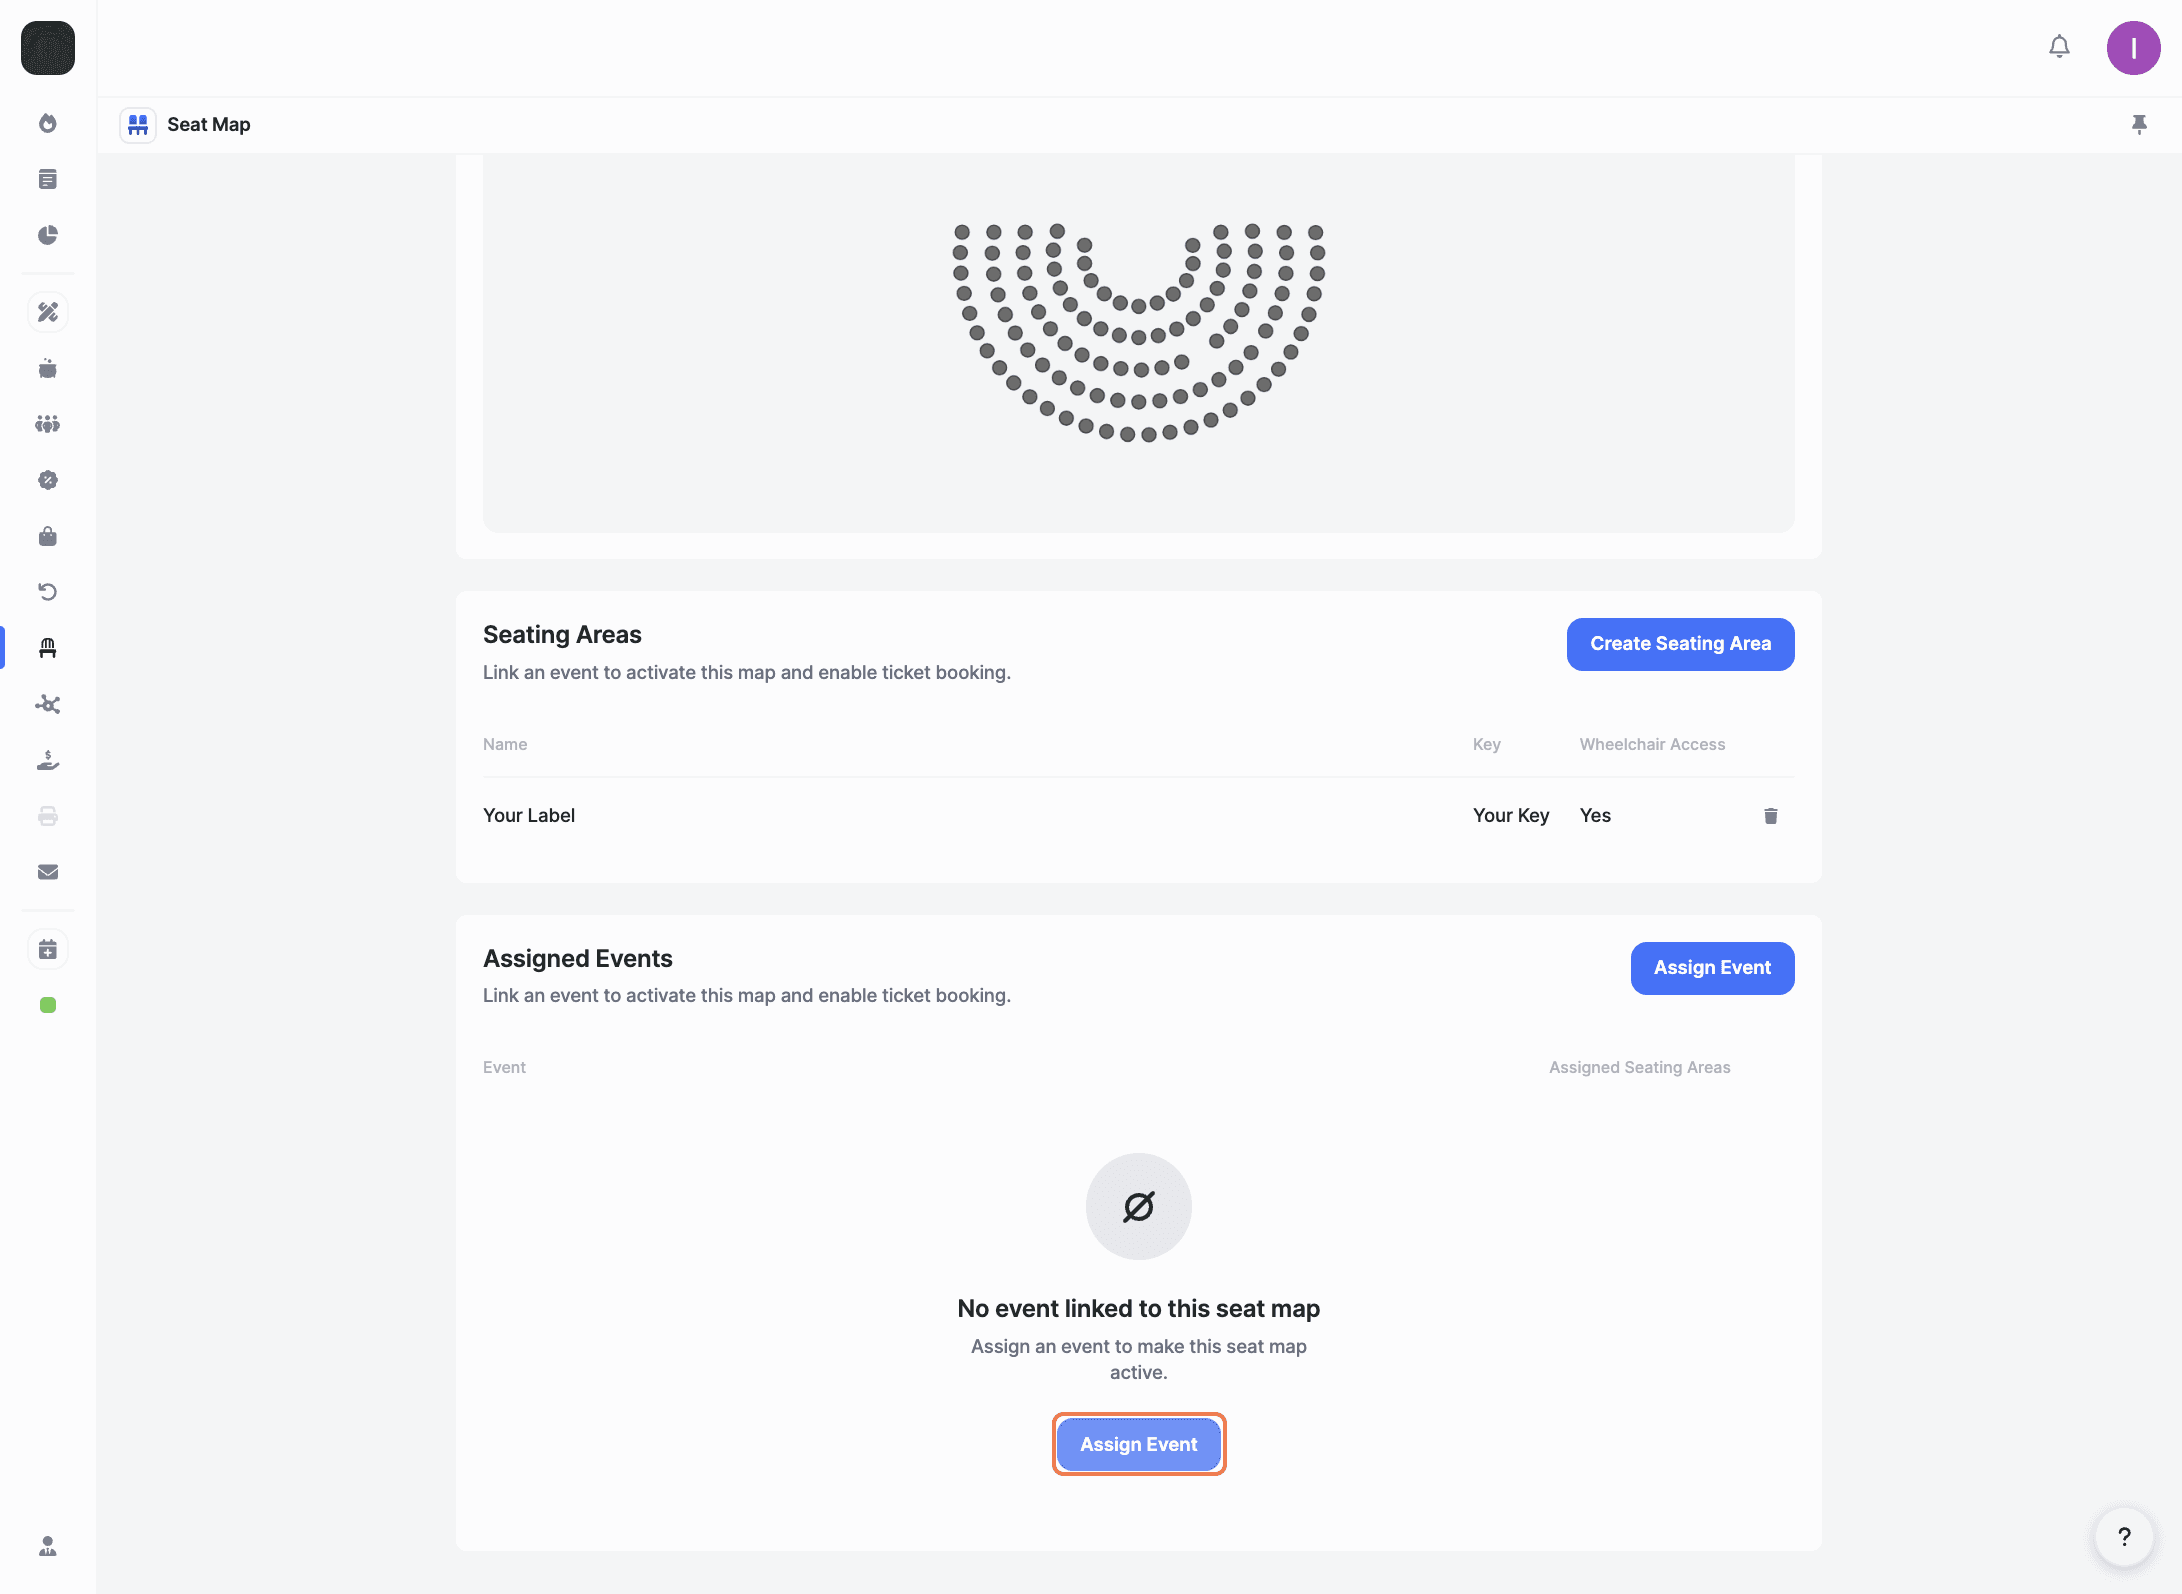
Link your seat map to an event to activate it and enable ticket booking.
In the 'Assigned Events' section, click 'Assign Event'.
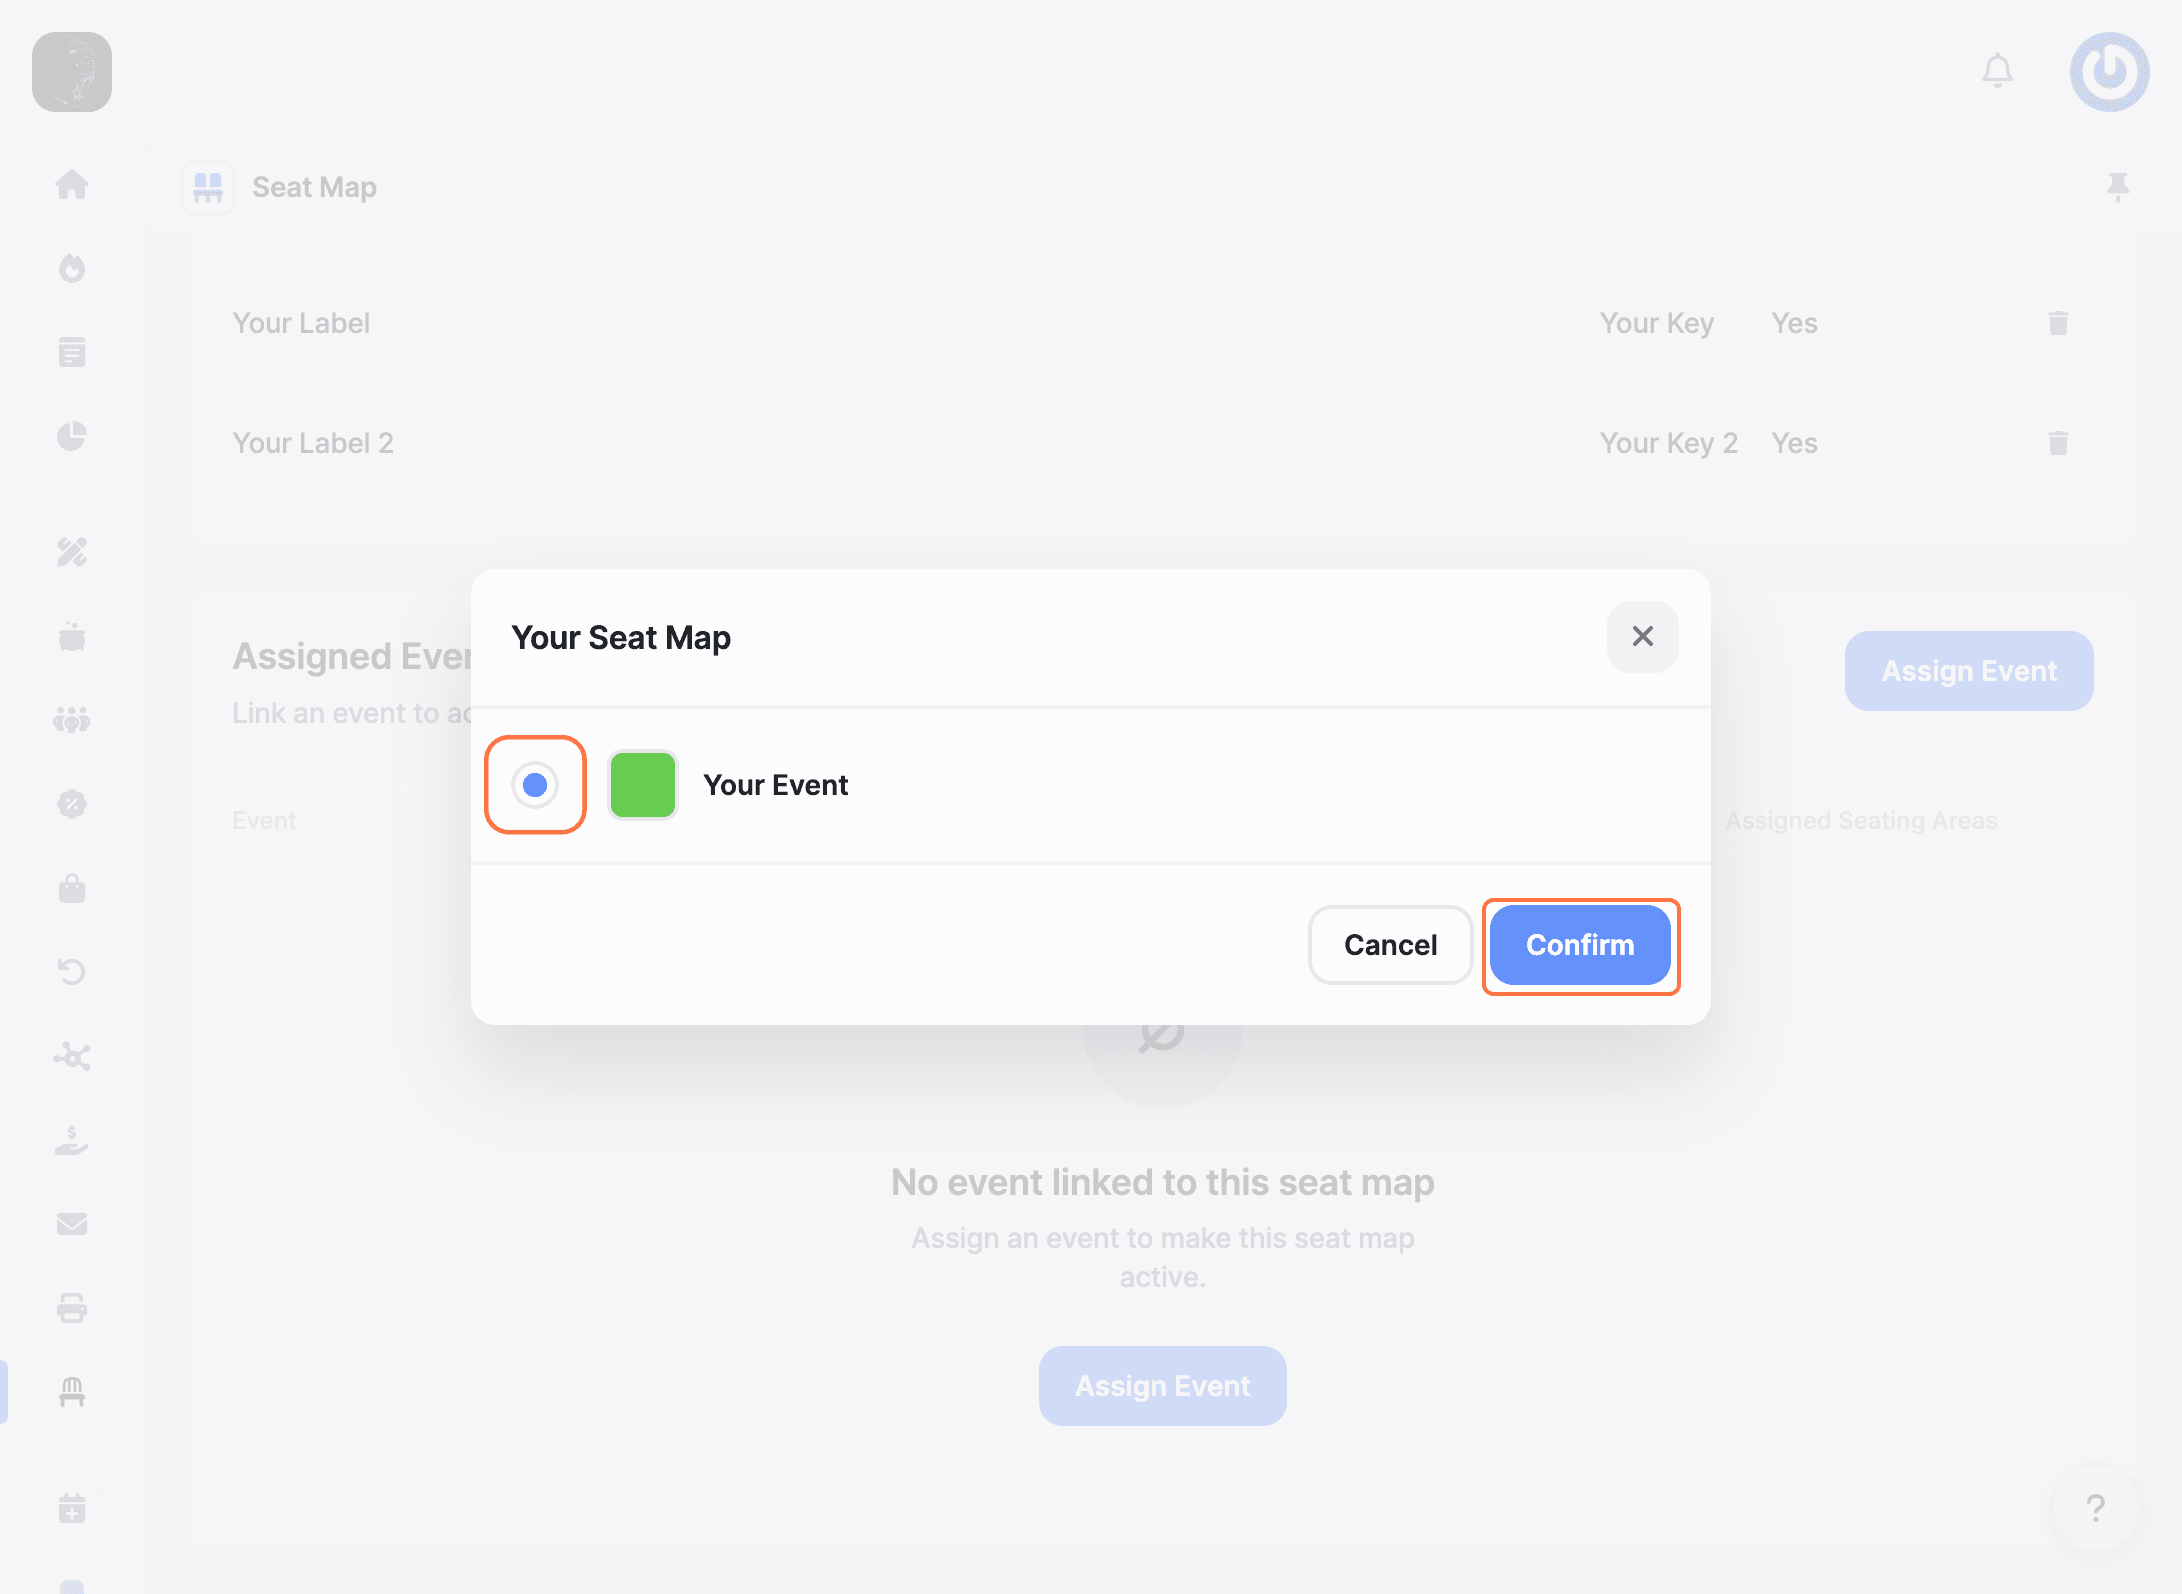
Select the event you want to link to this seat map from the list and click 'Confirm'.
Your seat map is now active for that event. You can return to the Seat Map app anytime to view or manage all your seat maps.
Can I use the same seat map for multiple events?
Yes! You can assign the same seat map to multiple events. Just go to the 'Assigned Events' section and link additional events as needed.
What file formats are supported for reference charts?
You can upload PNG, GIF, JPEG, PDF, or SVG files up to 15 MB.
Do I need to create a reference chart, or can I build the layout from scratch?
Both options work. If you have an existing floor plan, uploading it as a reference chart speeds up the process. If not, you can use the drawing tools to create your venue layout from scratch.
Explore More
View All


