Lorem ipsum dolor sit amet, consetetur sadipscing elitr, sed diam nonumy eirmod.
Lorem ipsum dolor sit amet, consetetur sadipscing elitr, sed diam nonumy eirmod.
Creating a New Event
Create New Event

Start creating your event by picking its name, type, category, and minimum age.
Note: You can create unlimited events.
In this article:
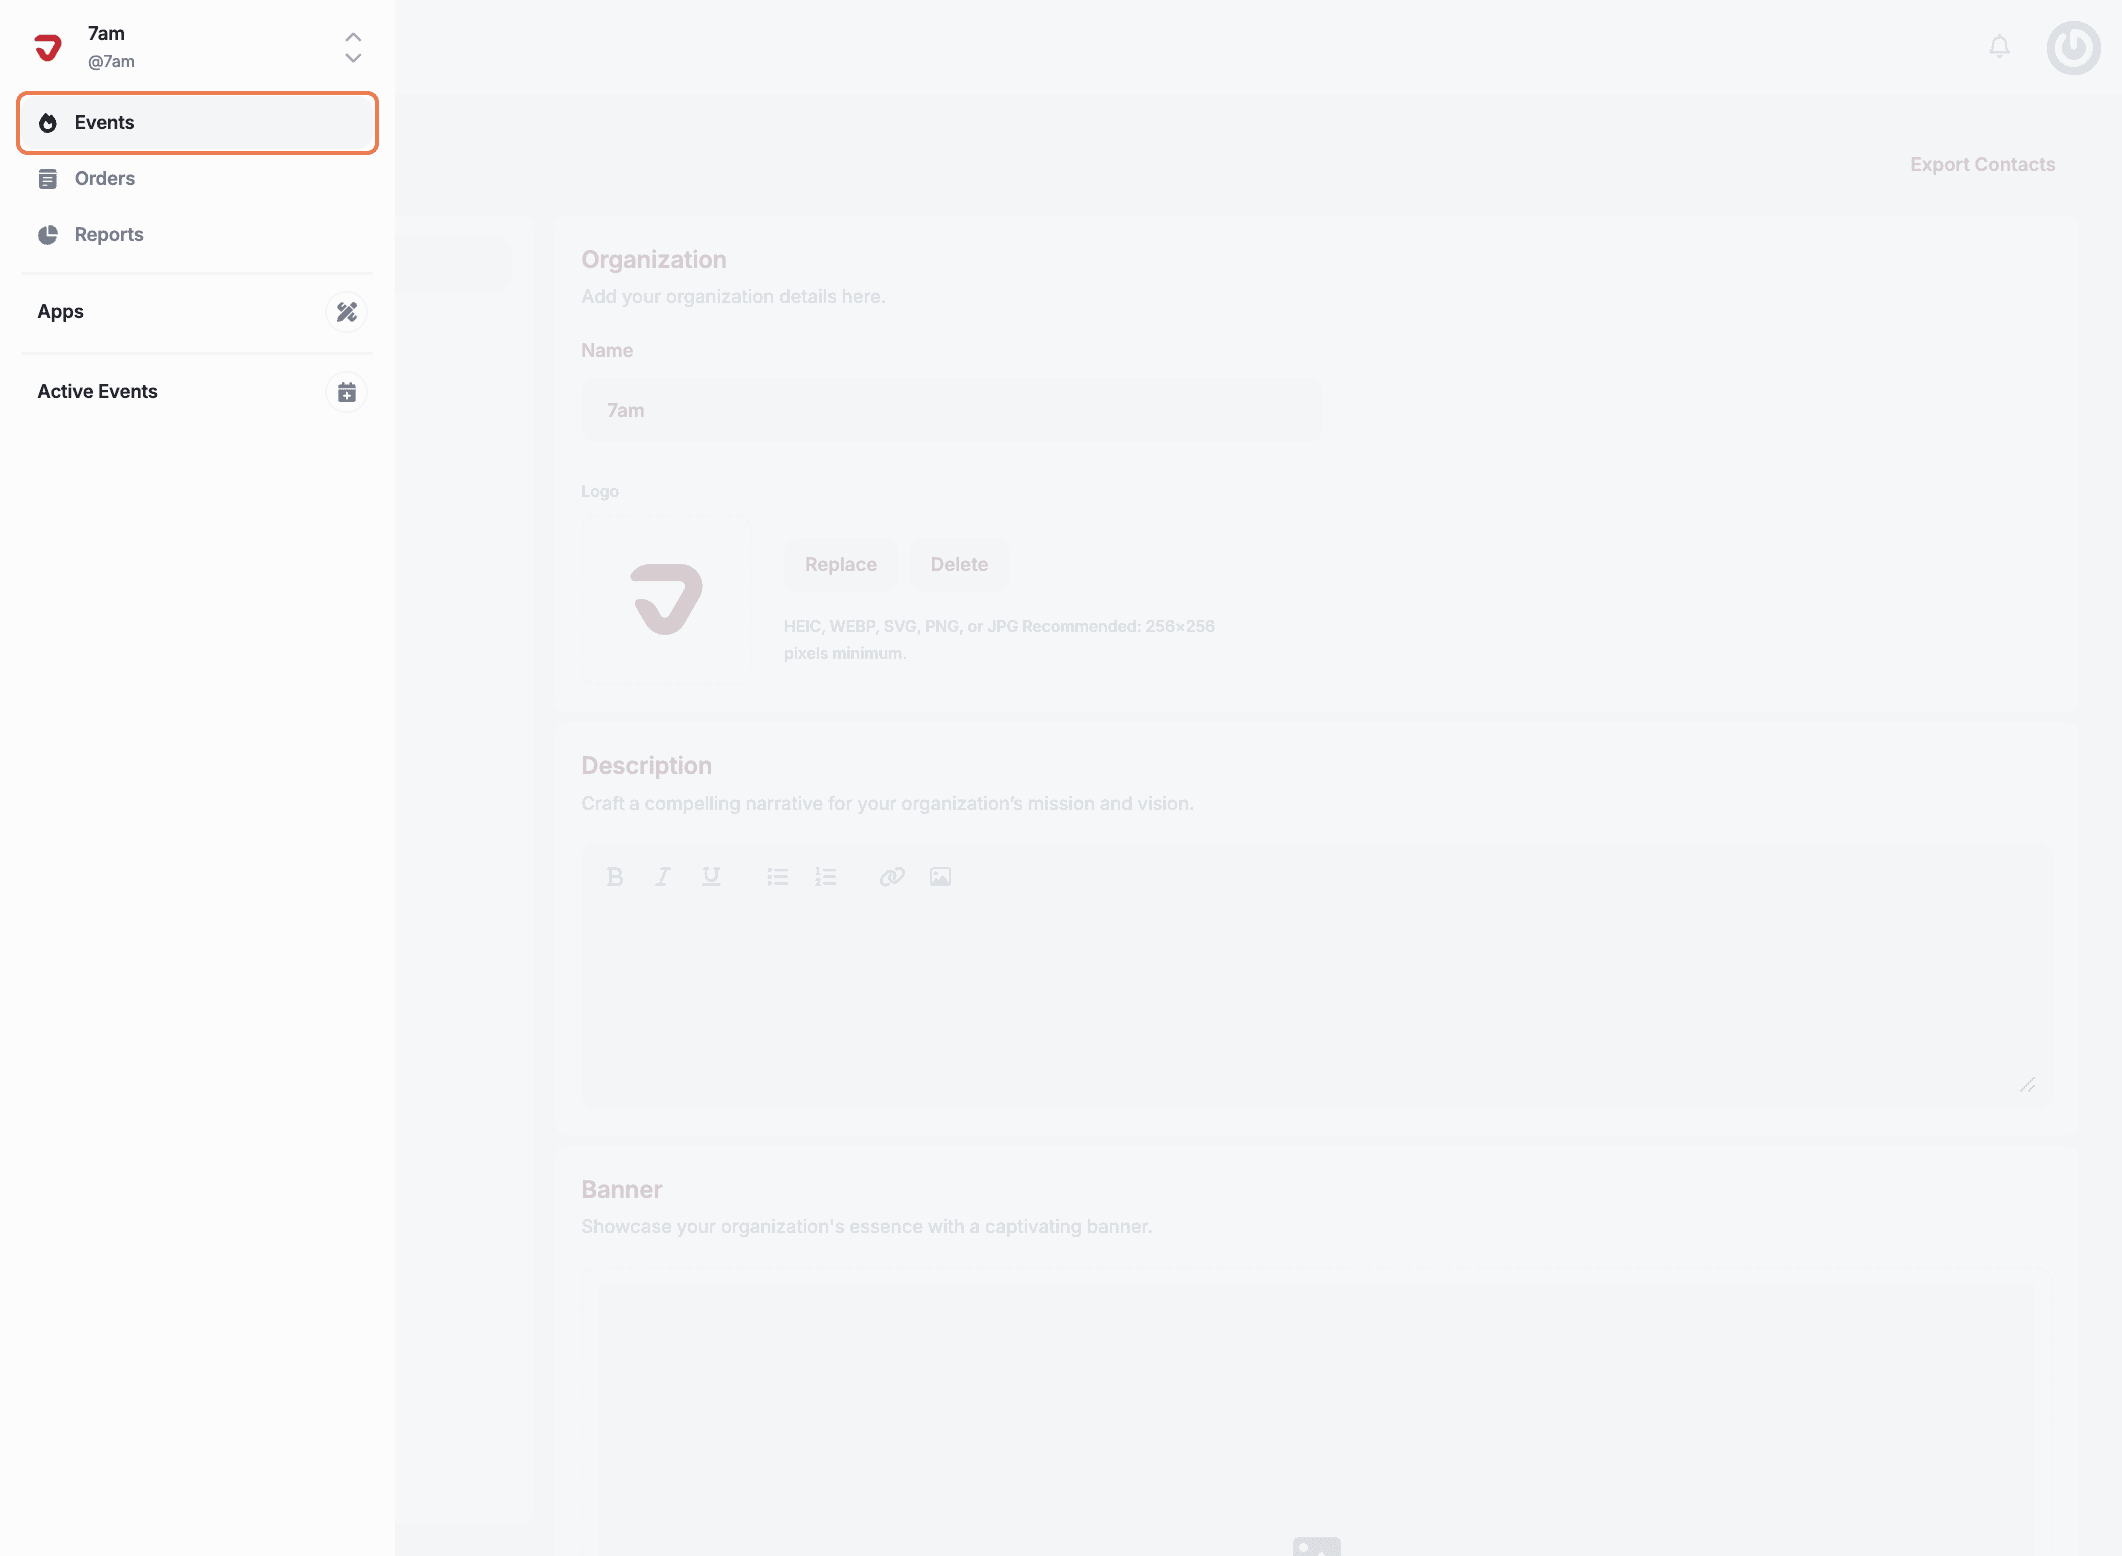
Click on 'Events' in the sidebar.
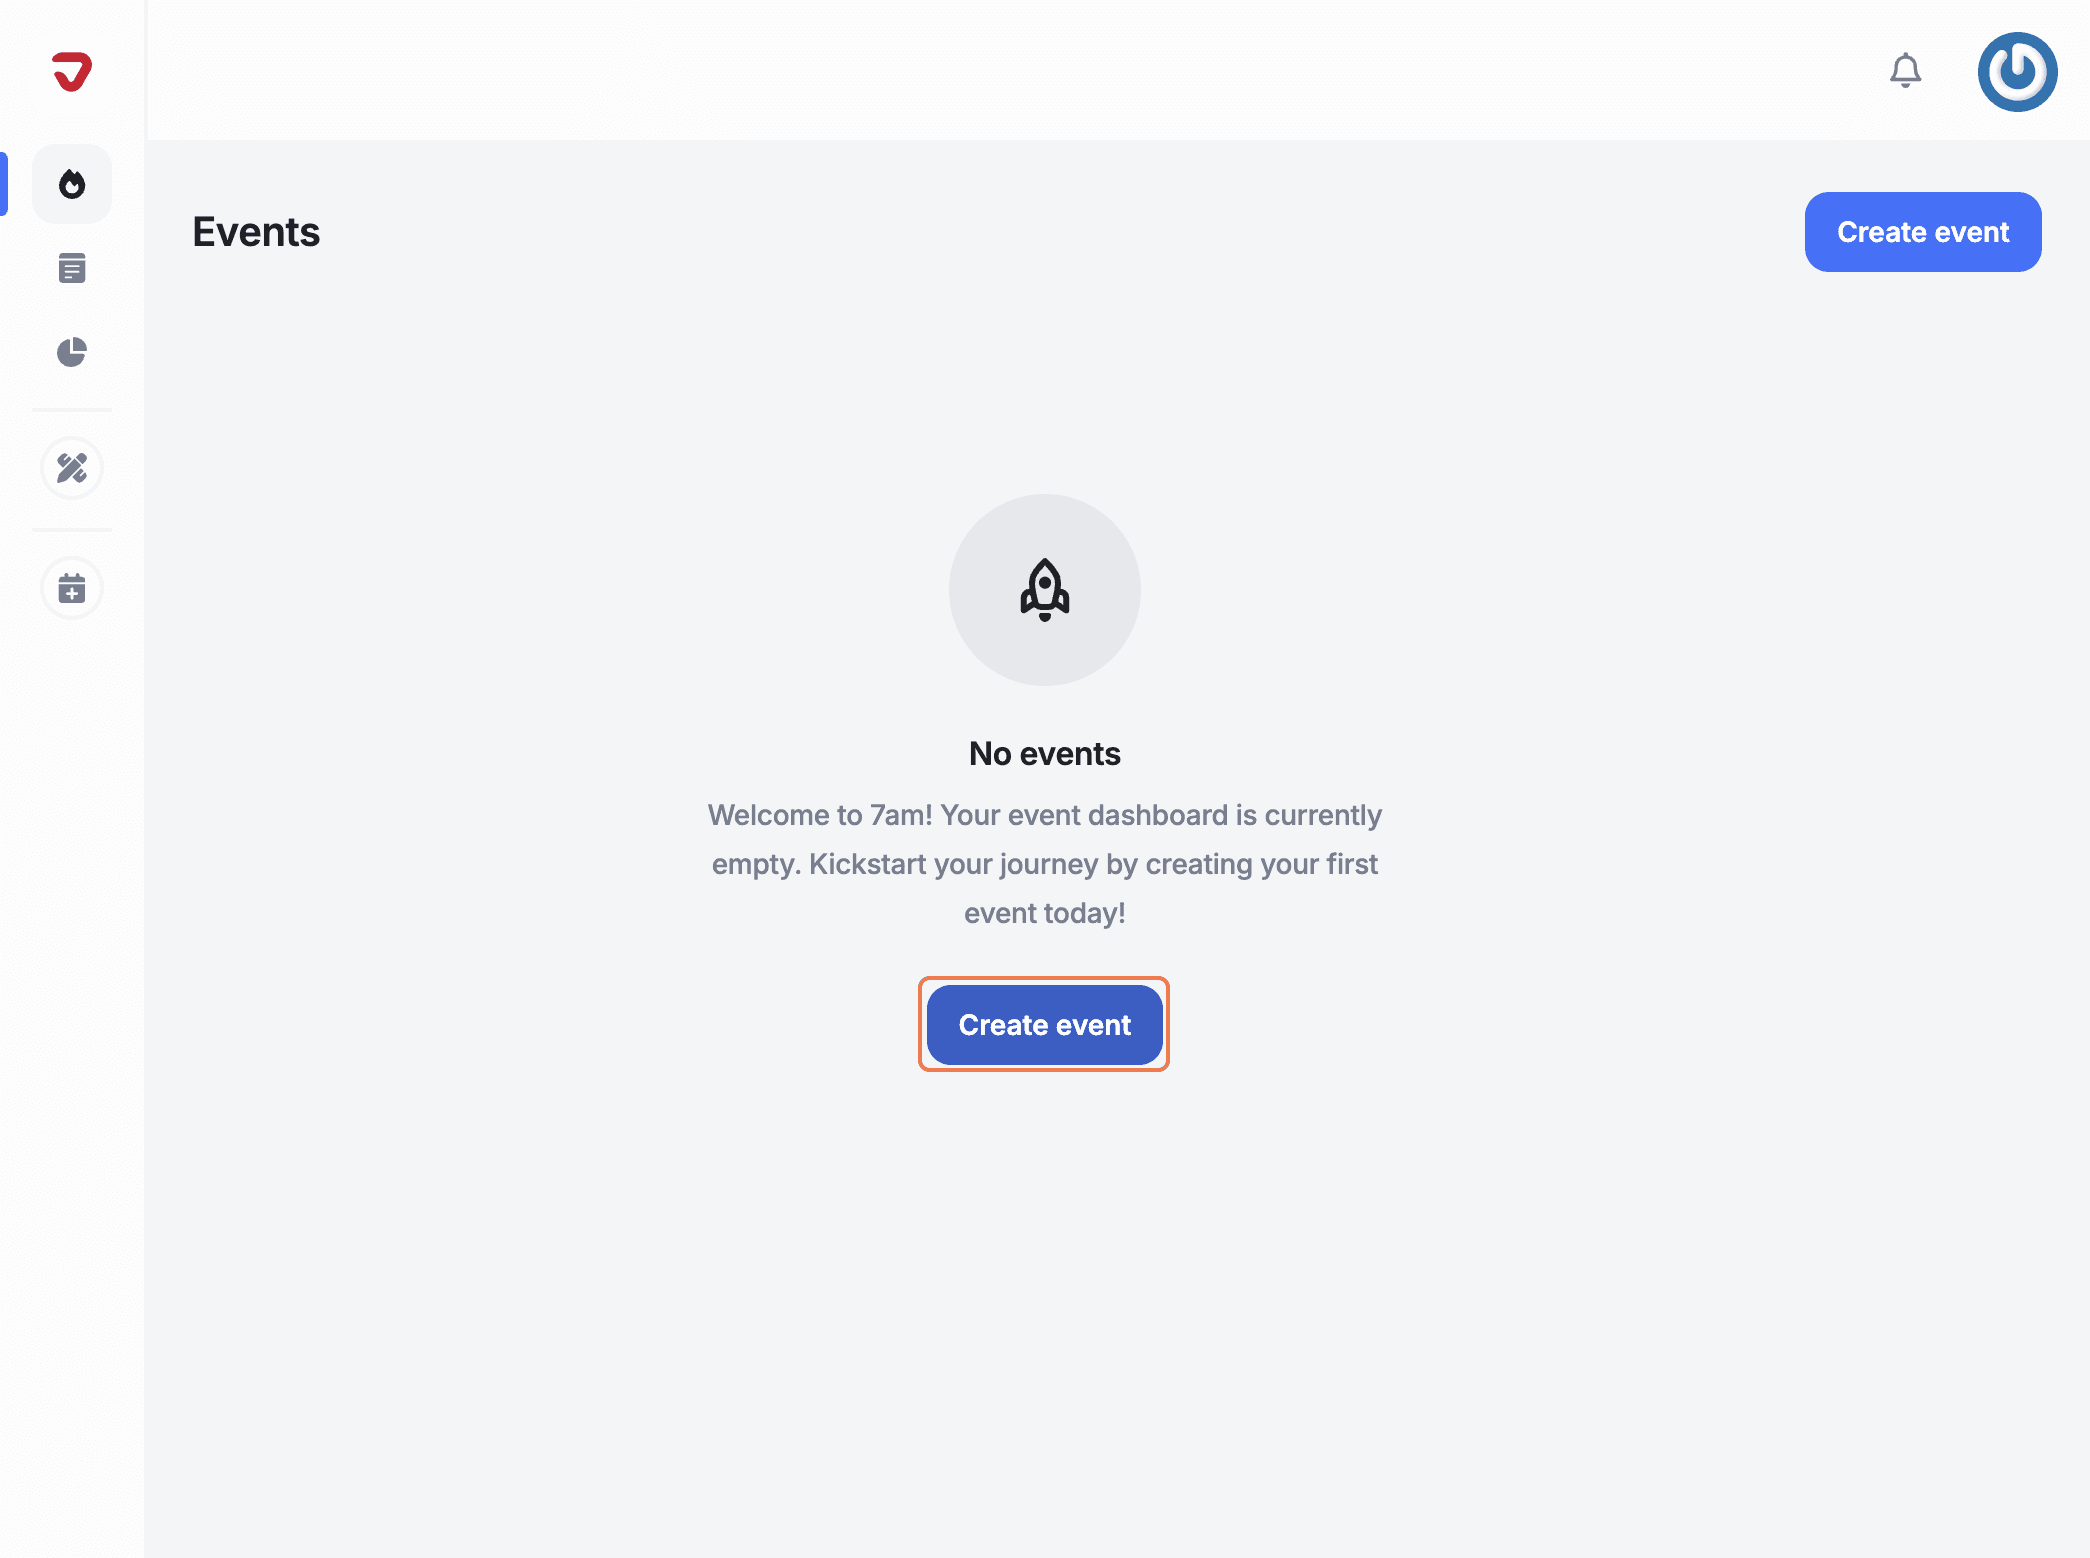
Click on 'Create event'.
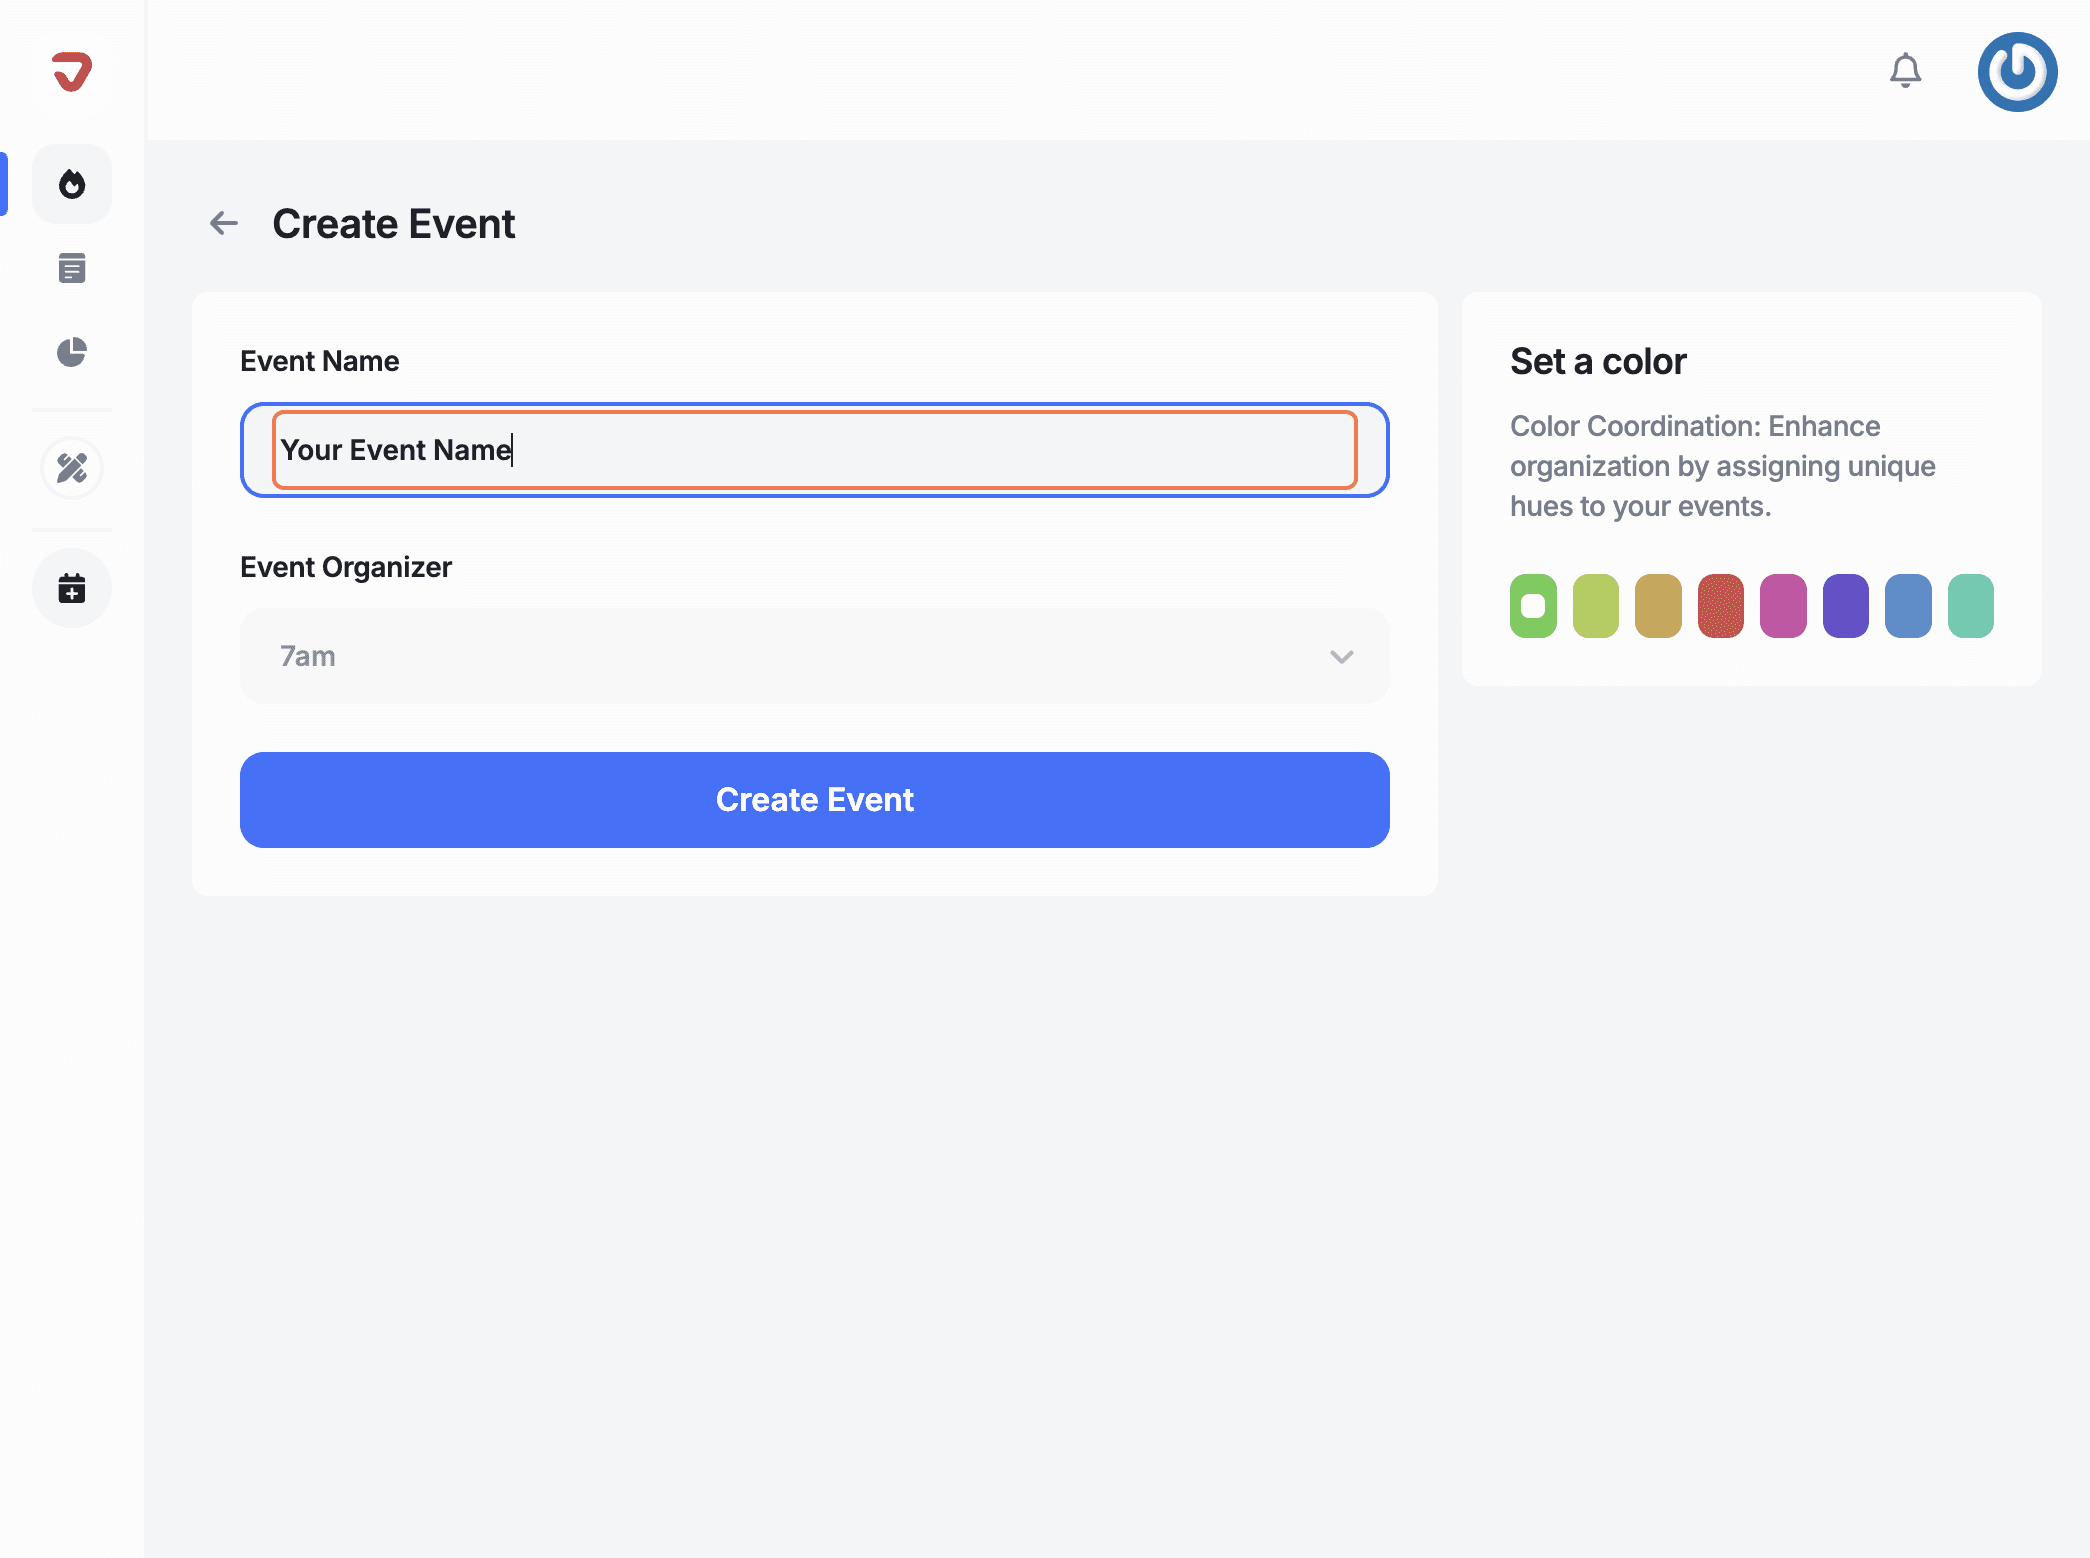
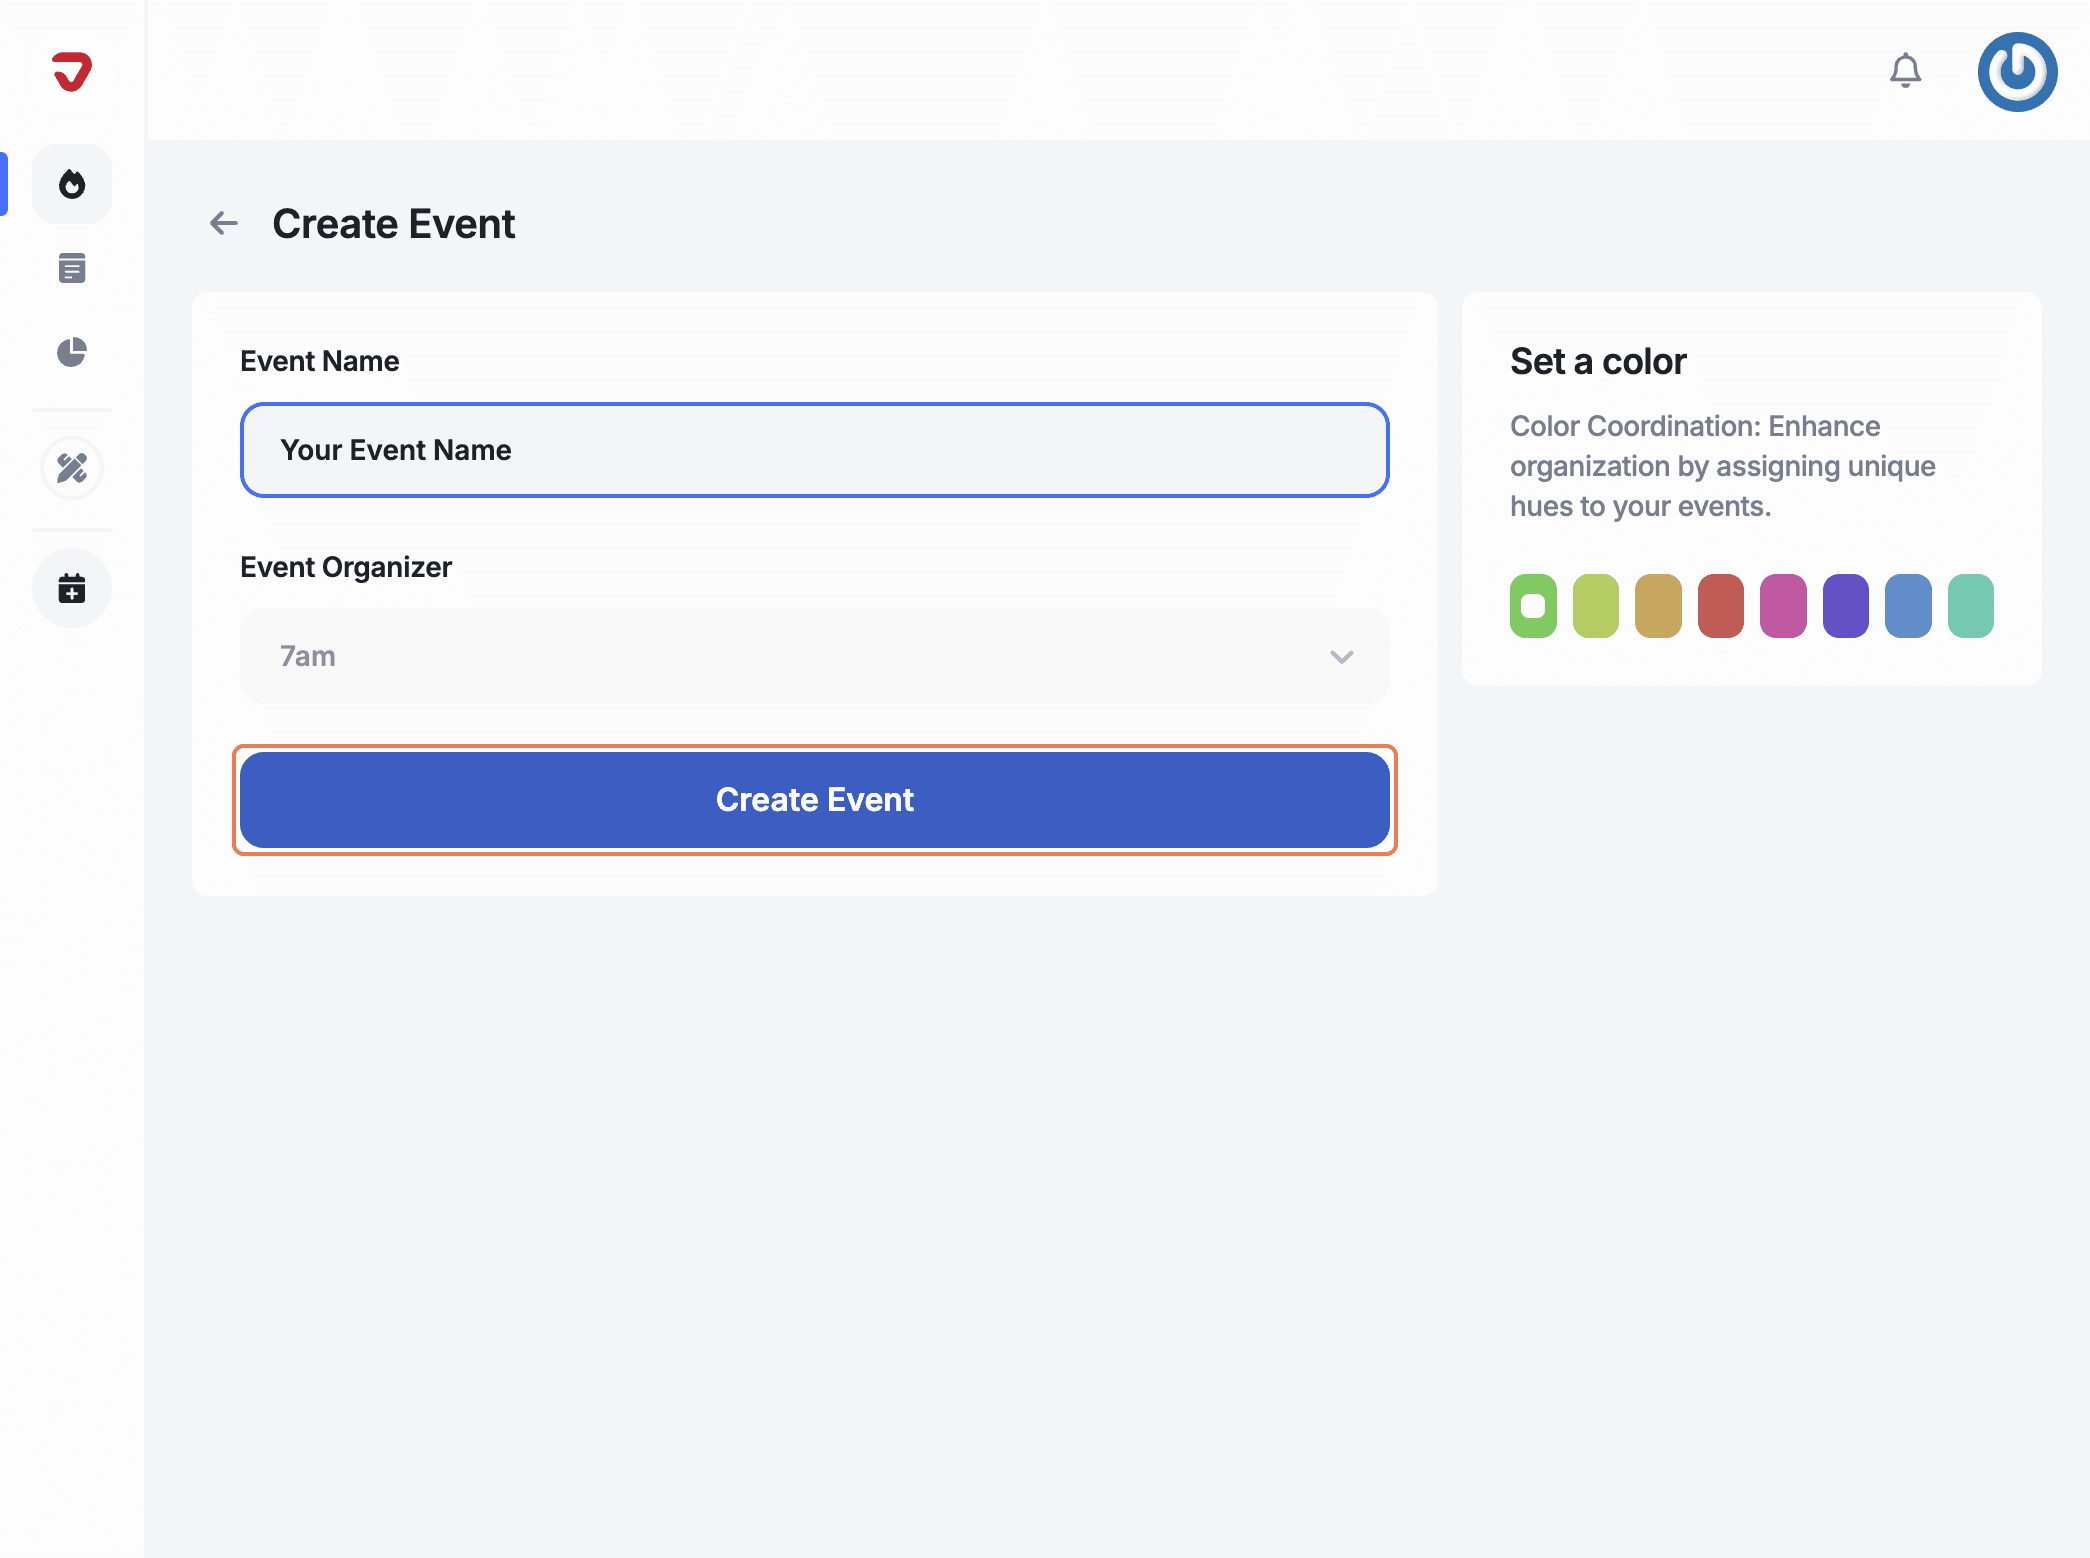
Pick a short, catchy name that reflects your event and grabs attention. Make it memorable!
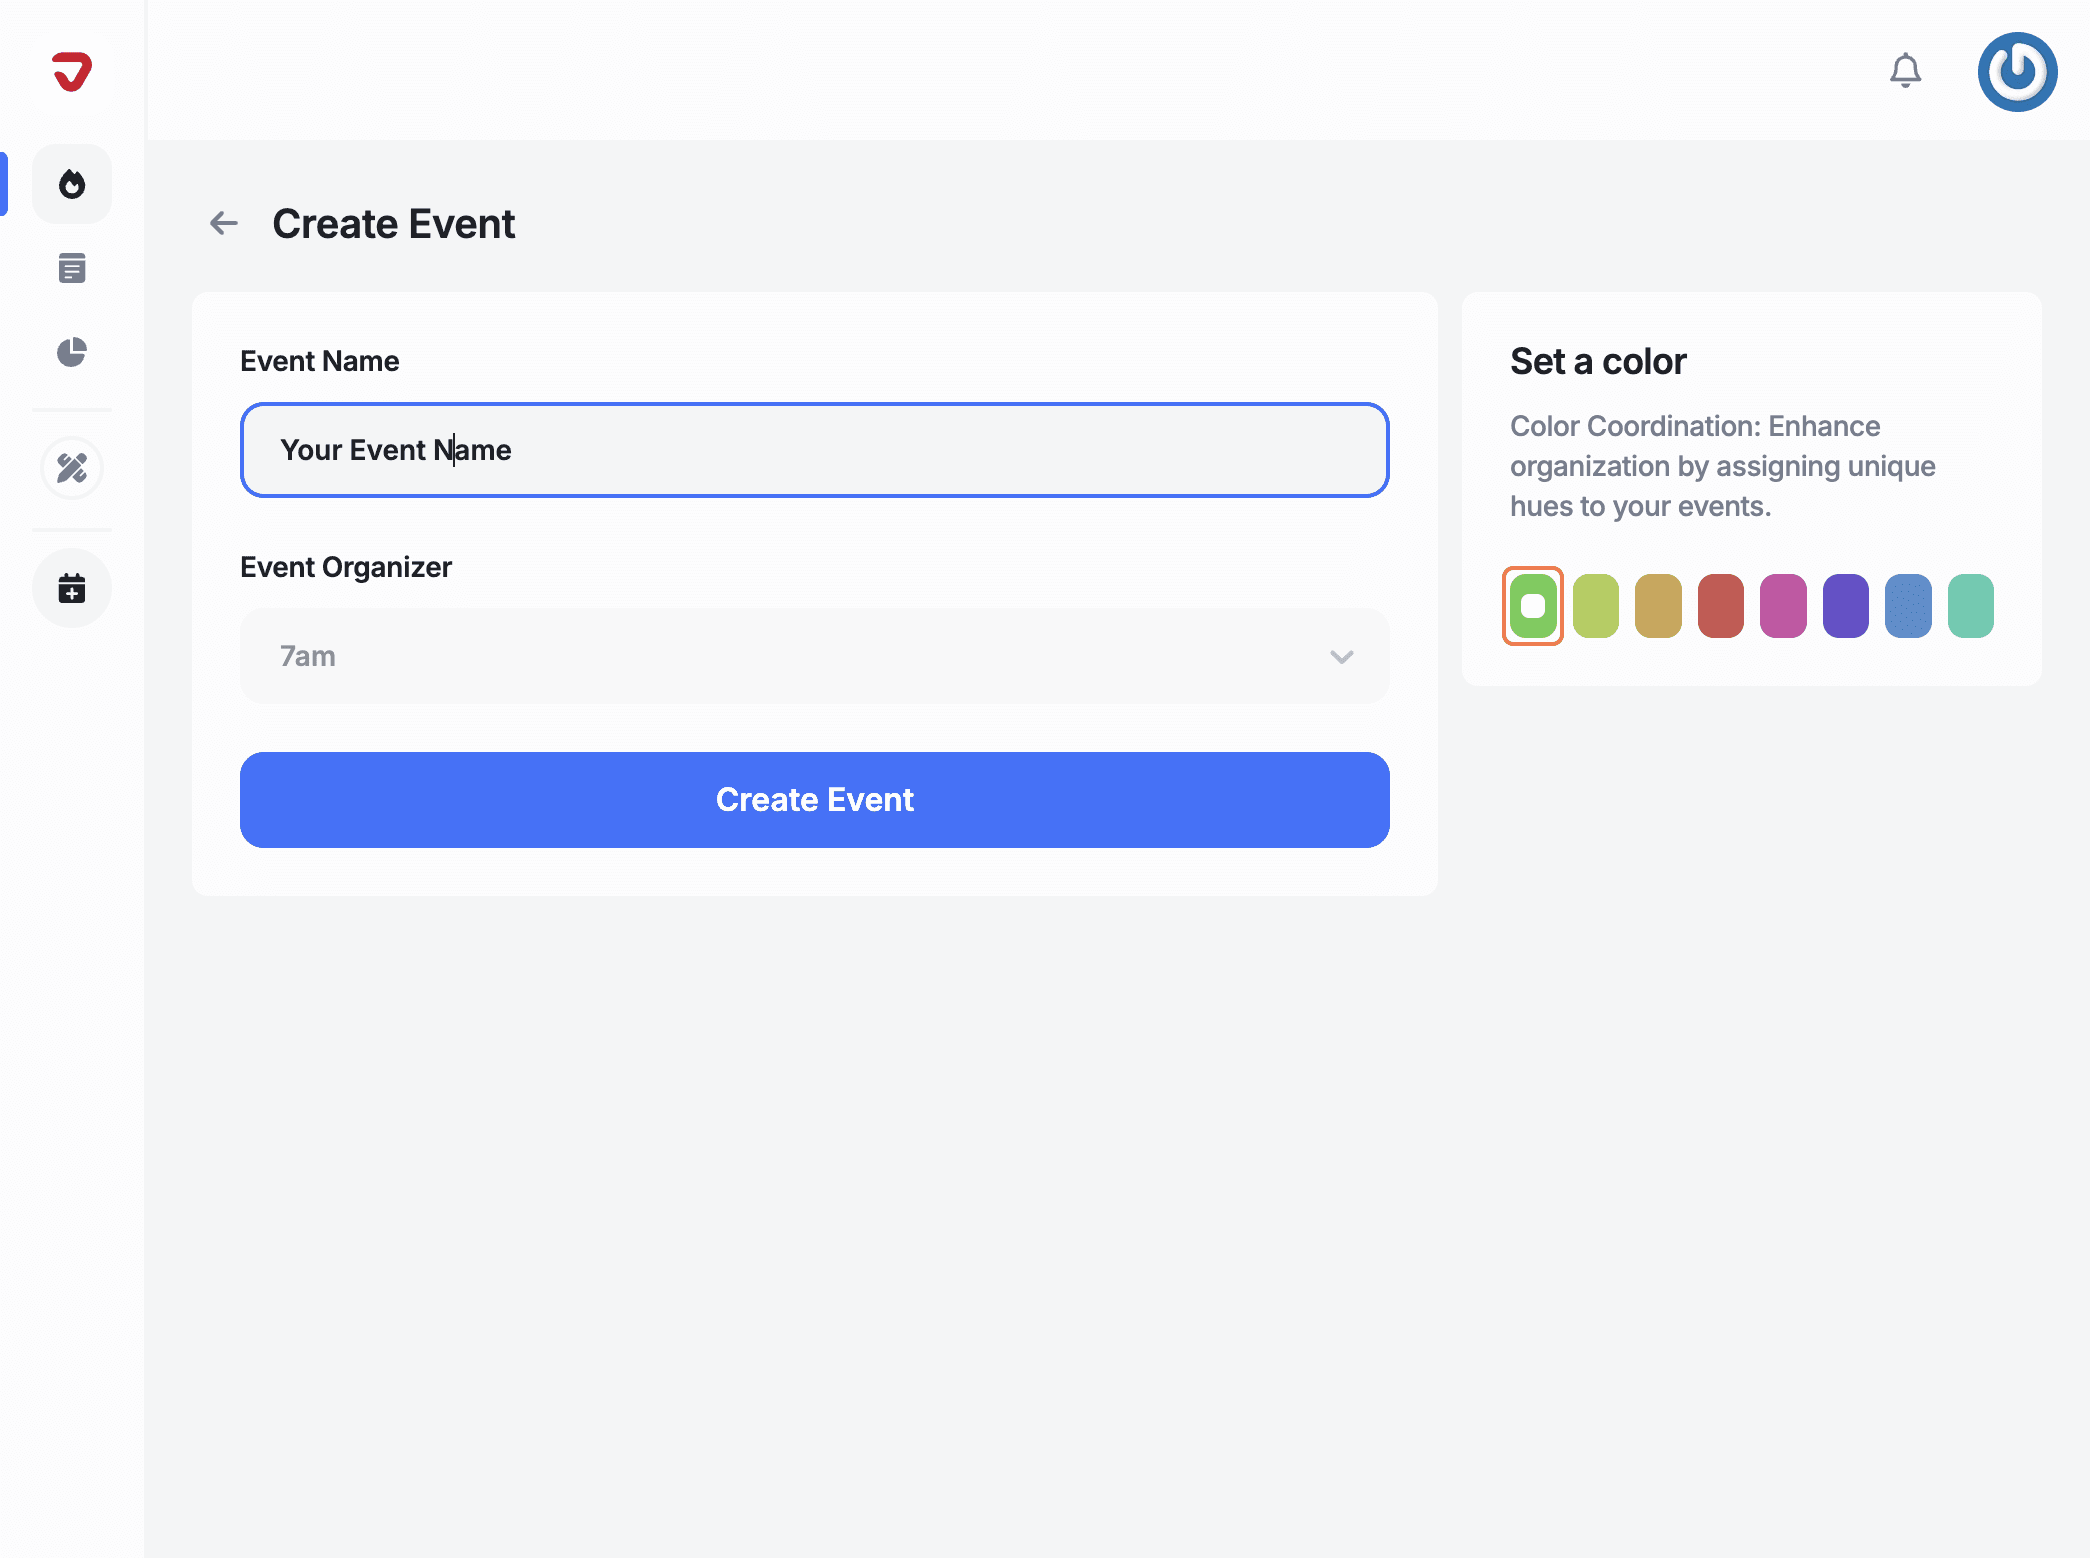
Set a color: Pick a color to make your event stand out for team members or to help distinguish it from other events.
Click on 'Create Event'.
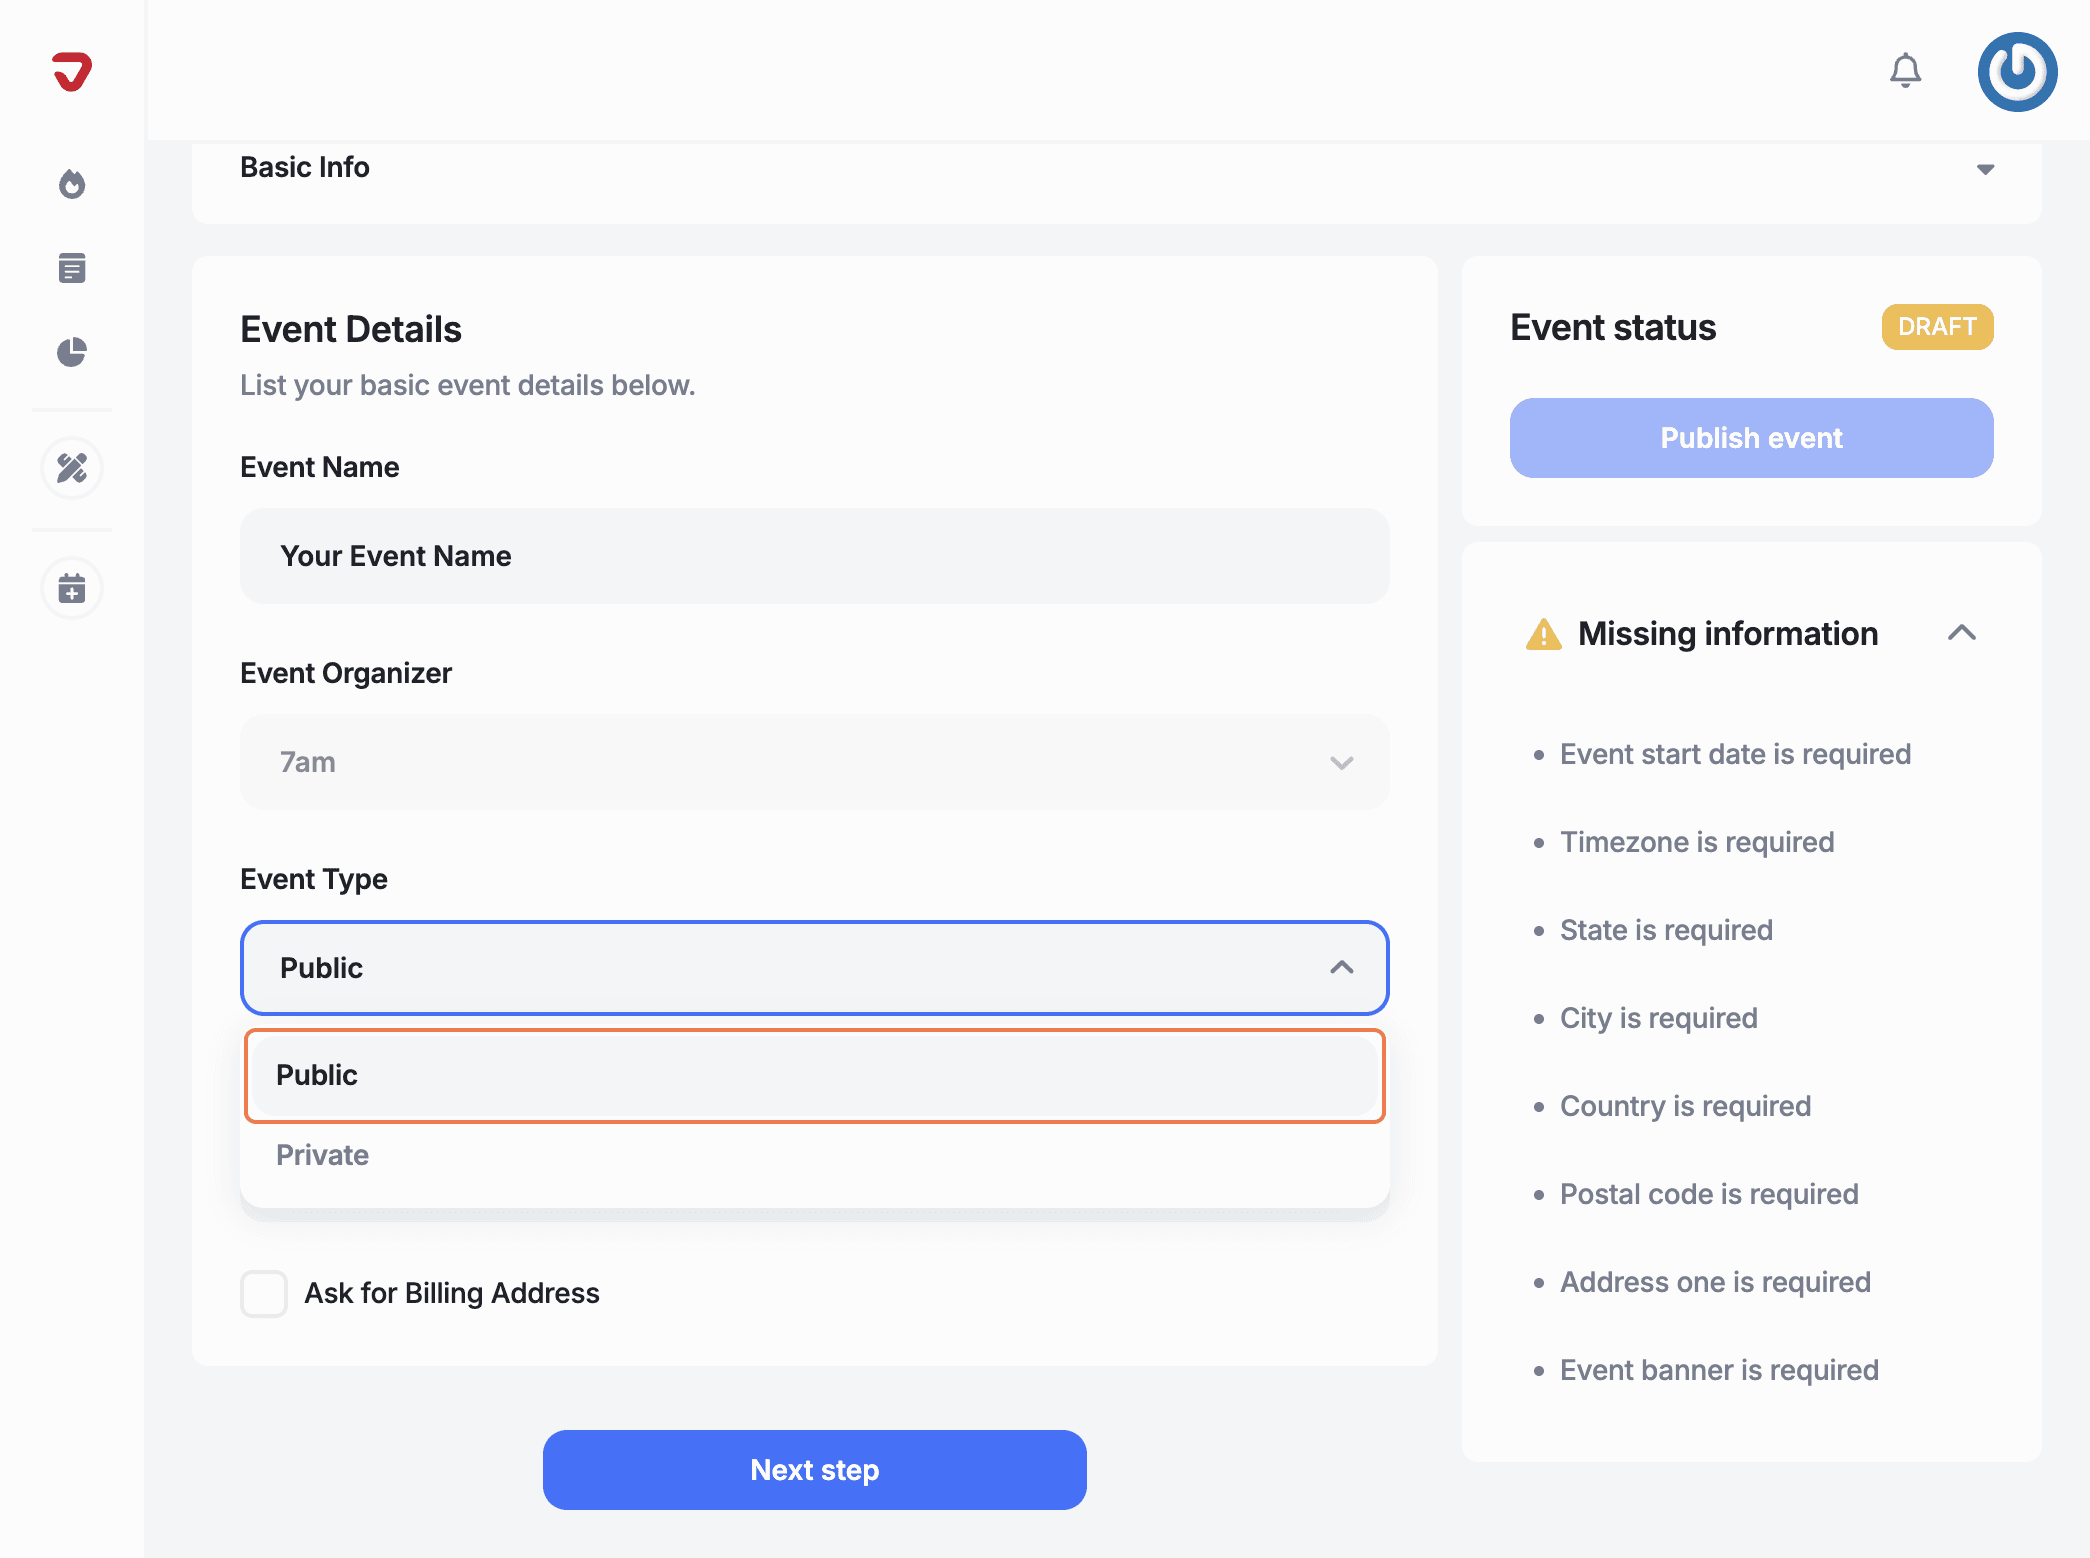
A new page will open where you can select the event type that best suits your needs. Choose 'Public' for a wide audience or 'Private' for restricted-access events.
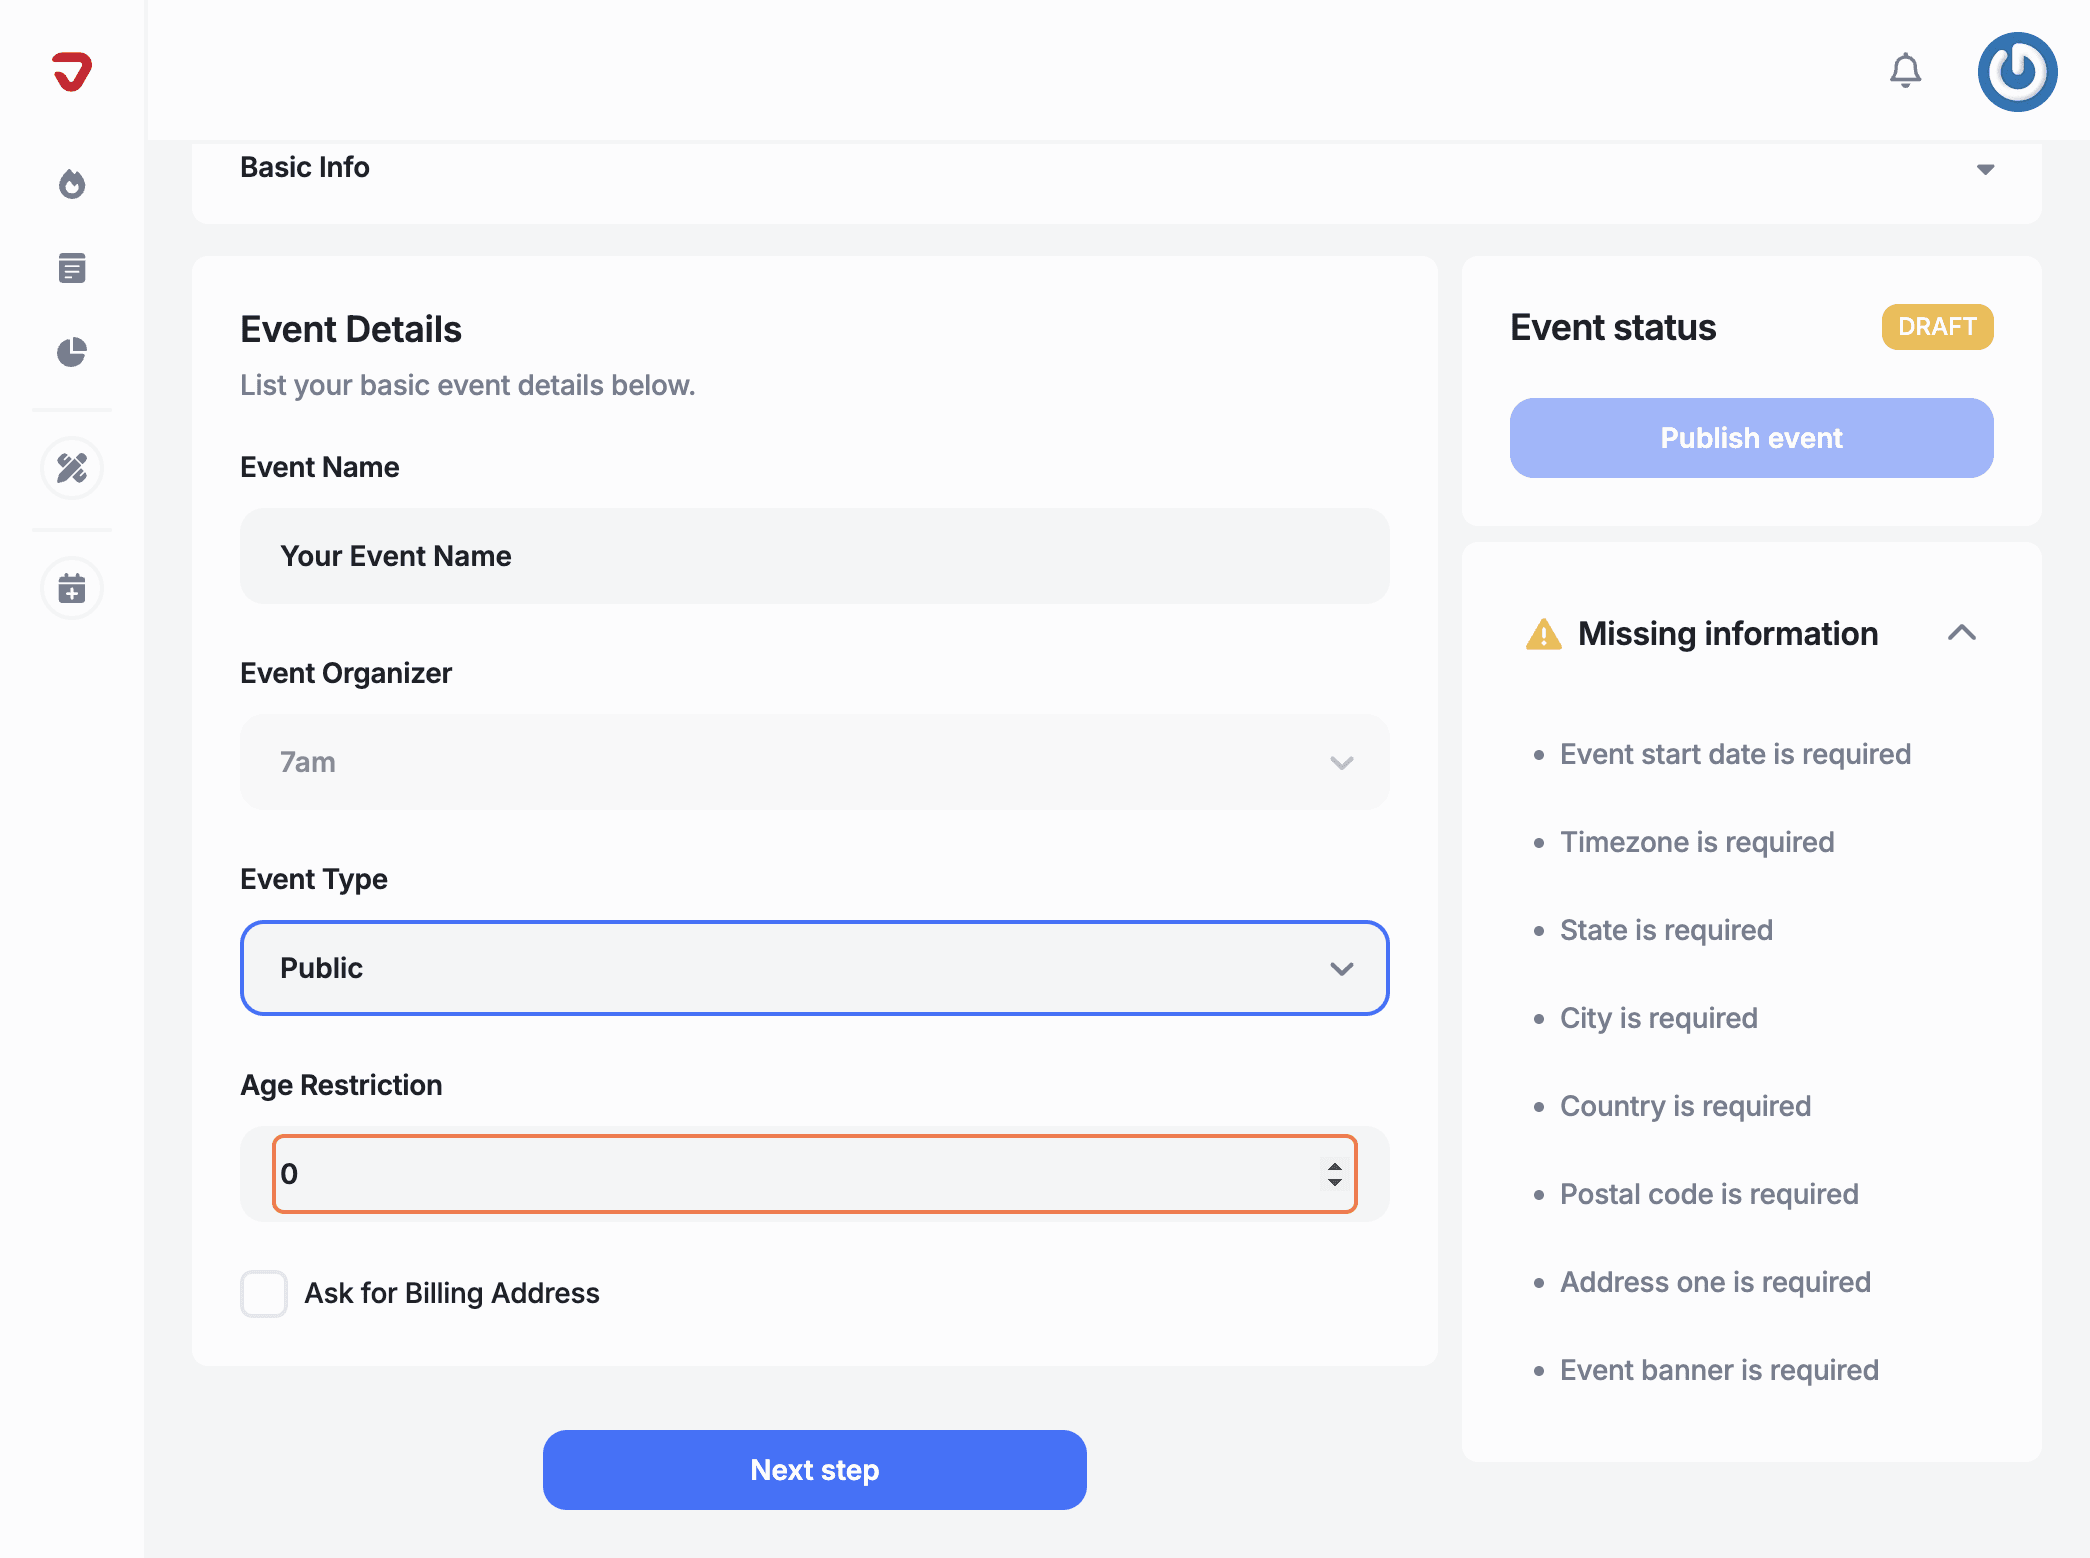
Enter the minimum age for attendees to match your audience and meet legal requirements.
Ask for Billing Address: Check the box to collect billing information from attendees during checkout.
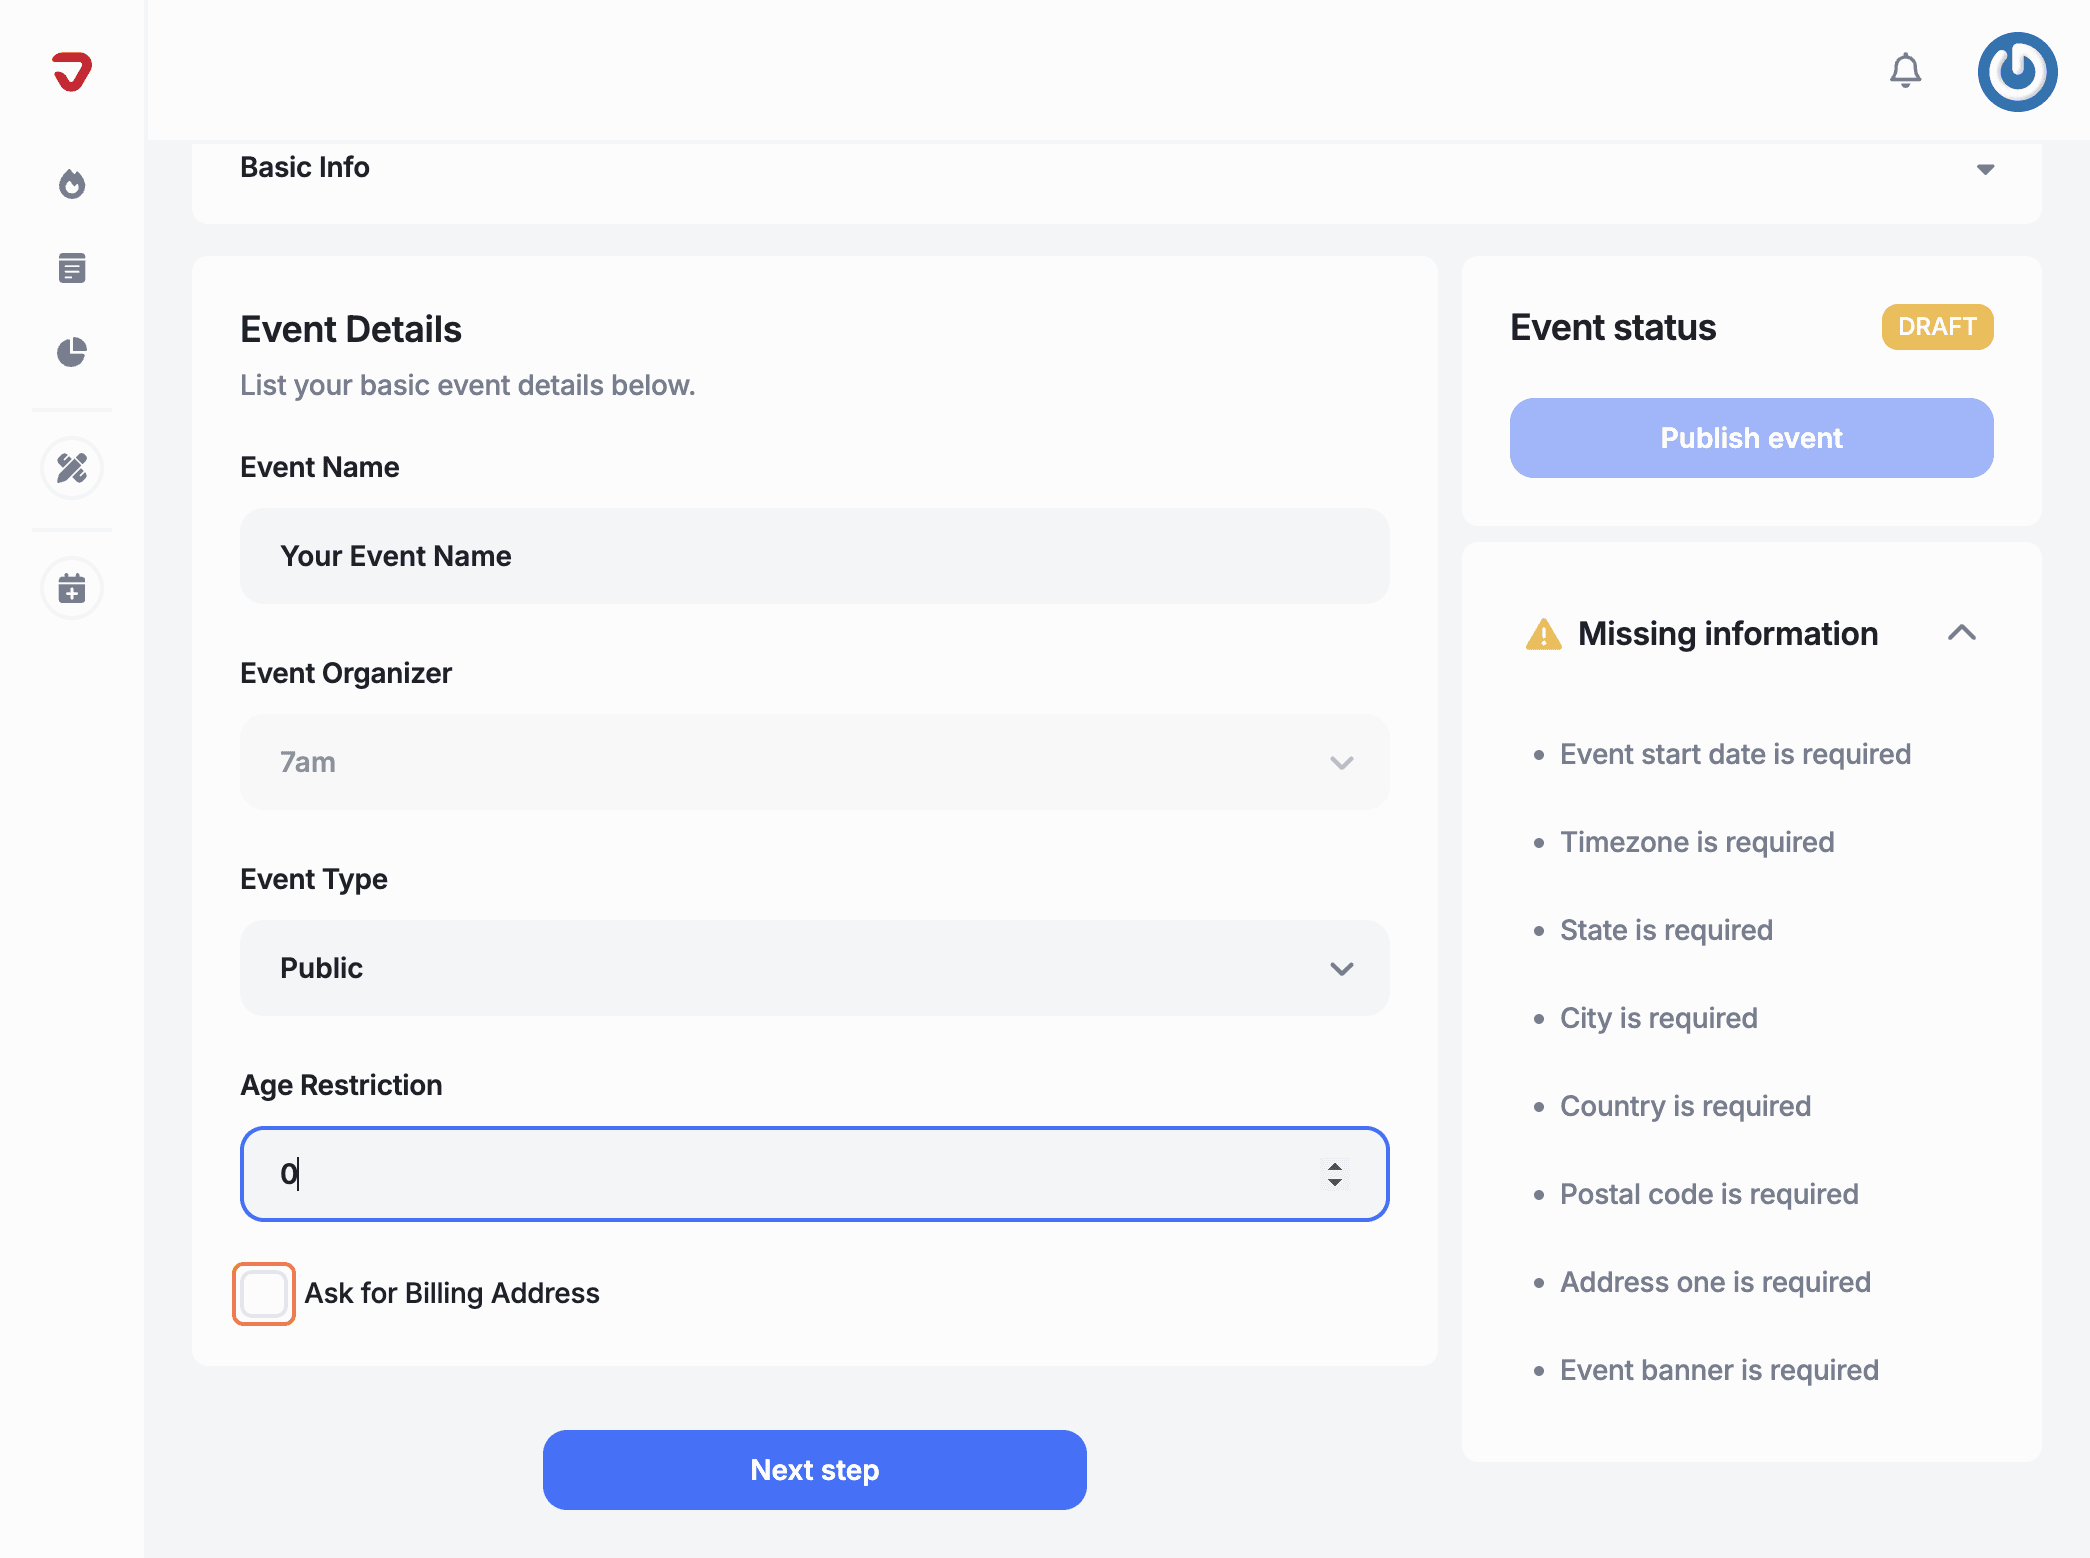
Click on ‘Next step' if you’re creating a new event.
How do I bring my event to life?
Click 'Events' in the sidebar, then 'Create event'. Add a name, pick a color, and hit 'Create Event' to get started!
Can I add age restrictions to my event?
Yes, you can! In the 'Age Restriction' section, enter the minimum age required to ensure your event is appropriate for the audience and complies with legal requirements.
Explore More
View All